Looking for storage space for guns and gear but don’t want to shell out for a commercial unit? Here’s a weekend build – a custom storage solution for your truck – for less than $300.
Advertisement
Buying a set of sliding drawers is a quick and easy option, and there is a fistful of great companies that create dynamite drawers that simply drop in. These off-the-shelf drawers are designed to fit an empty truck box. However, if you’ve already added accessories like toolboxes or need sizes other than standard, custom storage comes at a premium. If you’re like me and prefer to pay in sweat equity rather than hard-earned cash, then this DIY solution is right for you.
Grab A Tape Measure, Let’s Design
Keeping with the theme of custom drawers on the cheap, I started by rummaging through my lumber pile (a stack of salvaged wood perfect for a weekend project) to trim down my shopping list and price!
Advertisement
Searching online for truck drawer plans, I noticed two basic designs: one made with strips of plywood fastened together with pocket screws, and the other using dimensional lumber and simple joinery. If you own a pocket hole jig (or need an excuse to buy one) then the pocket screw design is possible, which has the advantage of being lighter, and you can use up smaller pieces of plywood. No pocket hole jig? Then the simpler, and just as strong, box and drawers built from plywood sheets and 2-by-8s (or use wider lumber for deeper drawers) is the best choice. I chose the second to illustrate the project concept, so just remember it is for inspiration and not the only way.
This set of truck-box storage drawers will fit between the wheel arches of any standard pickup, so carefully measure the length of the box, and we’re ready to get started. A tight fit means the unit isn’t going to move while you’re driving. Next, decide on the drawer depth. Measure your gun case, camp stove or whatever else you plan to stow. Plus, take into account large items like a dog kennel that might need to sit on top of the unit; otherwise you may have to leave your dog at home – not good!
Advertisement
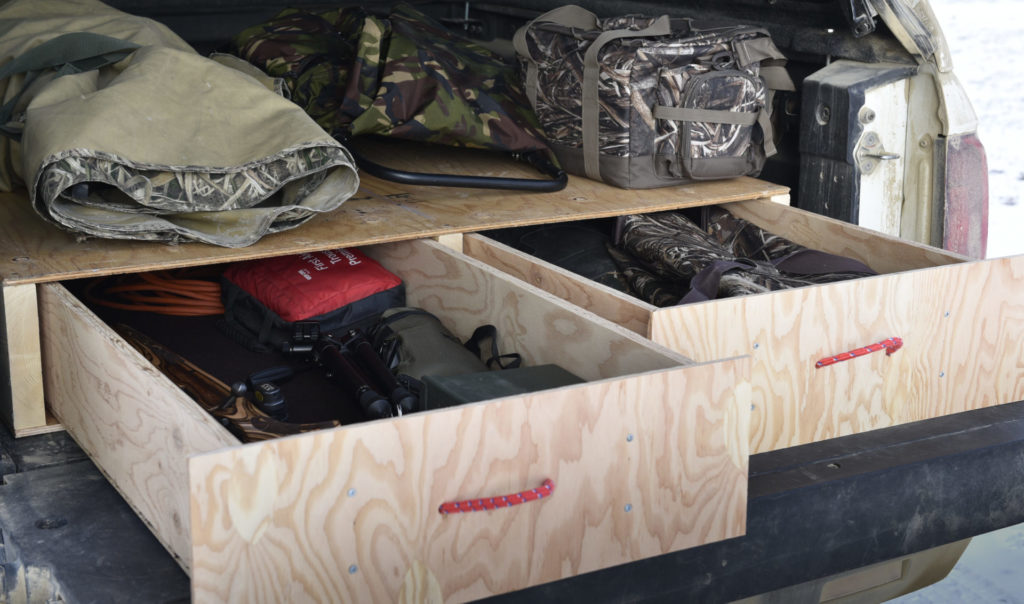
Beyond these basic plans, deck out your drawers with such refinements as locks, internal dividers, a gun rack and even LED lighting to best suit your needs. Tucked out of sight in a truck topper, locked truck bed drawers are an ideal spot to store firearms and ammunition, as they comply with the Canadian firearms transport regulations.
The Build
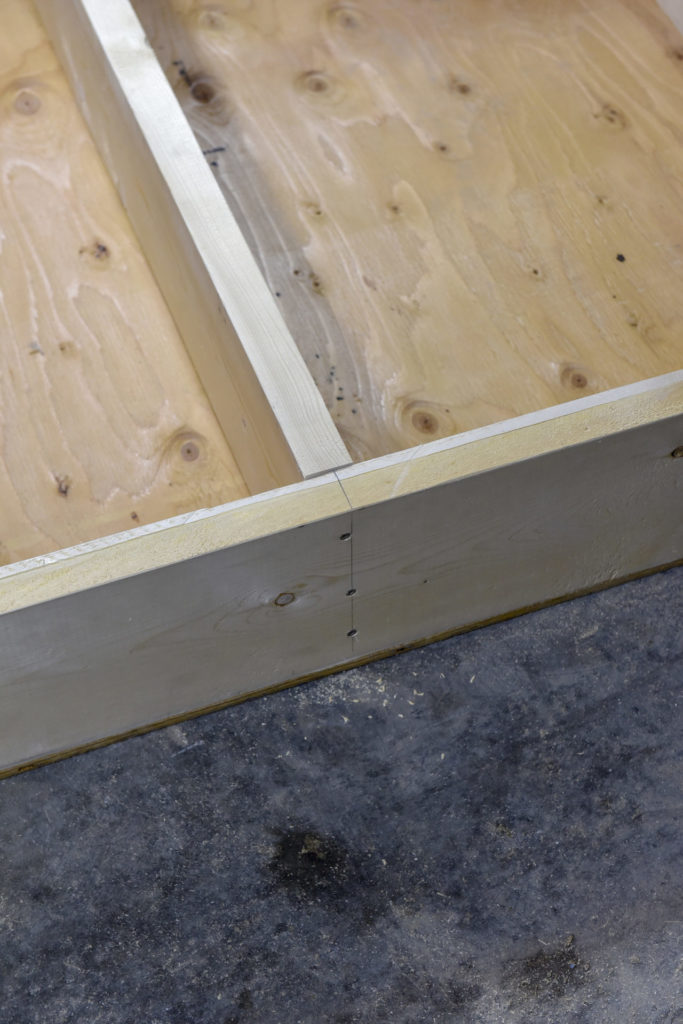
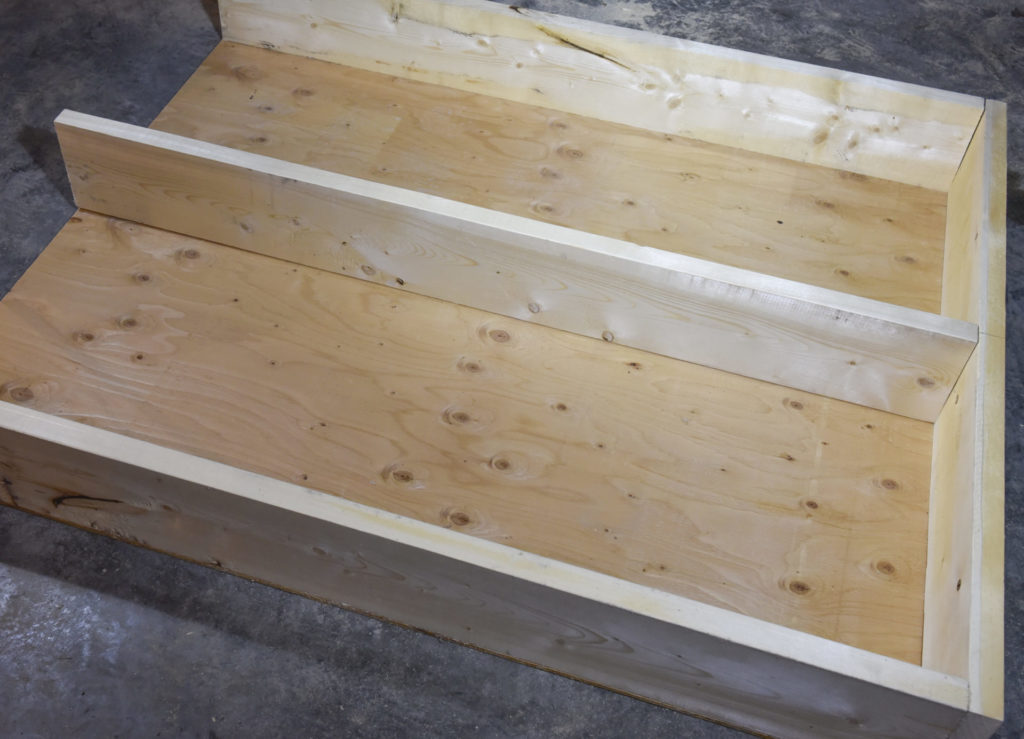
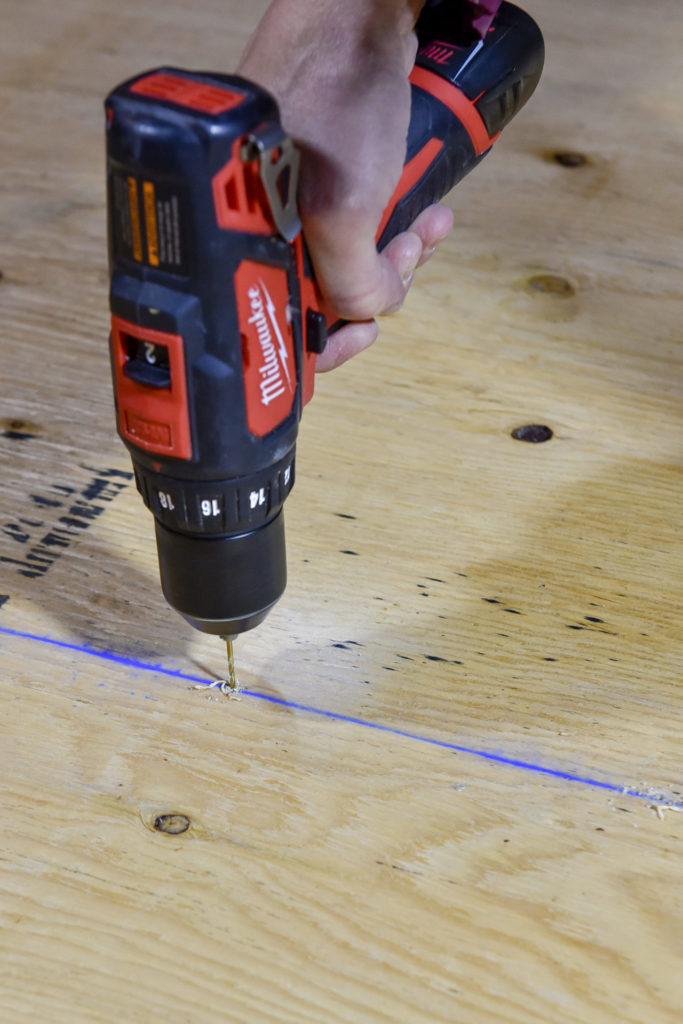
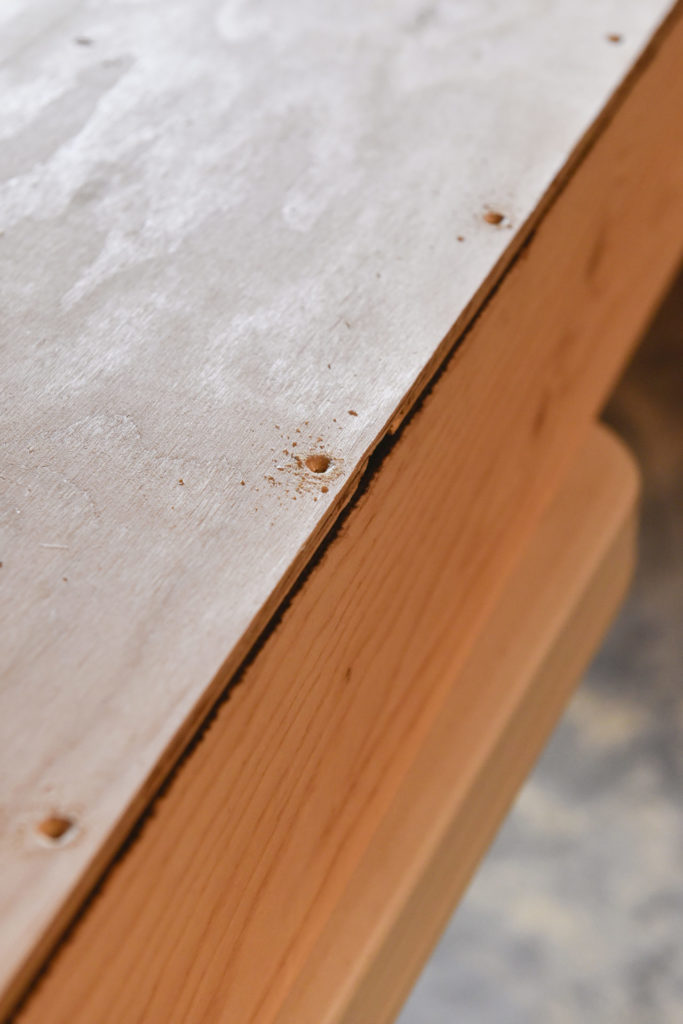
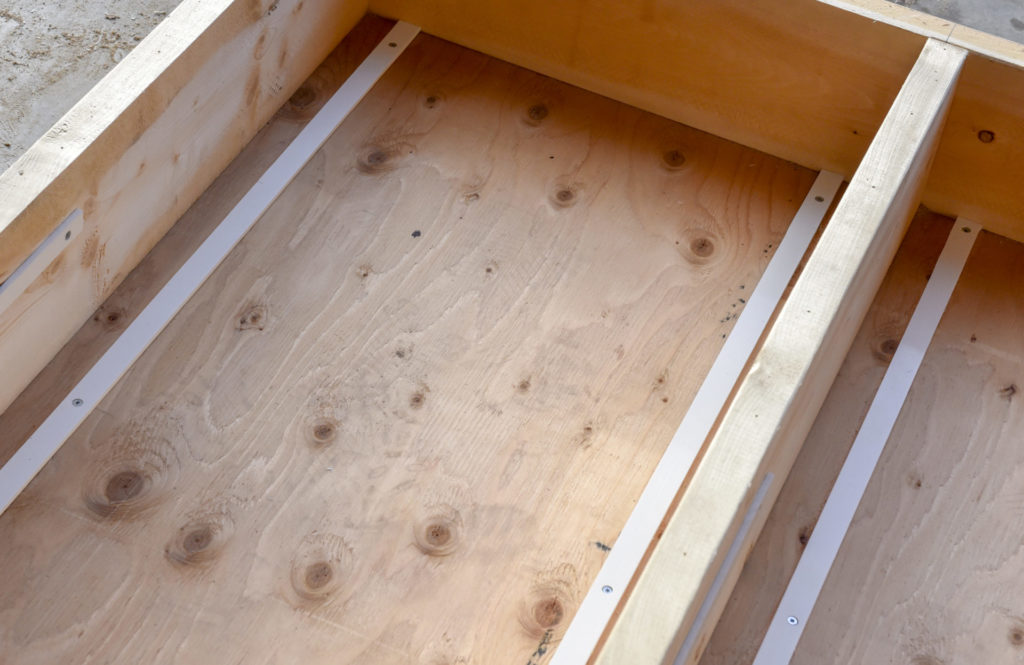
Cut the plywood for the top and bottom of the box, as well as the 2x8s for the frame. Drill and countersink the screw holes in the plywood. Next, fasten the end to the plywood, then butt the side and centre boards and secure using 2.5-inch screws. Finish screwing the bottom to the frame.
Next, rip the drawer bottoms, making them half an inch narrower than their space to allow room for the drawer glides and rip drawer sides. Indoor/outdoor carpet on the drawer bottom helps protect your gear, and now is the time to install it. Using spray adhesive, tack the carpet to the top face and then sandwich it between the bottom and the sides, secure with screws, then cut off the excess material.
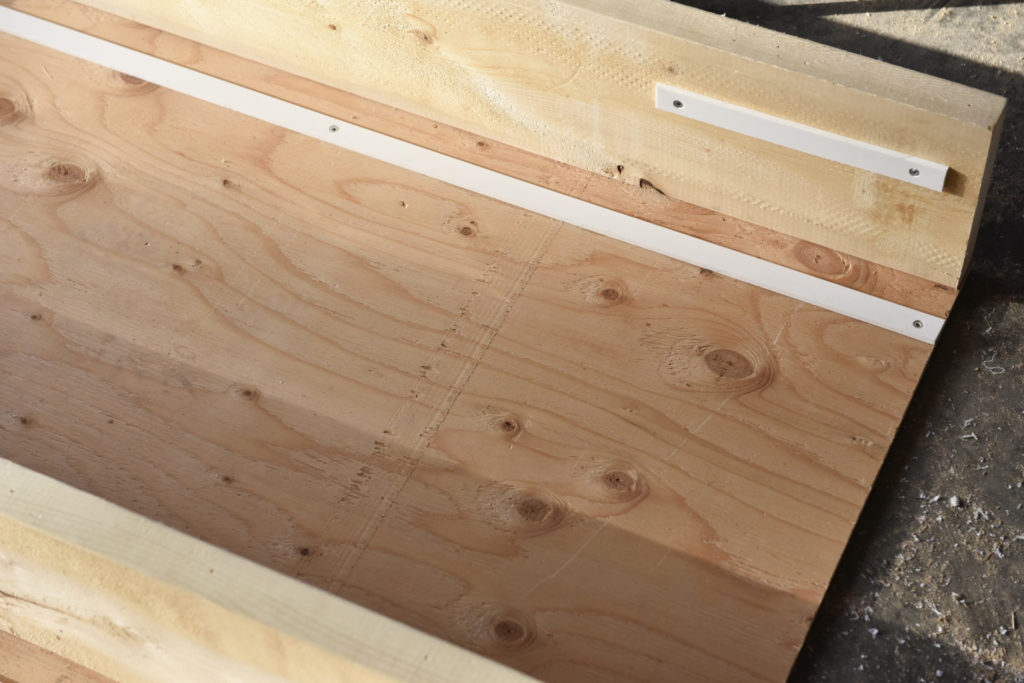
UHMW plastic or puckboard is slippery and an ideal matial for the glides. If you can’t find it for sale, make the glides from thin strips of wood, and wax the glides to reduce friction. Last, install either the wood or plastic glides along the bottom and sides of the box.
Cut the drawer fronts slightly shorter than the full height of the drawer, so they don’t bind on the truck tailgate. The fronts are fastened to the drawers using screws.
A locking handle, keyed the same as your truck topper, is a handy choice when security is critical. For my build, I opted for low-cost rope handles for the drawers.
Finishing the drawer box adds durability and longevity. A can of rubberized undercoating paint, exterior floor paint, or indoor/outdoor carpet will protect your project from wear and tear.
To add the option of loading and removing the truck drawers with help from a partner, I added four metal handles along the sides. These serve a dual purpose of a lashing point to secure the drawers to the truck bed, tied with a trucker’s hitch, of course!
Other Design Considerations
In this project, I created two drawers of the same size. I could have made one larger, and the other small or even created three skinny drawers. For more complex truck drawers, the plywood strip design is a better choice to lower the weight.
If you have time to think about your storage needs, you can easily incorporate those ideas into the perfect truck drawers. Happy building.
- This DIY project uses simple joinery like butt joints.

- Most of the cutting for this project was completed using a circular saw.

- The first step was to cut the parts for the frame. Our build used 2×8 lumber and 3/8-inch plywood. Parts were cut for a custom fit to my truck bed.

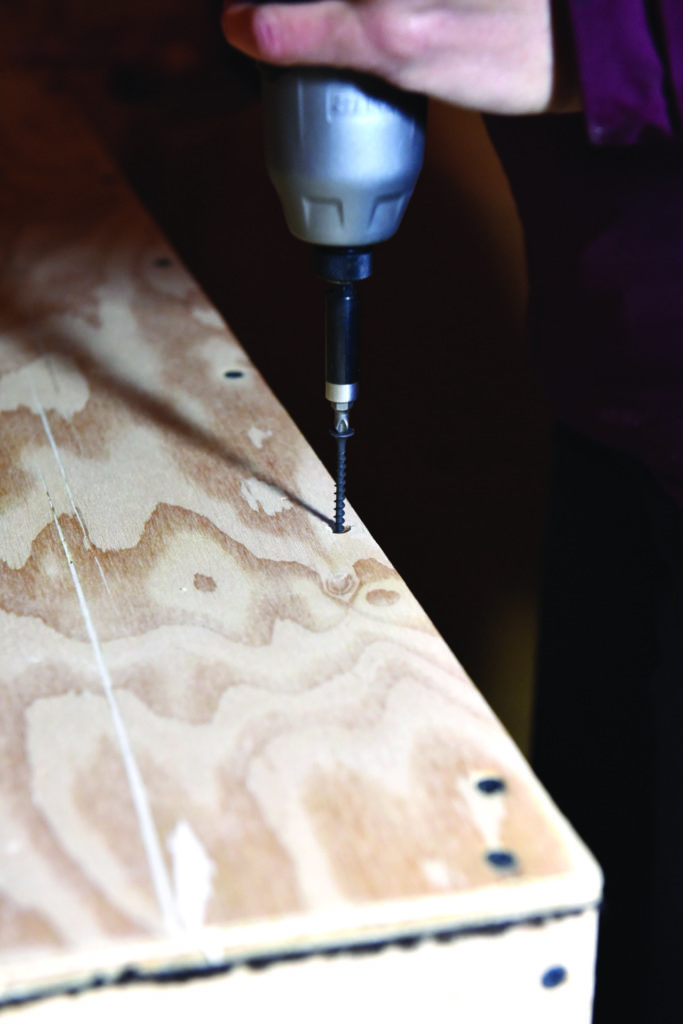
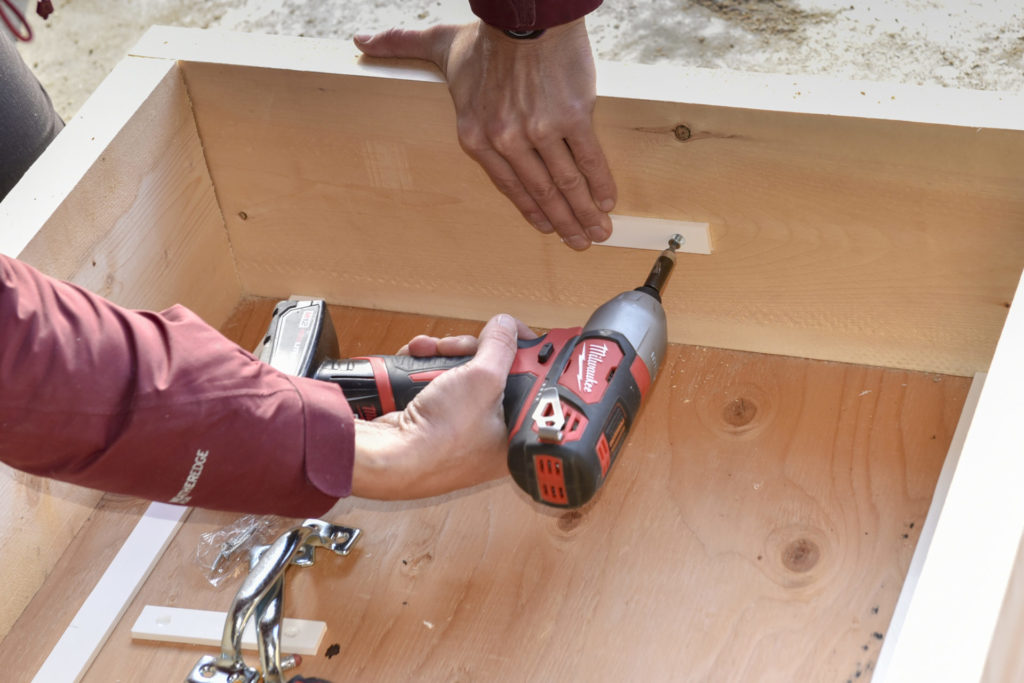
- Screw holes were marked and pre-drilled to prevent splitting the wood.
- Countersinking screws, especially on the drawer bottoms, prevent the screws from snagging on the frame as the drawers move in and out.
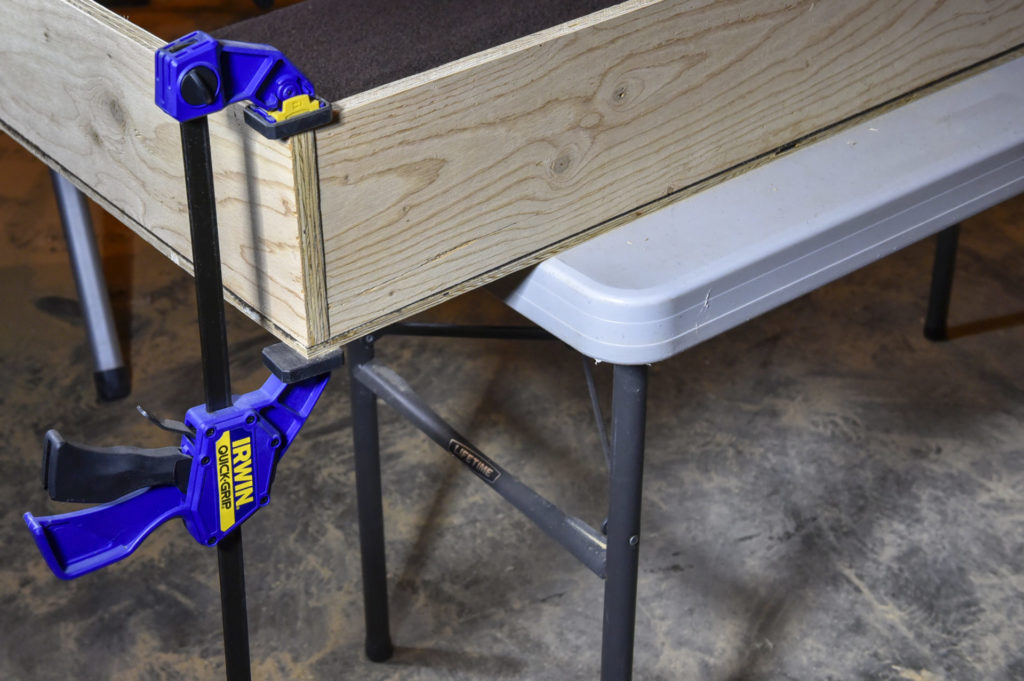
- A clamp secures pieces to assemble a tight box joint, as on this drawer.

- Plywood drawer bottoms were fastened using drywall screws.
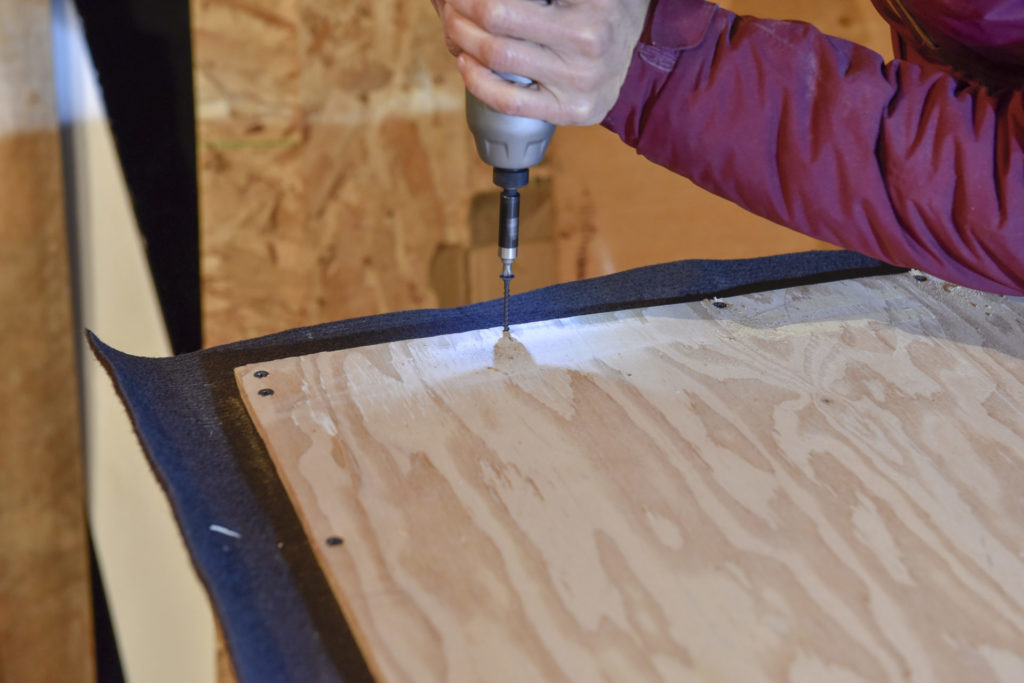
- An indoor/outdoor carpet protects the gear stored in the drawers. Here, we sandwiched the carpet between the bottom and the sides.

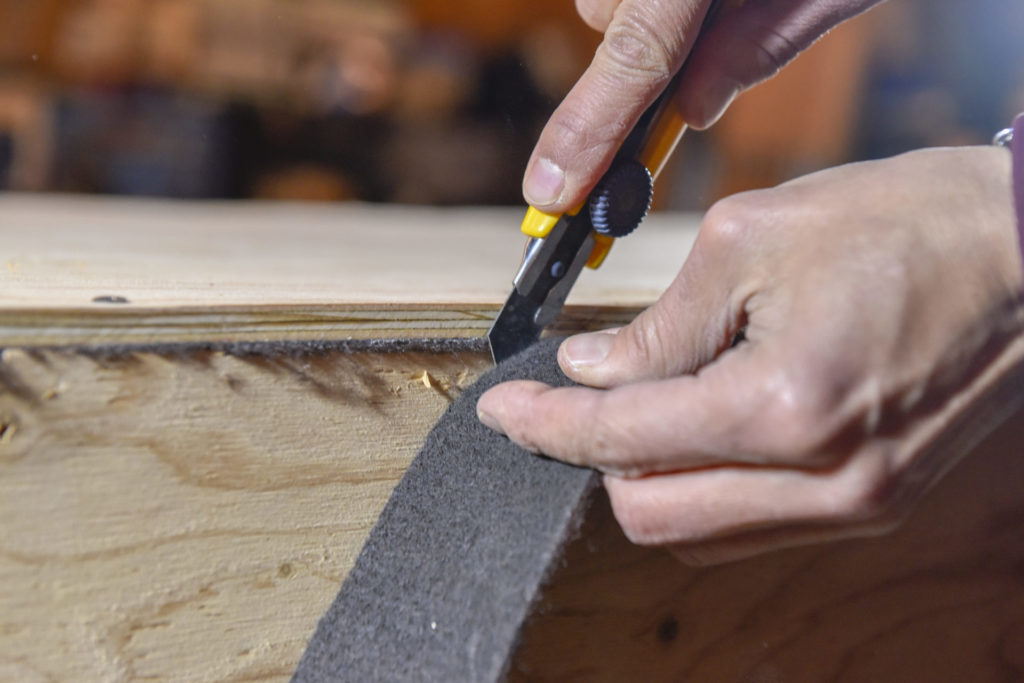
- Trim the excess carpet flush with the edge of the drawer using a utility knife.
- Puckboard was cut into one-inch strips and installed in the fram as drawer glides.

- Glides along the side of the frame keep the drawer tracking true in the frame.
- A 1/4-inch spacer keeps the drawers flush with the front of the frame.
- If the box is not a permanent addition to your truck, you’ll need an easy way to load and unload it from your pickup – handles along the sides make moving the box easy.
- You can now load your completed box with gear, inside and on top.