While there are many ways to preserve wild game and fish, the most common is to package it up and throw it in the freezer. It’s quick, simple, and, in today’s day and age of modern technology, doesn’t require much of a second thought. However, if you are looking for a quick meal, or some food stored away in case of a power outage, having canned wild game or fish in your pantry is ideal.
Advertisement
An Overview of Canning Wild Game and Fish
 Canned wild game and fish. Credit: Raeanne O’Meara.
Low-acid foods, such as wild game and fish, must be pressure canned. Low-acid foods must be pressure canned. You must pressure can low-acid foods! This cannot be stressed enough. Water bath canning may work for many (high acid) foods, but the risk of botulism is real, it can be deadly, but it can also be mitigated through proper canning techniques. That being said, pressure canning is not as intimidating as it seems, and once learned is a skill that will be with you for life.
The crucial key to the pressure canning puzzle is purchasing a pressure canner, and not a pressure cooker. There has been a recent surge in the popularity of pressure cookers, but these are meant for cooking dinner, and cannot be used for canning purposes. While there are many different brands of pressure canners, they come in only two styles: weighted gauge and dial gauge. Neither is better than the other, it comes down to personal preference. When you purchase a pressure canner, familiarize yourself with the user manual. Following the manufacturer’s instructions for your pressure canner ensures that you can safely can wild game and fish.
Advertisement
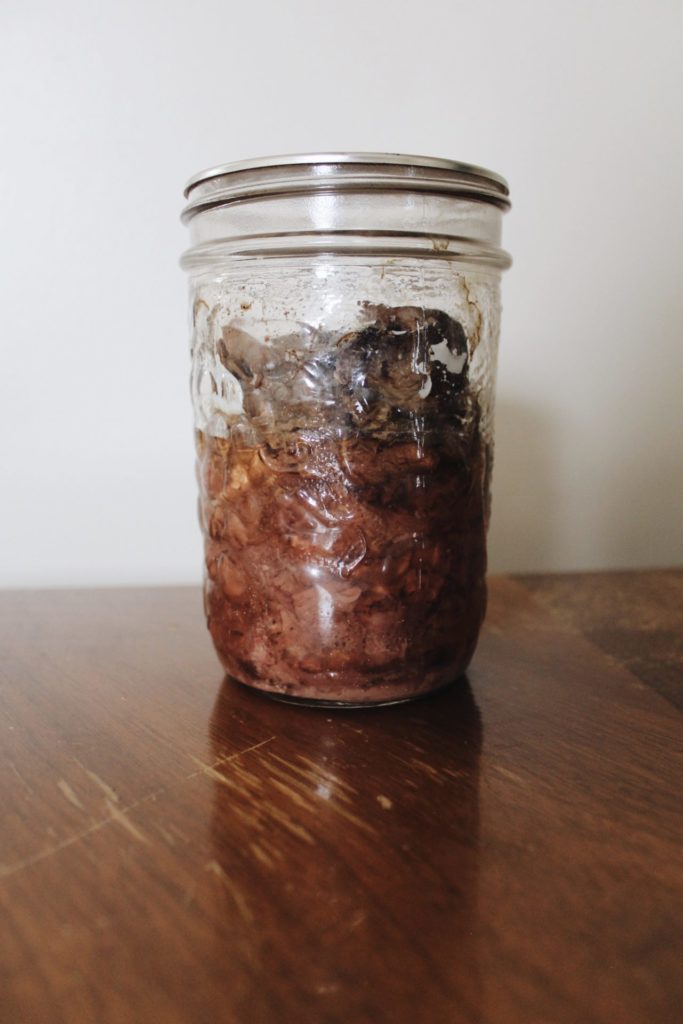
Canned Moose Meat
 Canned moose meat. Credit: Raeanne O’Meara.
A true delicacy, canned moose meat is melt-in-your-mouth delicious. A perfect addition to your pantry, you will need to cut the meat into two-inch cubes, removing the fat and gristle. Simmer meat in water in a pan until heated thoroughly. Add meat and salt to heated jars and fill with clean water, leaving a one-inch headspace. Run blade of spatula down sides of jar to remove any air bubbles. Adjust lids and process according to manufacturer’s instructions.
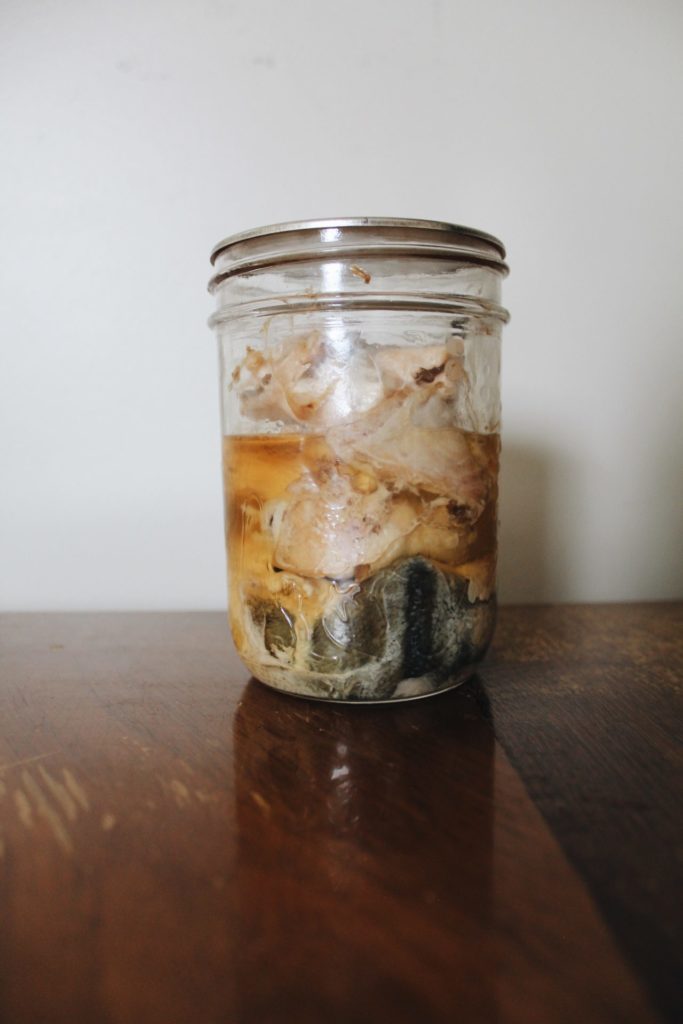
Canned Fish (excluding salmon)
 Canned fish. Credit: Raeanne O’Meara.
The best part about canning fish is you don’t need to worry about the bones! During the pressure canning process, fish bones break down so there is no need to fillet the fish. Simply cut the fish into pieces – depending on the size of jar used, you may need smaller or large pieces. Pack fish into jars, leaving a one-inch headspace. Some say to put the skin against the glass, some say not to; just be aware that the skin sometimes sticks to the glass if facing outward. Add salt if desired, but do not add liquid. Run blade of spatula down sides of jar to remove any air bubbles. Adjust lids and process according to manufacturer’s instructions.
Advertisement
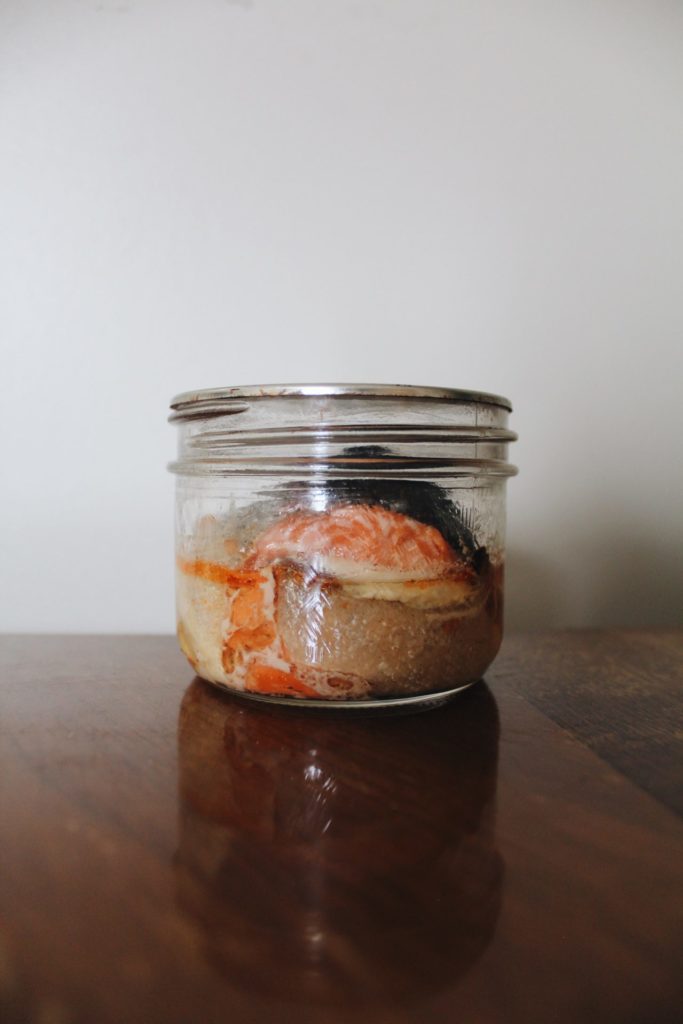
Canned Salmon
 Canned salmon. Credit: Raeanne O’Meara.
Canning salmon is similar to other fish, requiring only one extra step. Before cutting into pieces, slowly pour hot water on the fish while gently scraping the scales off. Wipe dry and cut into pieces (you can include the backbone or remove it, whatever your personal preference is.) Follow the above instructions for canned fish.