I grew up in Muskoka, Ont., where my family made maple syrup every spring. When I moved to northern BC years ago, I was disappointed to discover there were no sugar maples around my new home to tap for syrup making, or sugaring-off, as the age-old practice is commonly known in the east.
Advertisement
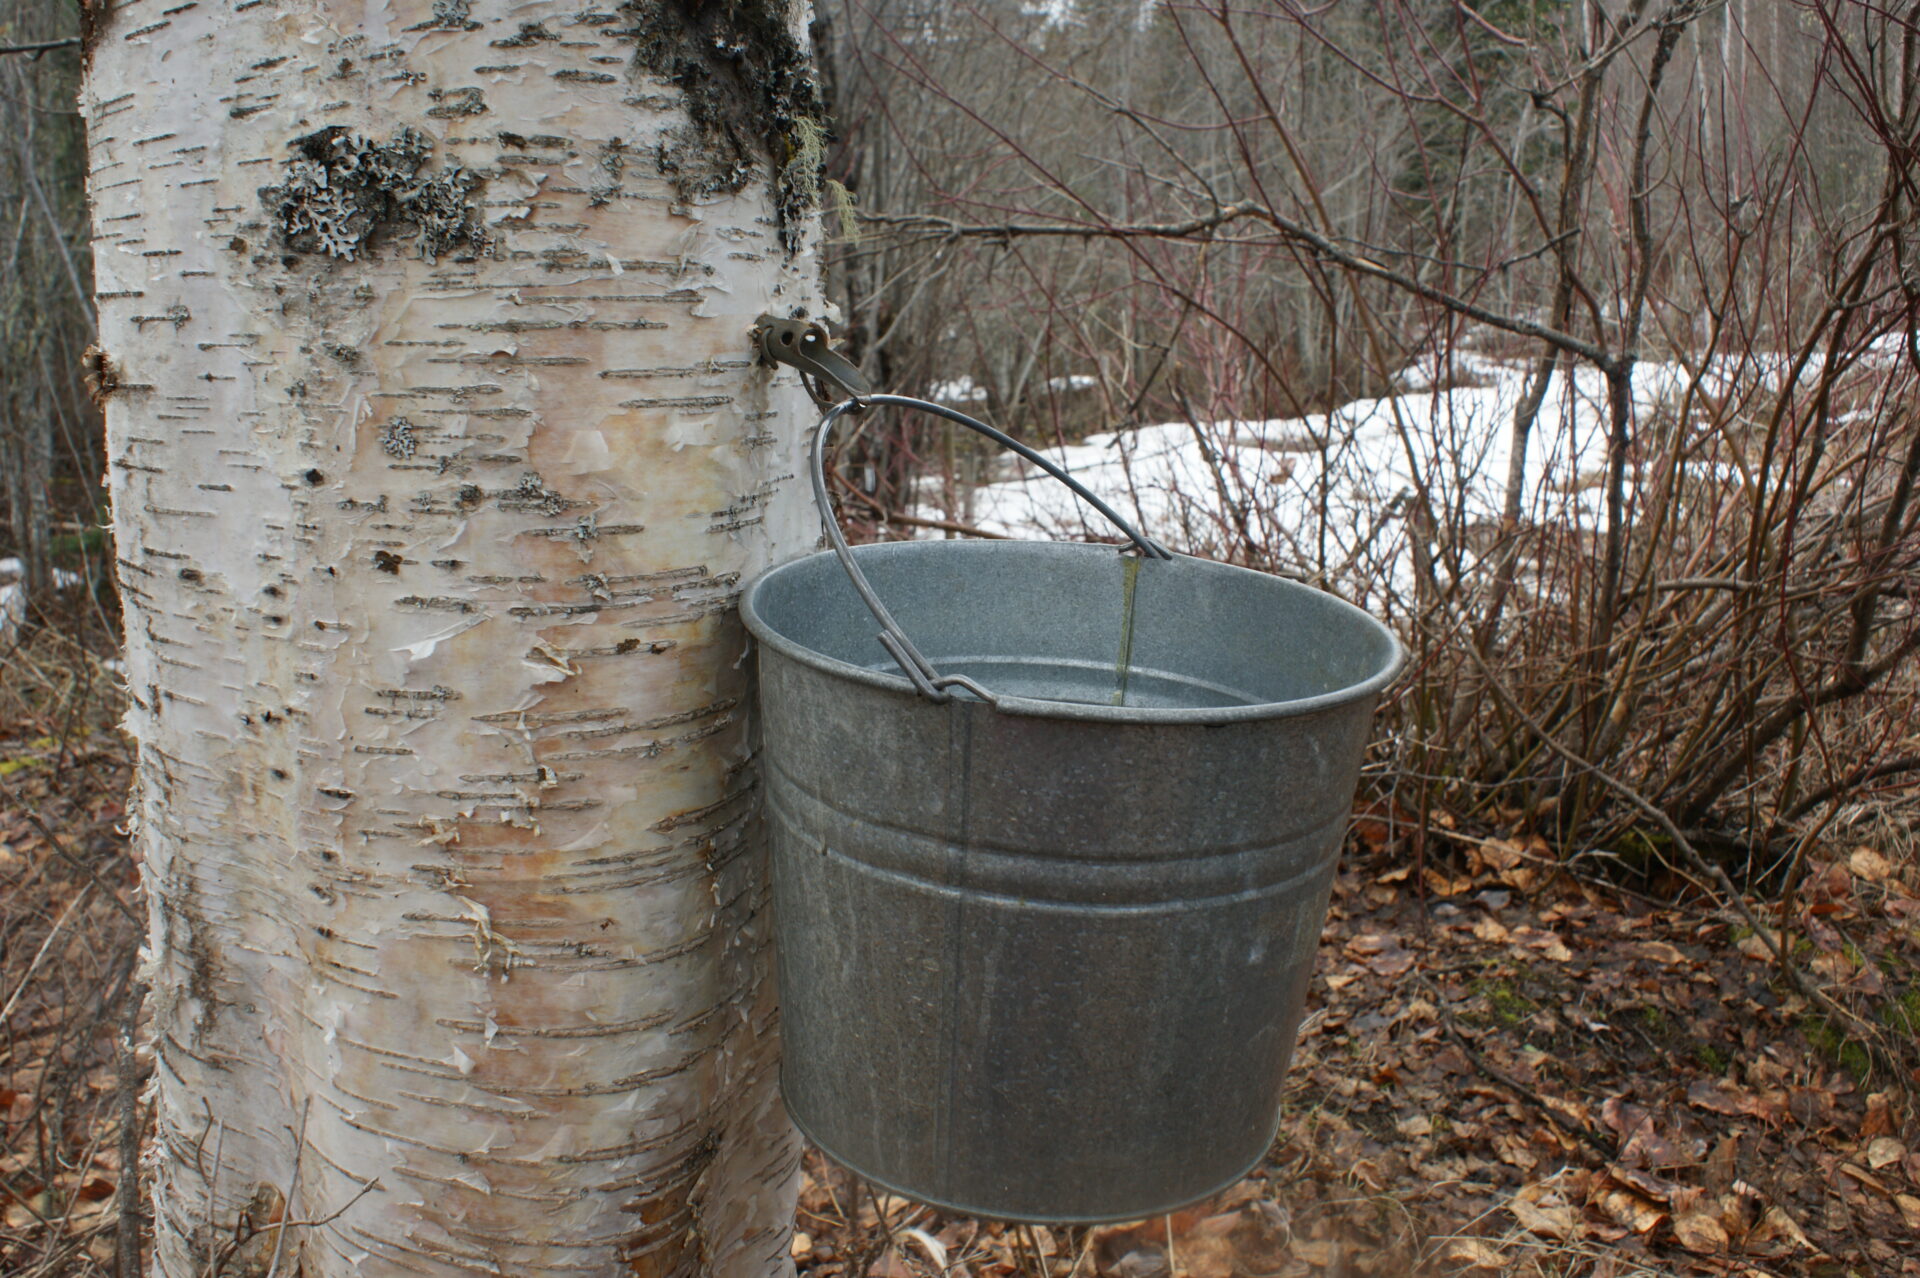 A pail is hung on the tapped birch tree, to collect the dripping sap.
But my disappointment was short-lived because after buying a bottle of locally produced birch syrup at a farmer’s market and doing some research, I discovered birch syrup is just as delicious as maple and, to my delight, I learned that it was made in the exact same manner, which was great because when I moved west, I brought my handed-down syrup-making supplies with me, intending to carry on the old family tradition. So with a sweet new plan, I headed to the birch woods.
Equipment needed is pretty basic, but I must confess, making birch syrup requires a lot more footwork and more patience than maple syrup does because maple sap contains twice as much natural sugar as birch sap. As a general rule of thumb, it takes about 25 gallons of birch sap to make one quart of syrup. Since you can book on getting about one gallon (more or less, depending on flow) of sap per tree per day, this gives you a rough idea of how many trees you will need to tap for how many days to make how much syrup, keeping in mind the sap runs for about three weeks.
Advertisement
Large-scale commercial producers tap acres of trees throughout the run in order to make gallons of syrup, but on a hobby level you will be making a much smaller amount. I am always content to end my syrup making season with about four or five quarts of syrup, which comes to the table as a very special treat.
Seasons can vary depending on weather, but typically in my neck of the woods (northern BC) sap begins to run around late March. The ideal time to head into the woods is when the nights are still below freezing and the sap is frozen in the tree. Then as the daytime temperatures rise, the sap thaws and the pressure builds, forcing the sap to flow.
Advertisement
In the old days, before galvanized commercial spiles (commonly known as spigots or taps) were readily available, old timers like my grandpa made their own by cutting one-inch round sticks into about four-inch lengths, tapering the ends like a whistle and drilling holes in them for the sap to flow through. Today, most are made out of stainless steel or plastic and they can be bought online or at specialty stores.
Next item up on the equipment list is a drill. I use an old-fashioned hand drill with a finger-sized bit (7/16-inch) to drill a hole about two inches deep at a convenient height into the tree. The spile is tapped (thus comes the common term “tapping a tree”) into the hole using a hammer. The bucket is hung onto the spout to catch the dripping sap, thus you will need pails with handles for hanging. In the east, galvanized water buckets are commonly used, but any food-grade plastic pail (such as ice cream pails) work great.
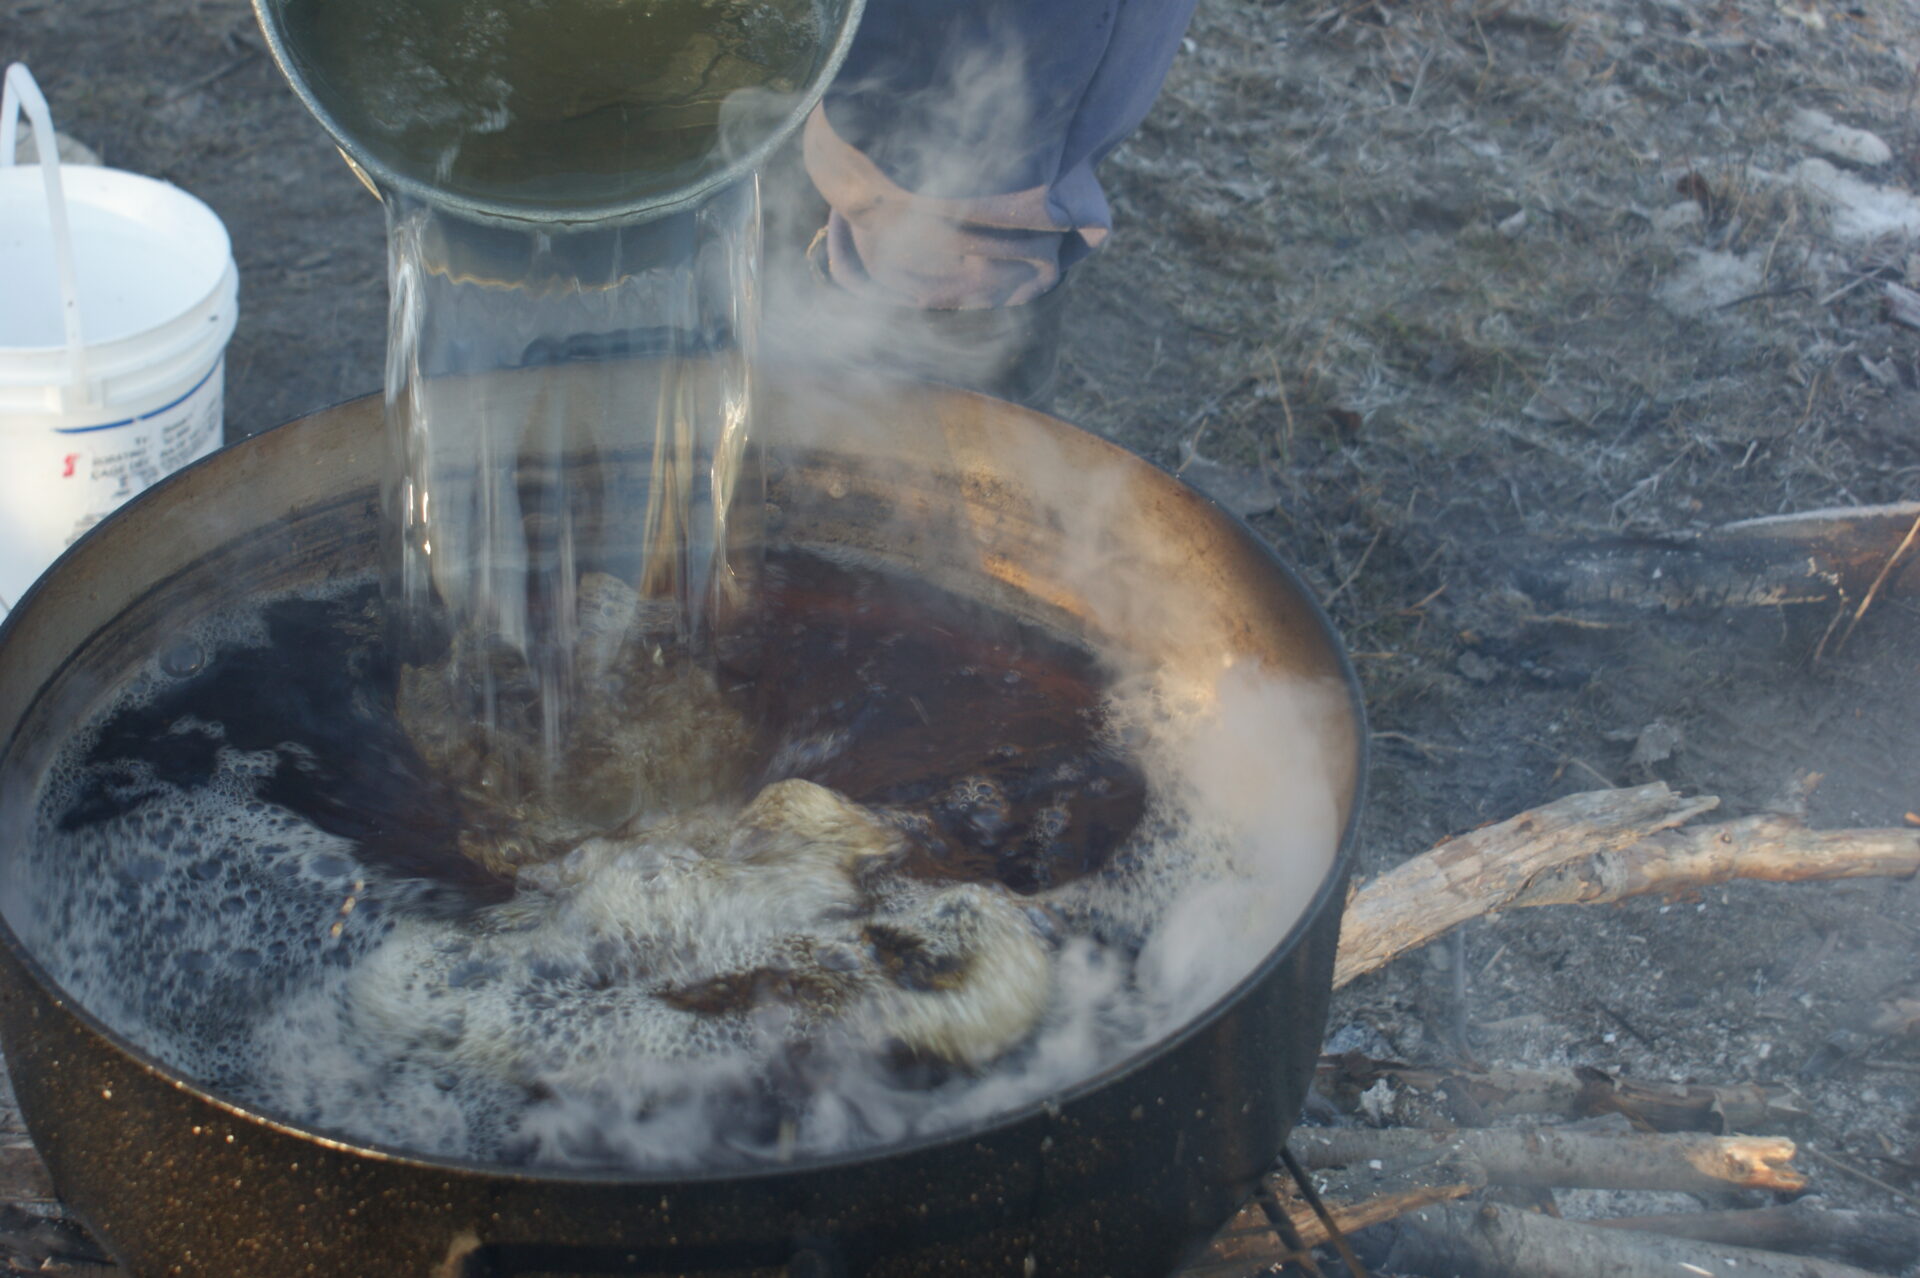 As the sap is collected in pails, it is dumped into the boiling down pot and boiled hard to evaporate the water off and leave the sweet syrup behind.
You will need a very large metal pot to boil the sap down in. The size will depend on how much sap you intend to collect daily. I use a huge aluminum cooking pot that was originally made to hold enough food to feed an army! You do not need a lid, as the whole idea of boiling down sap revolves around evaporation, ridding the water through steam.
It goes without saying, even when making a small batch of birch syrup, you will need an ample supply of firewood to keep the fire under the pot going constantly throughout the boiling down process. Dead and downed trees should be split and piled before the syrup-making season begins.
So there you have it! Drill the hole, tap in the spile, hang on a pail and catch the sap. After you’ve “tapped” all the trees, get a good fire going and wait for the pails to fill. When full, gather the sap, empty it into the boiling down pot and keep it boiling, adding more sap as the pails refill. At night when the temperature drops, the sap drips more slowly so you can leave the pails hanging all night and empty them into the pot in the morning and continue boiling it down and adding more sap until it starts to turn into an amber liquid and then, lo and behold, it will continue to boil down into golden, thick syrup. When you are done adding sap to the boiling down pot, you can transfer the golden liquid to a smaller pot to finish boiling it down to desired thickness.
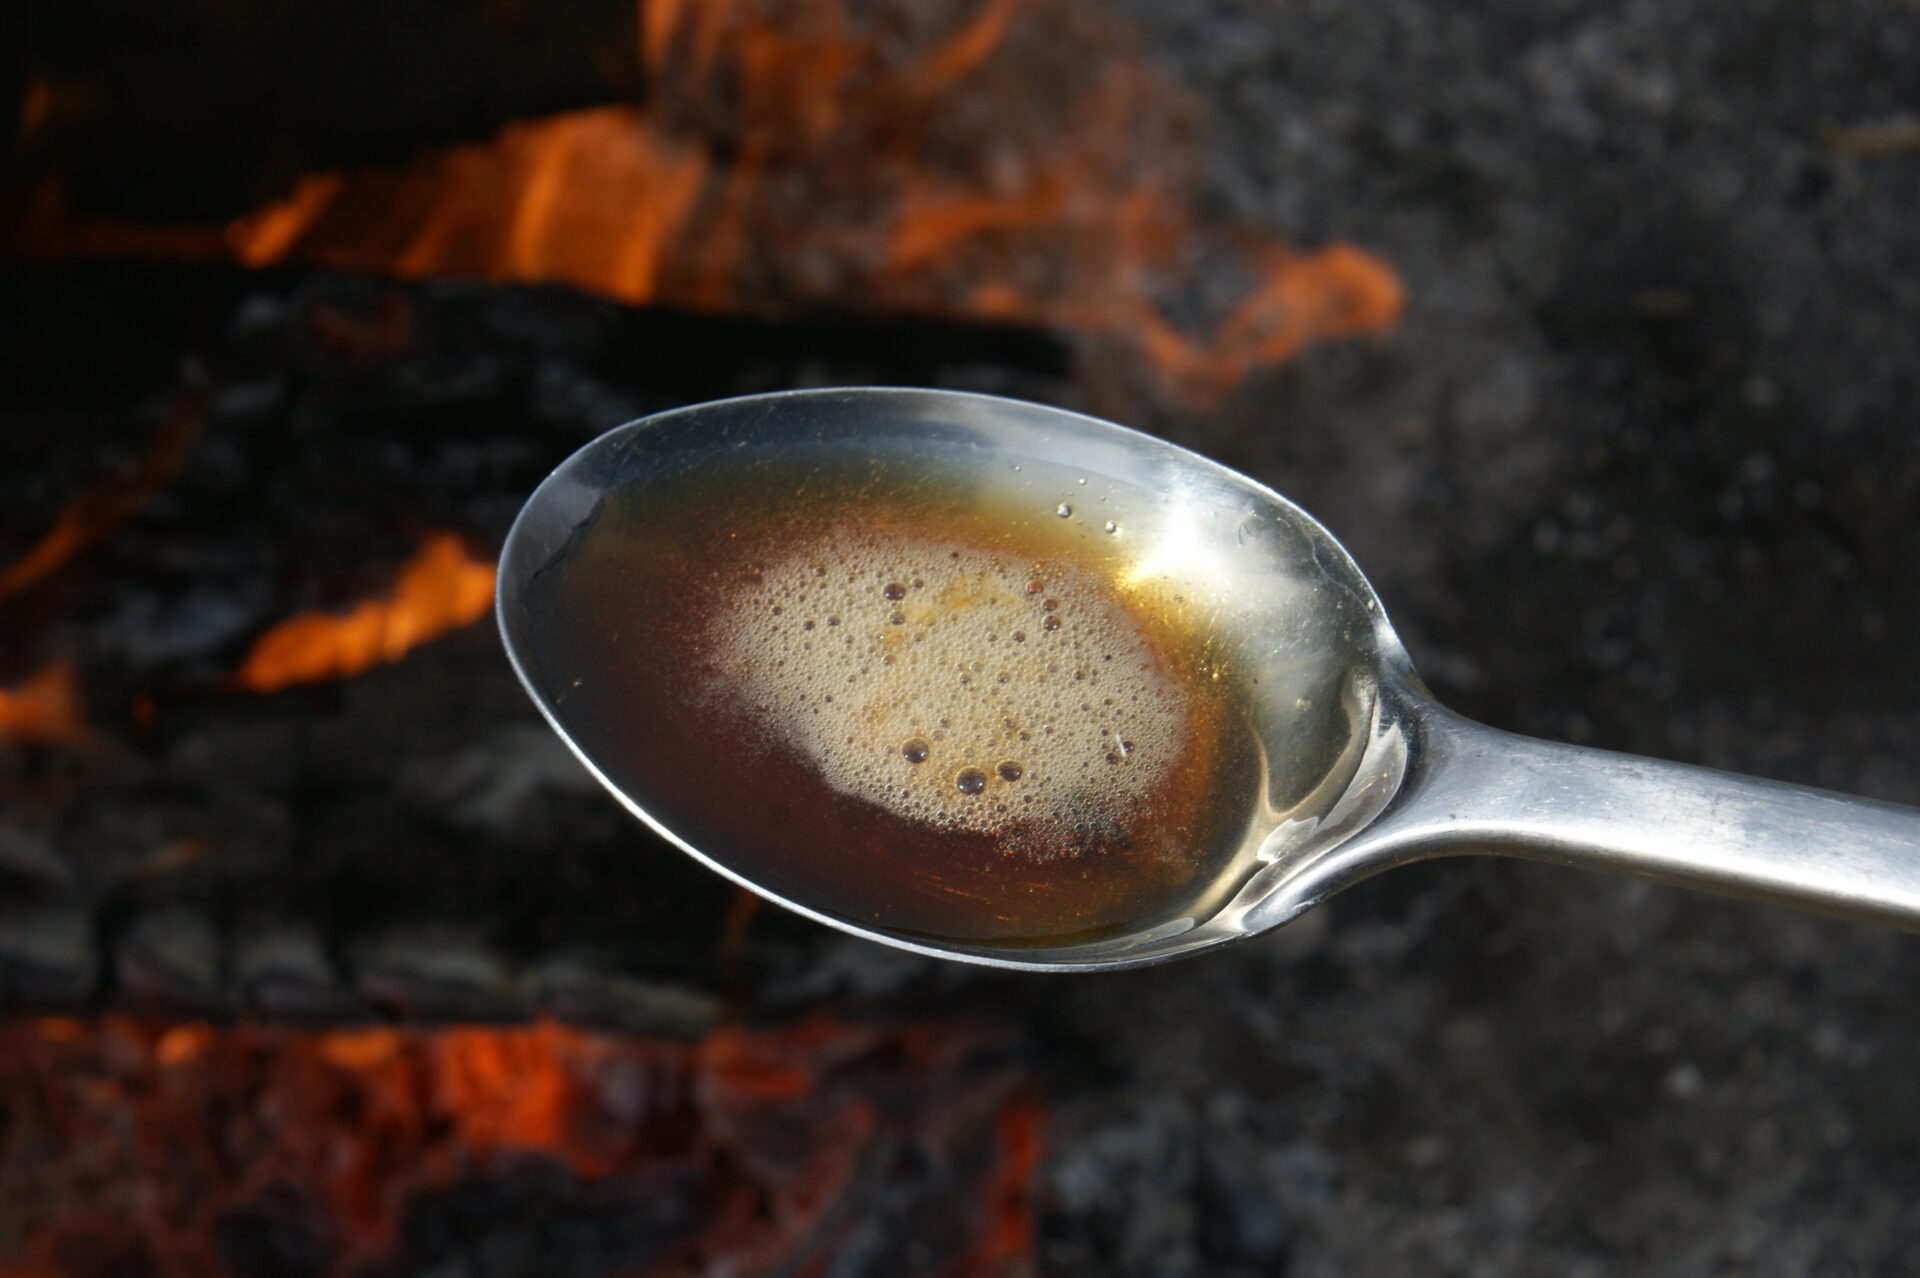 A spoonful of birch syrup boiling hot out of the pot.
There are different grades of syrup, which basically refers to their thickness. Light is thin and golden, medium is thicker and darker than light, and heavy is wonderfully thick and dark. The more you reduce it, the thicker and darker the syrup will become. You can sample the syrup and remove the pot from the fire when the consistency suits your liking.
When you get the syrup home, you will want to pour it through a coffee filter to catch bits of fly ash and other impurities before bottling it into sterilized containers. For longer shelf life, store in the fridge.
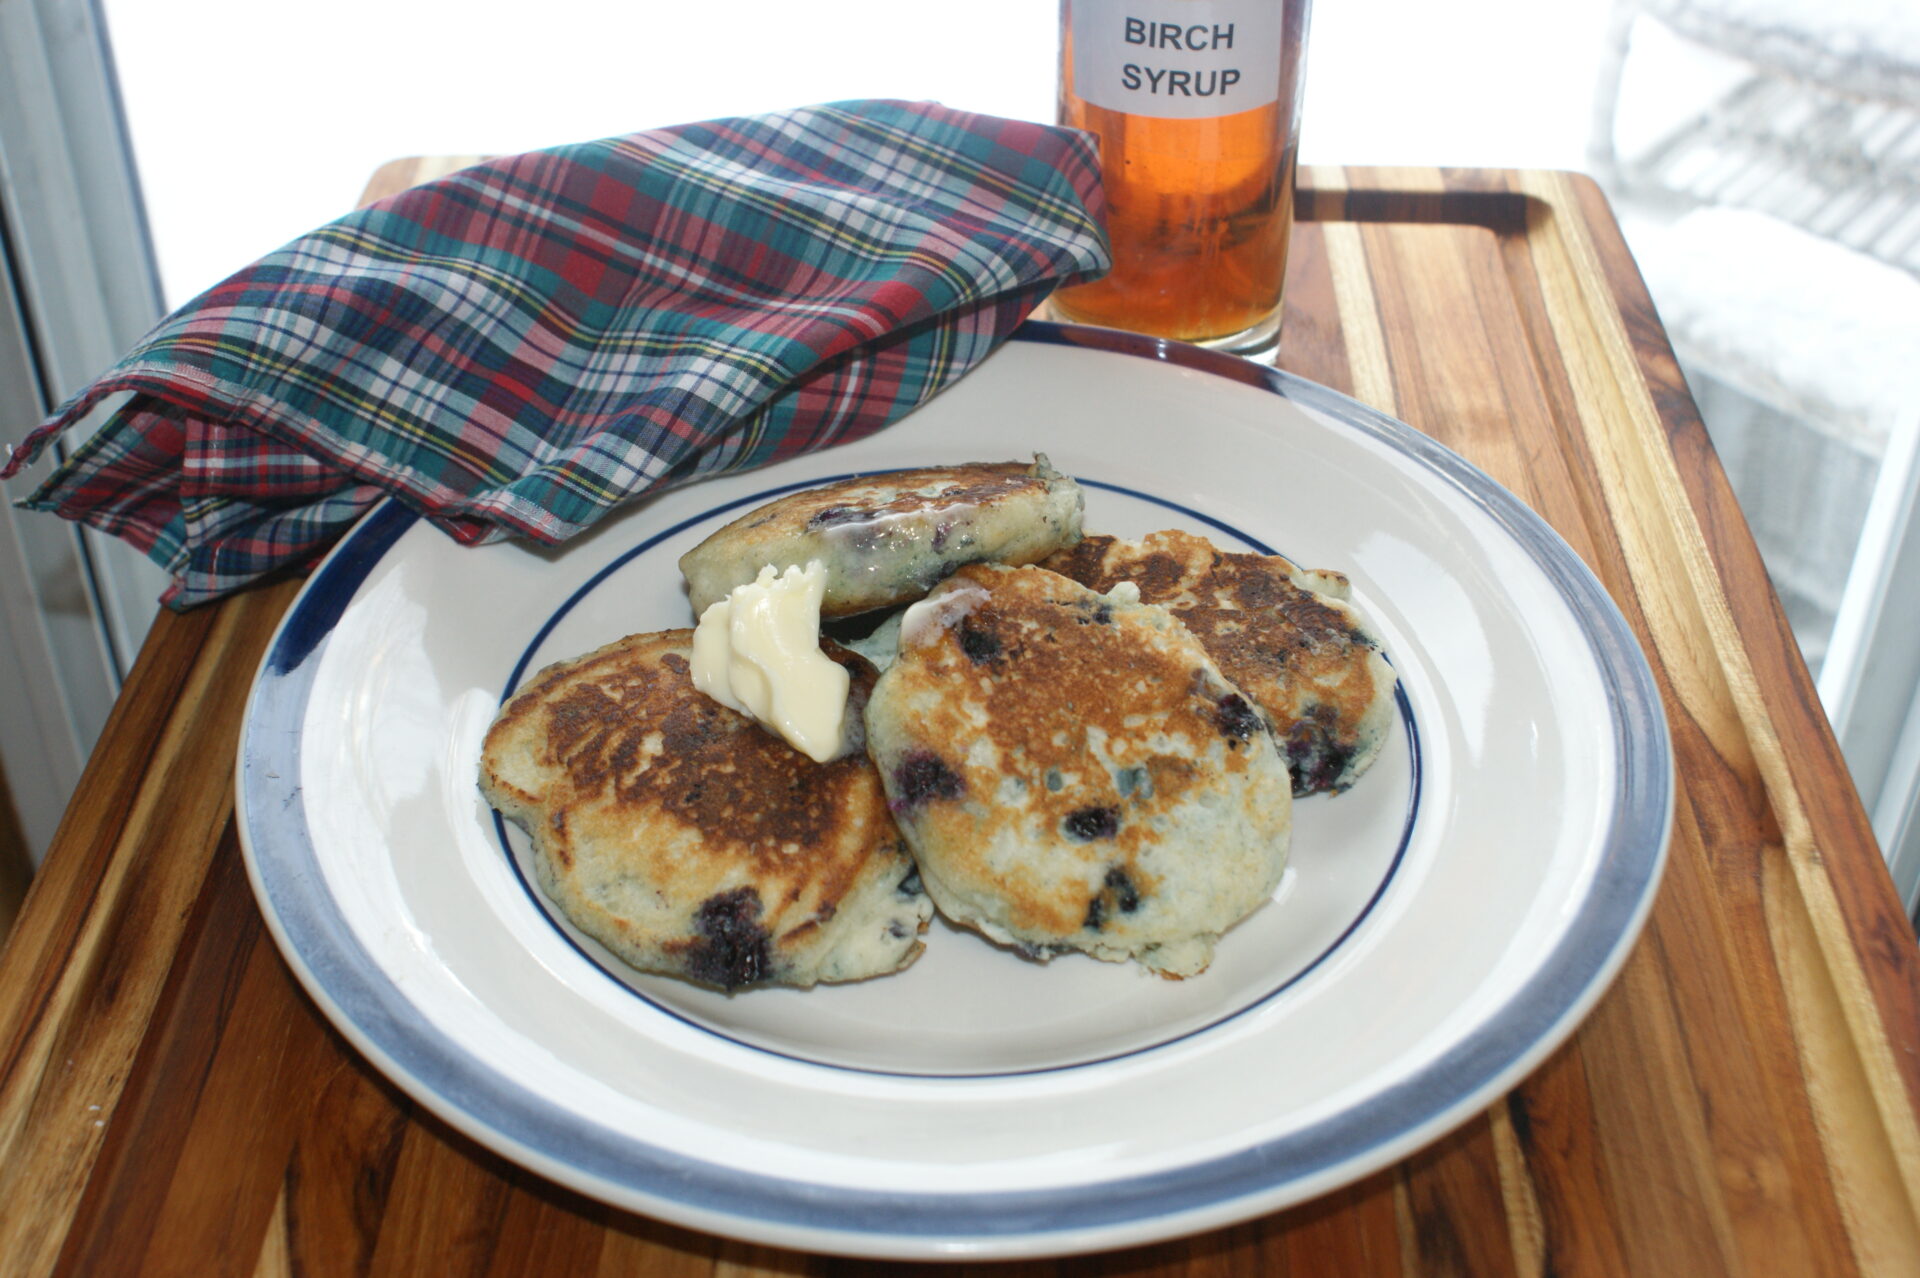
Wild Blueberry-Buttermilk Pancakes With Birch Syrup
During the fall hunting season, I pick buckets of wild blueberries from my favourite upland trails and I always put away a special stash in the freezer to enjoy in this recipe during the spring sugaring-off season. A great celebration feast, and it makes enough for four to six servings.
- 2 cups all-purpose flour
- 1/4 cup white sugar
- 3 teaspoons baking powder
- Pinch of salt
- 2 eggs
- 2 cups buttermilk
- 1/4 cup melted butter
- 1 cup blueberries (fresh or frozen)
- Vegetable oil
Sift dry ingredients together in a large bowl. Beat the eggs with the buttermilk and butter, add to the dry ingredients and stir only until combined. Do not overmix the batter. Fold in the blueberries. Heat vegetable oil in a skillet or grease a griddle and ladle batter into a hot pan. Fry three minutes and flip. Serve with a dollop of butter and a drizzle of birch syrup. Scatter with extra blueberries, if desired.