The simplest way to preserve fish for future dinners is freezing it – whether you just throw them in freezer bags or use a vacuum sealer, dinner will be there in the freezer for the foreseeable future. But what about if are looking to have convenience foods in your pantry? With just a little more preparation beforehand, pressure canning fish is perfect for those last-minute meals that busy days make necessary. Canning fish is also a great alternative if you have picky eaters in your household. Do you find all the little bones in rainbow trout annoying? You won’t even notice them once pressure canned!
Advertisement
 Credit: Raeanne O’Meara.
Before You Start Pressure Canning
Although important in all aspects of cooking and preserving, when pressure canning, a little set up goes a long way. Make sure you have your jars (250 ml or 500 ml) and lids sanitized, pressure canner and instruction booklet out (make sure you have a pressure canner, not a cooker), fish cleaned and thawed (if frozen), knives sharpened and salt set to the side.
How to Pressure Can Fish
- Keep your jars covered with hot water until you are ready to fill up. Place new snap lids in hot water.
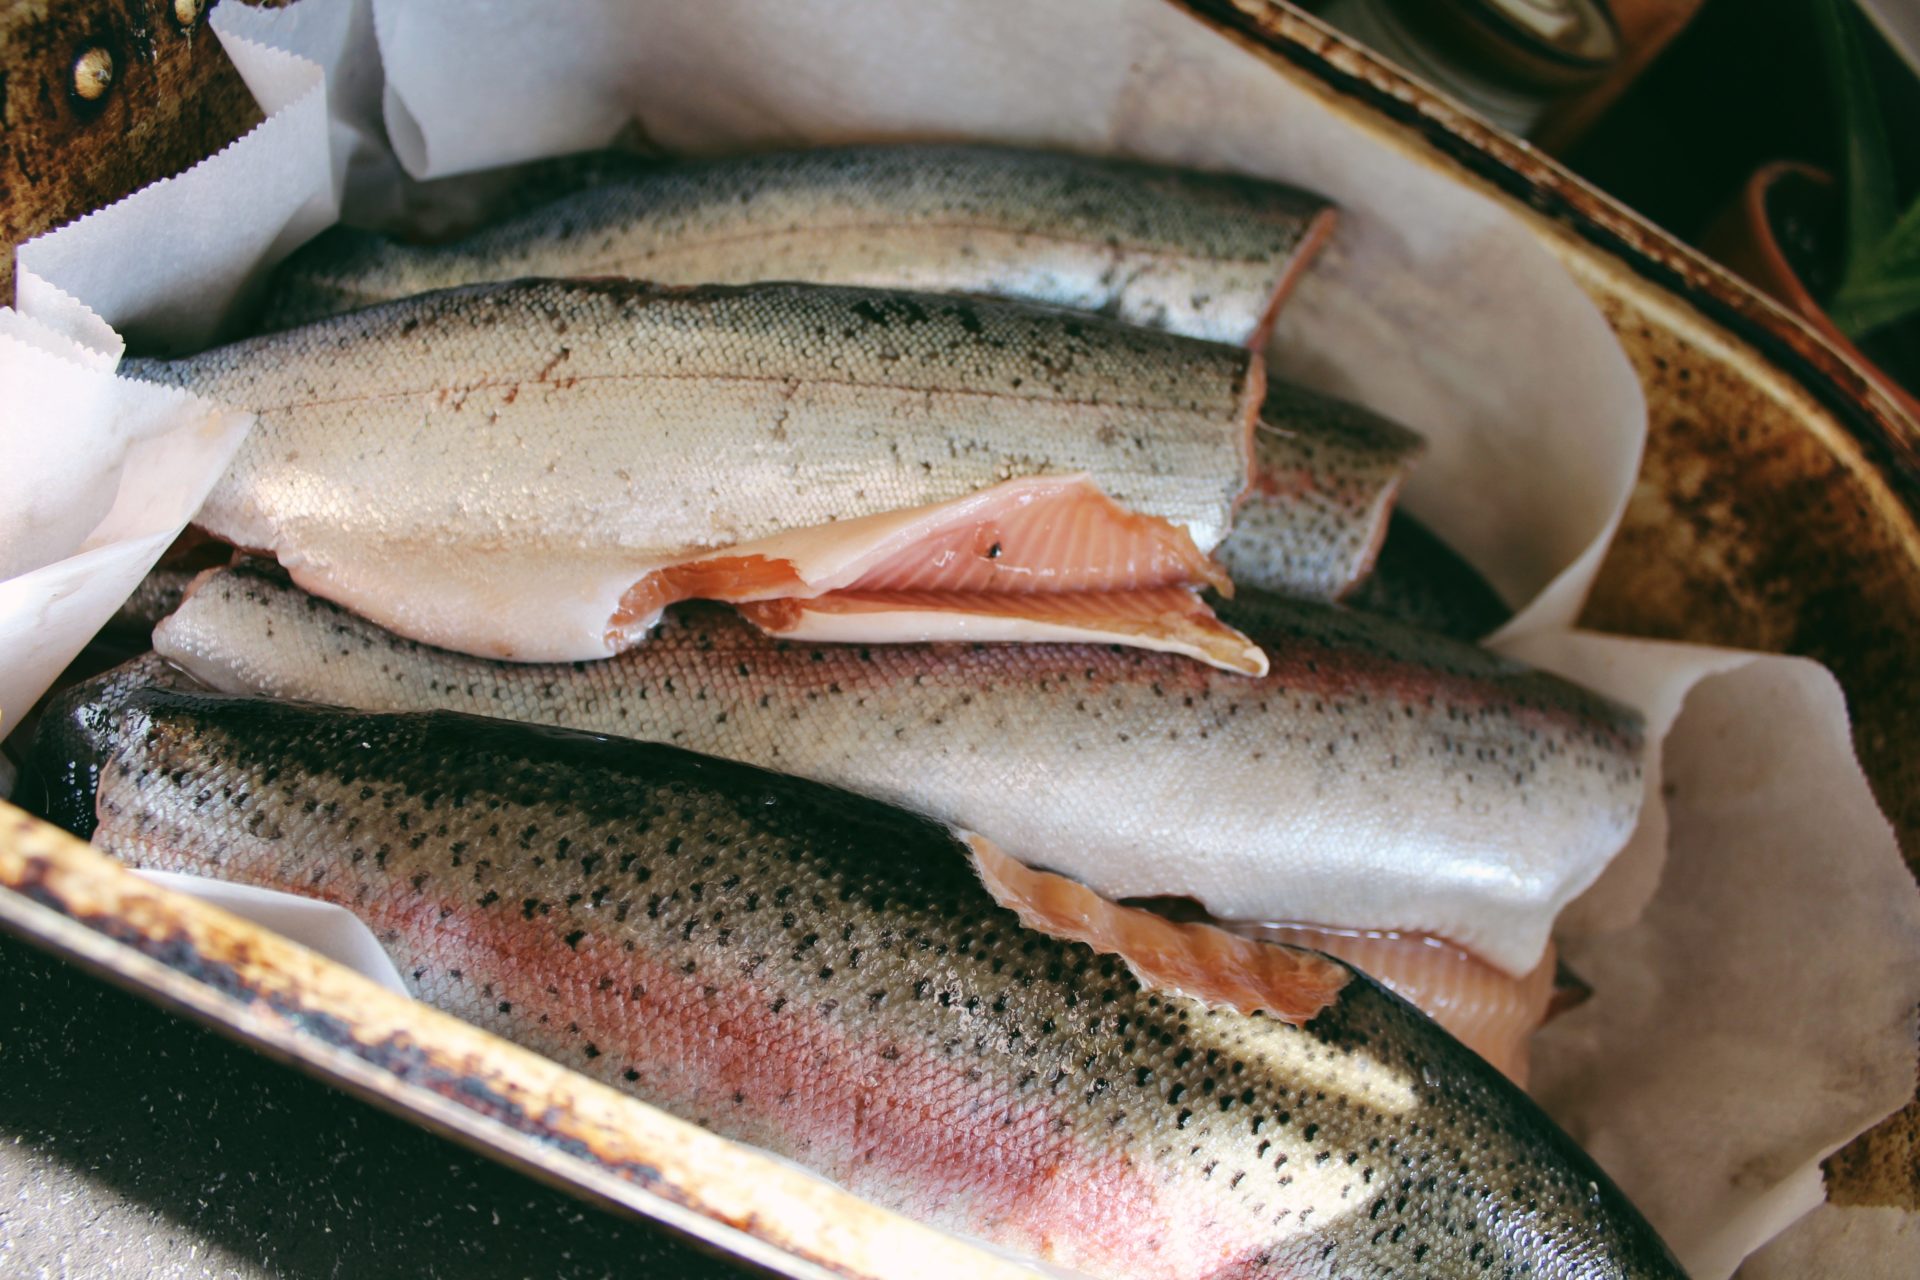
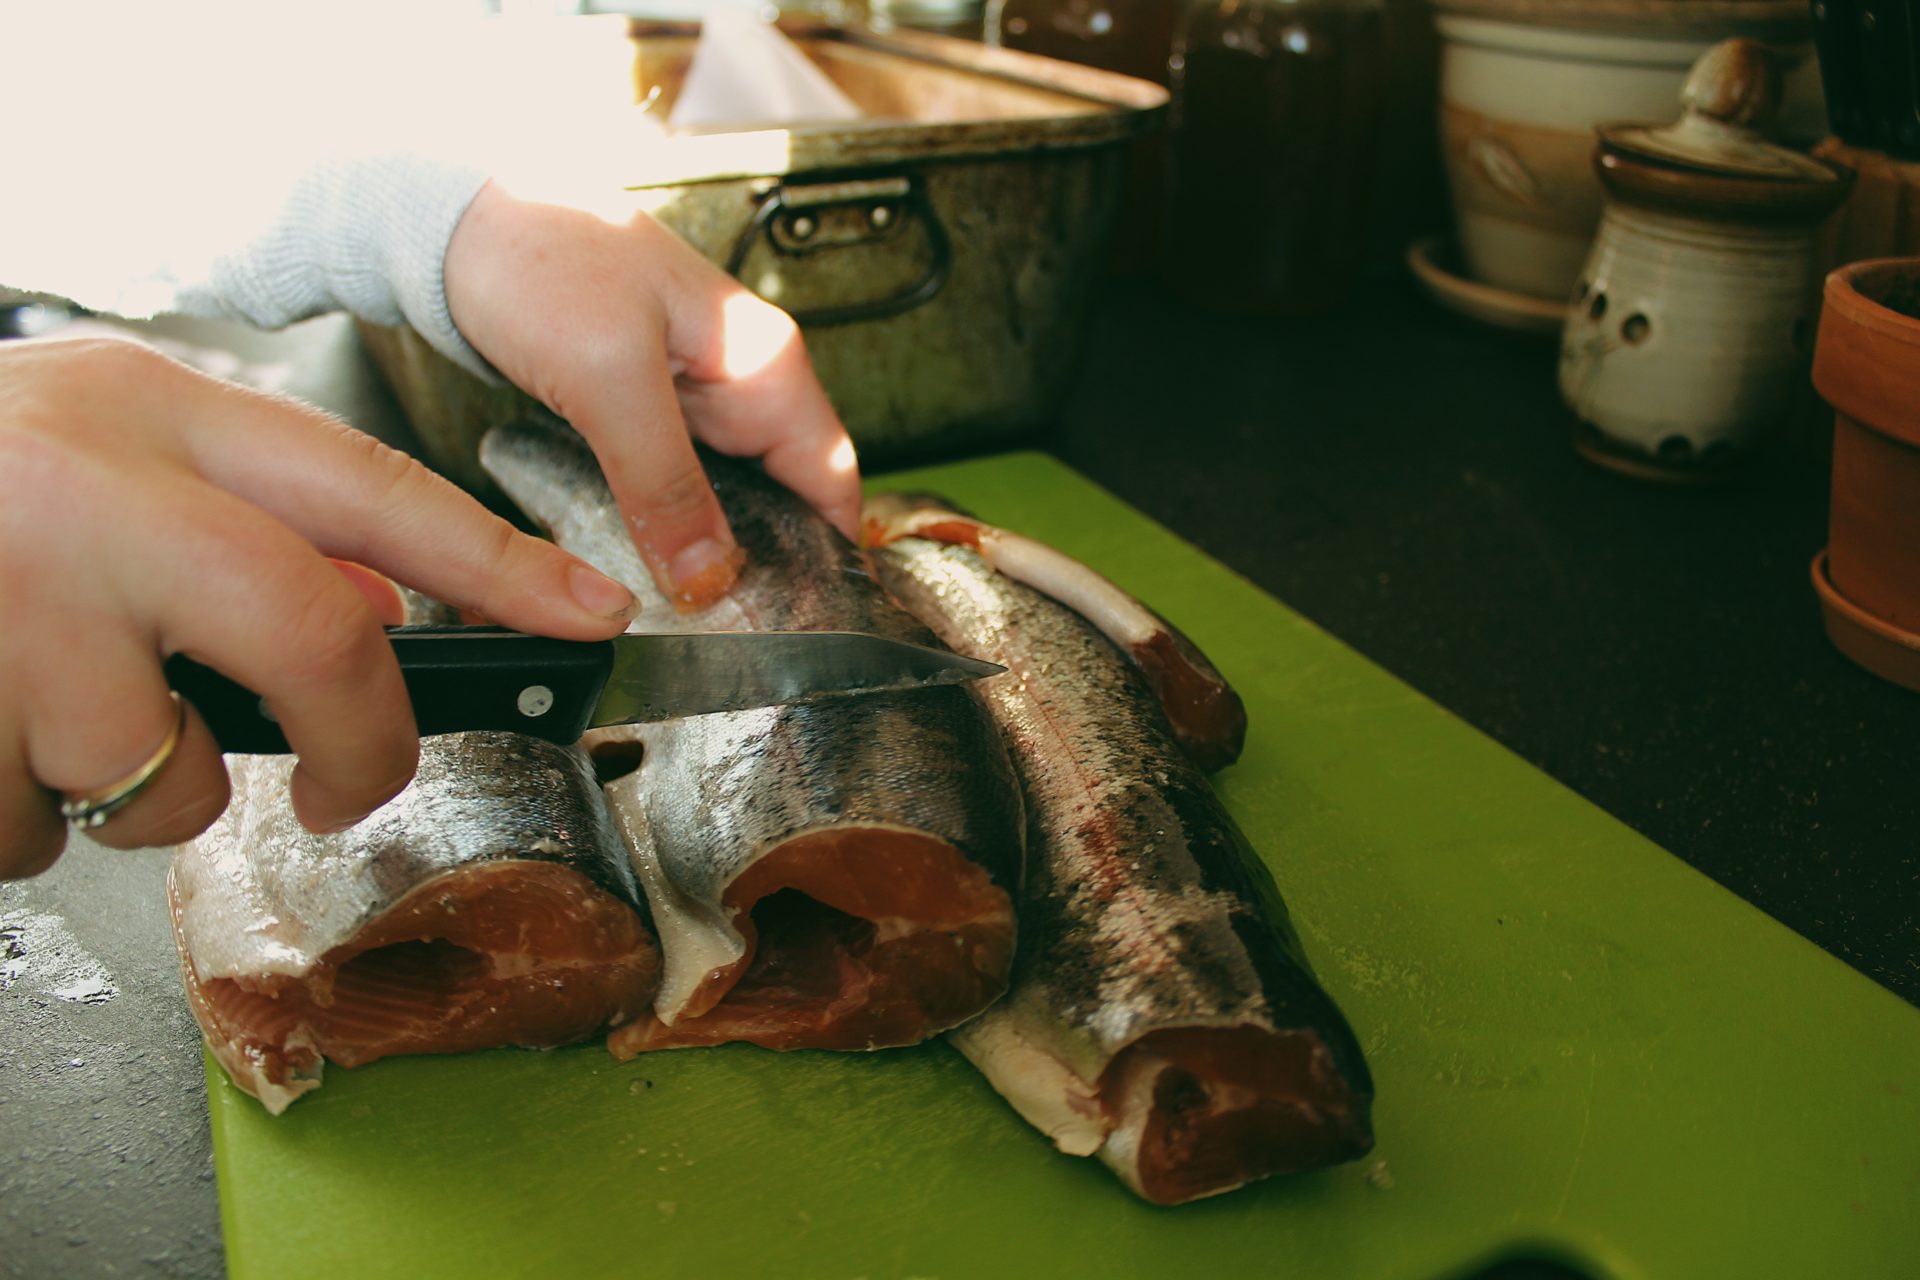
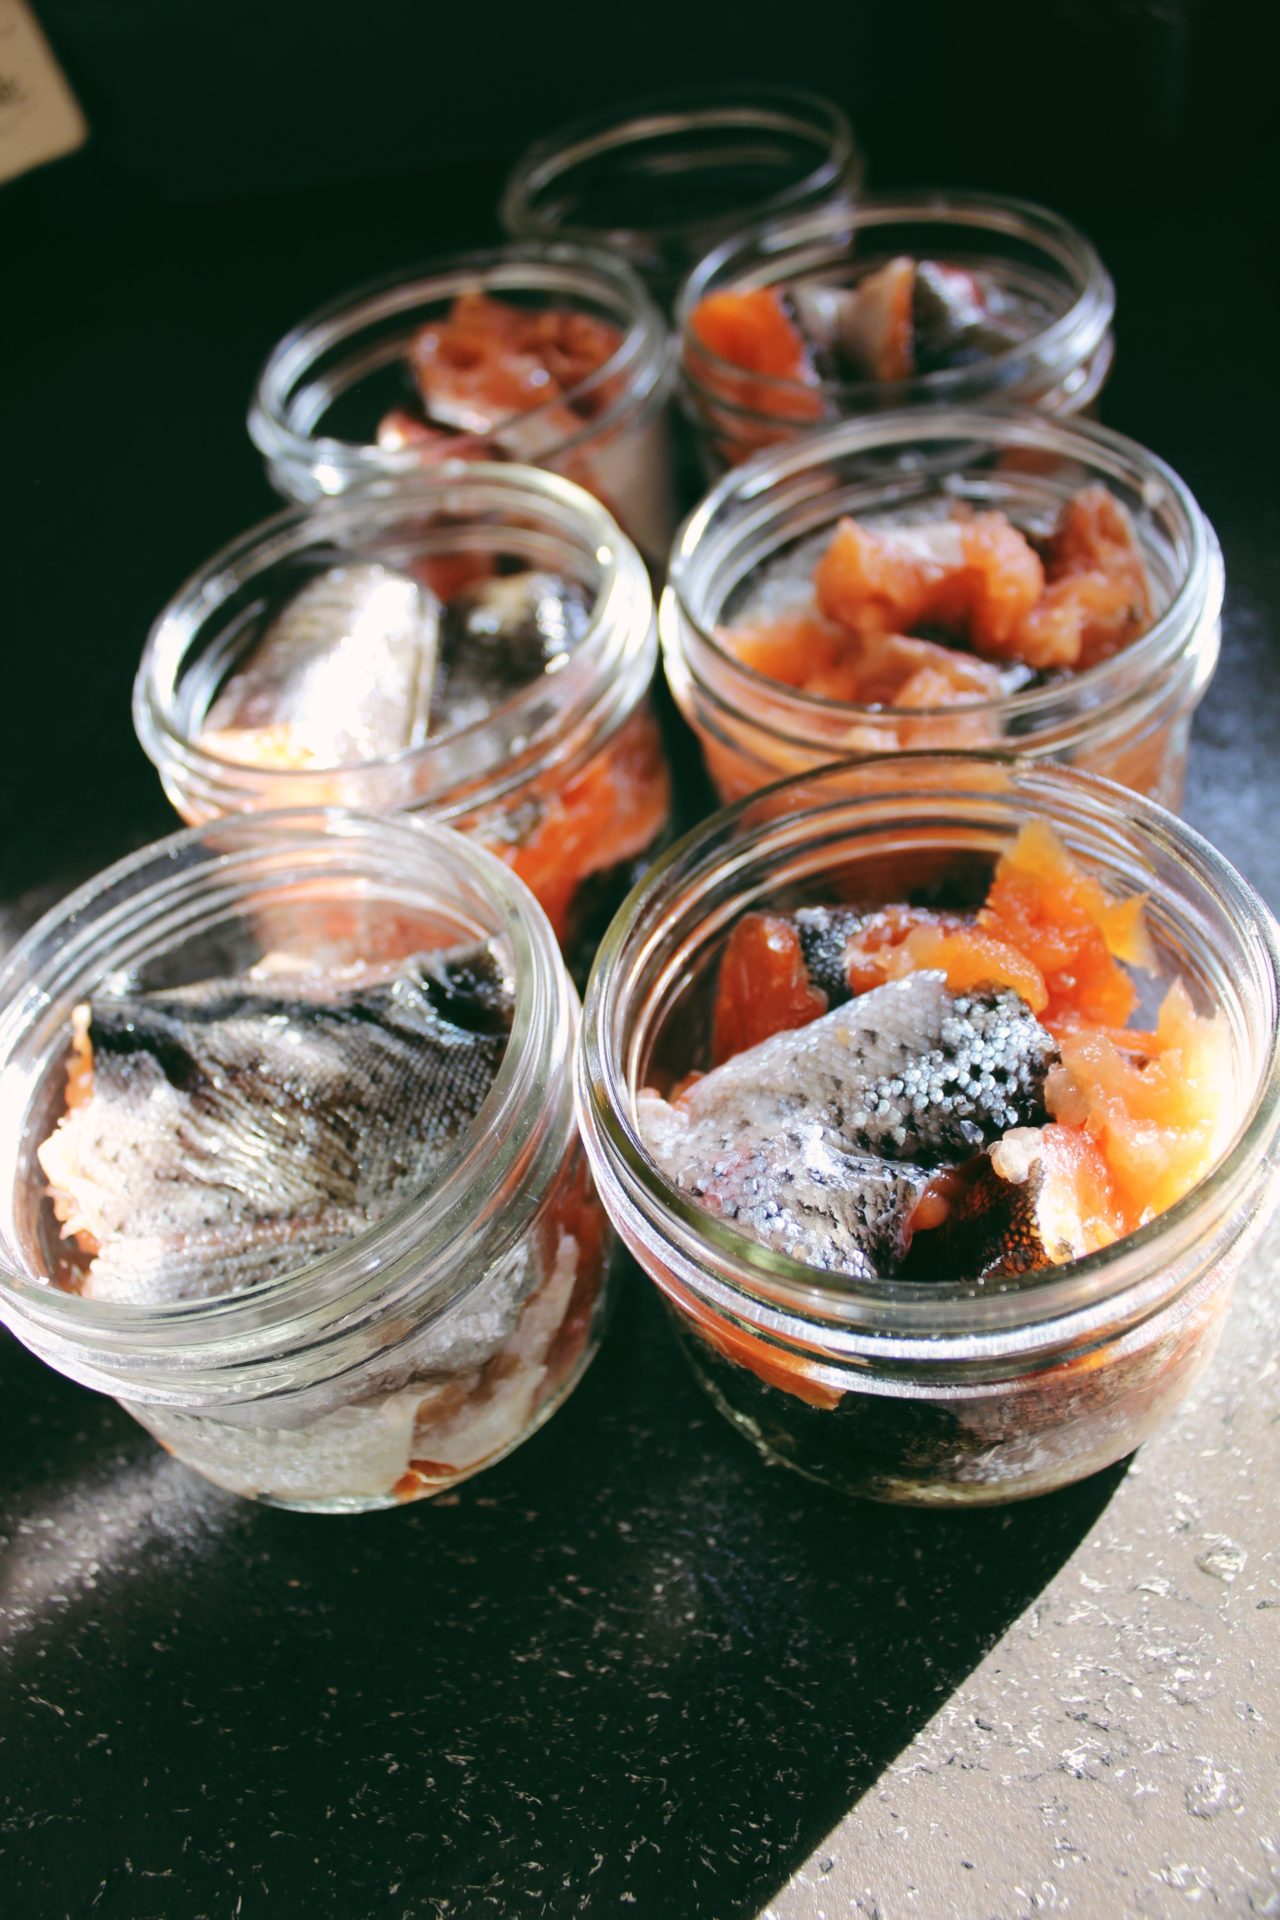
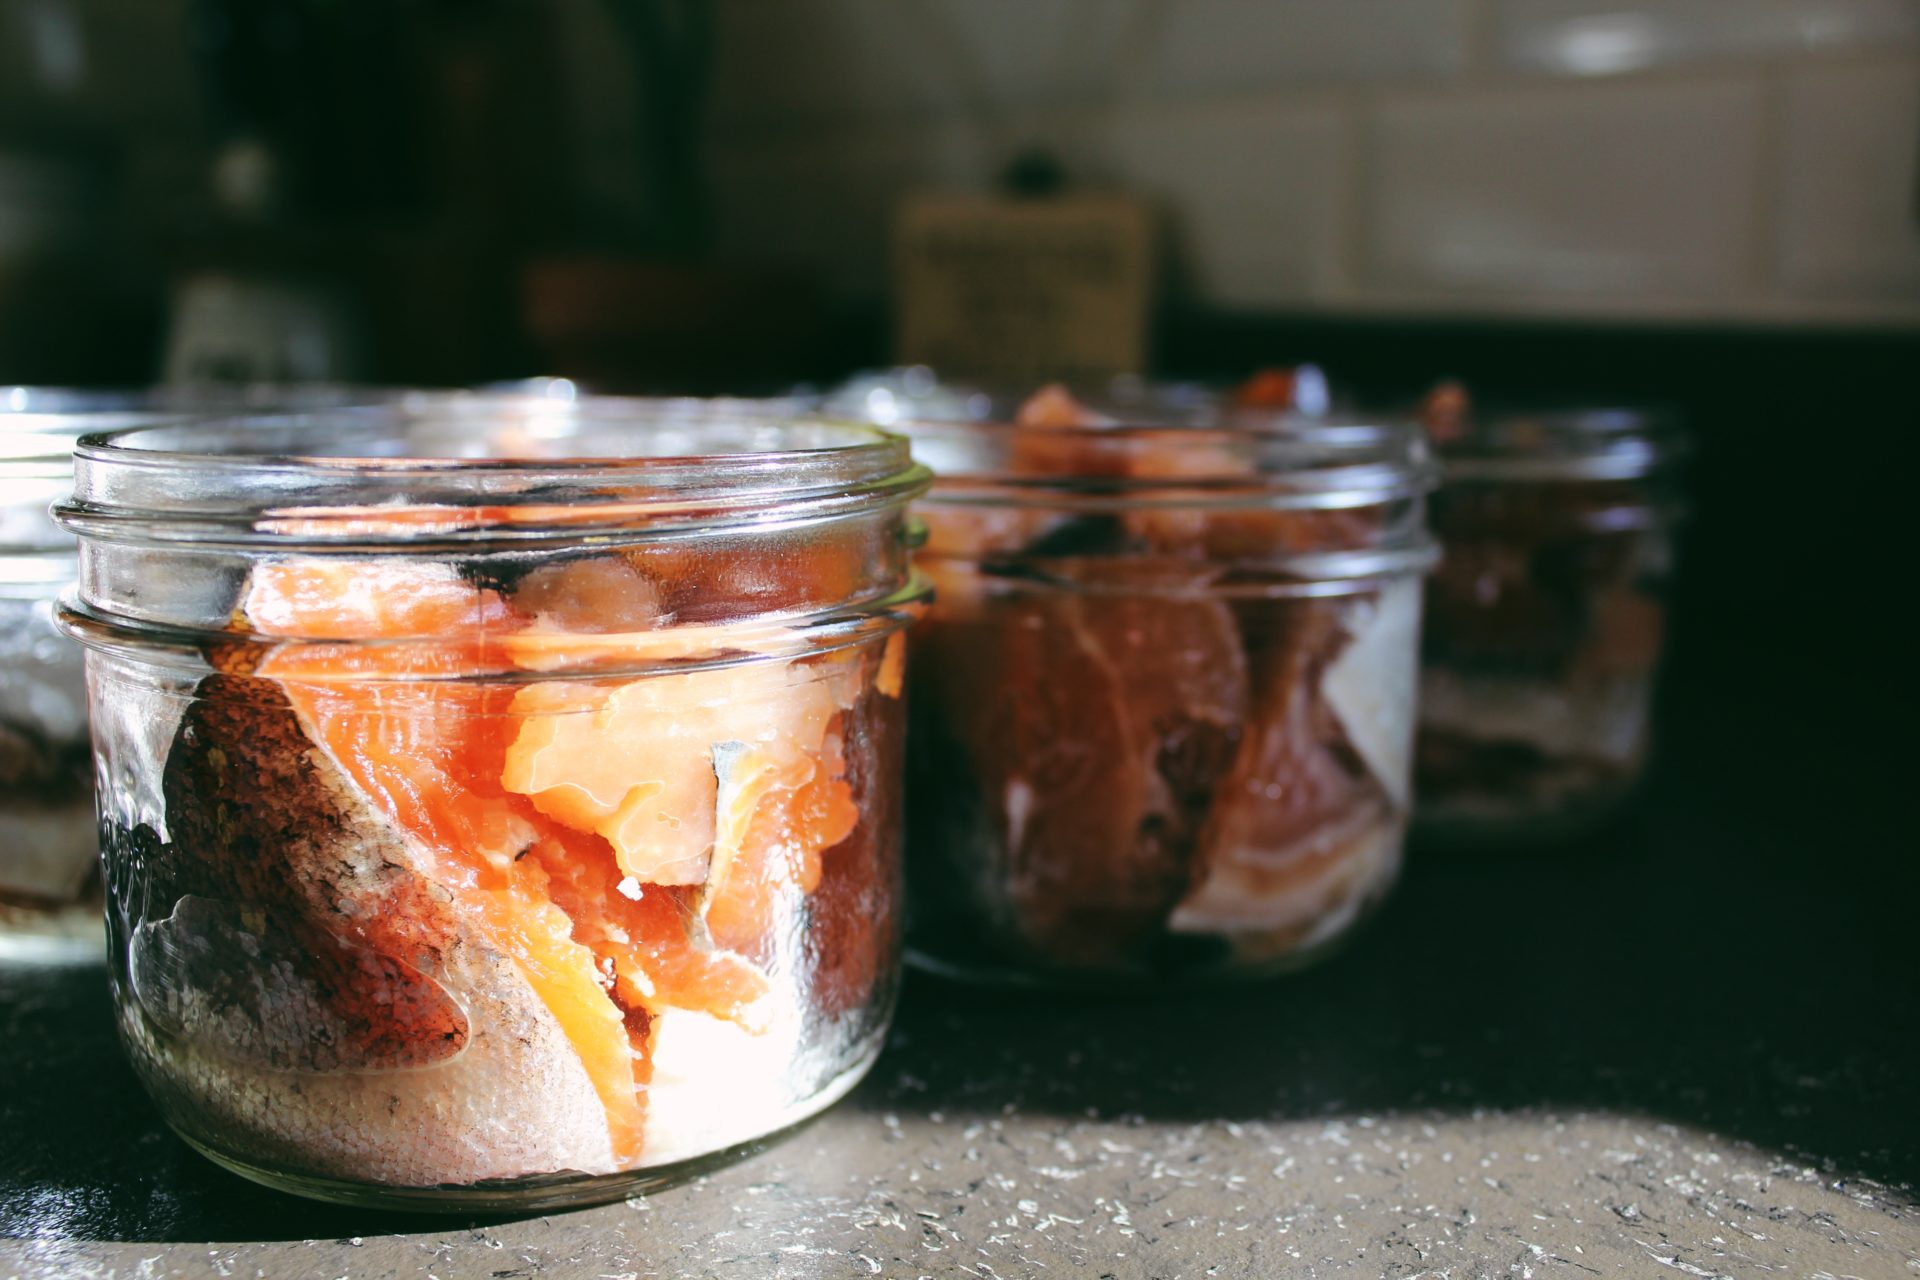
- There are a couple options to preparing the fish. Depending on the species of fish you are canning, you may need to scrape the scales from the fish. Remove the tail and fins. Then, simply cut the fish into pieces that fit easily into your jar of choice, or remove all the skin and bones beforehand – if you are worried that leaving either will affect the taste, don’t be; the pressure canning process will break it all down so it is hardly noticeable.

 Credit: Raeanne O’Meara.
 Credit: Raeanne O’Meara.
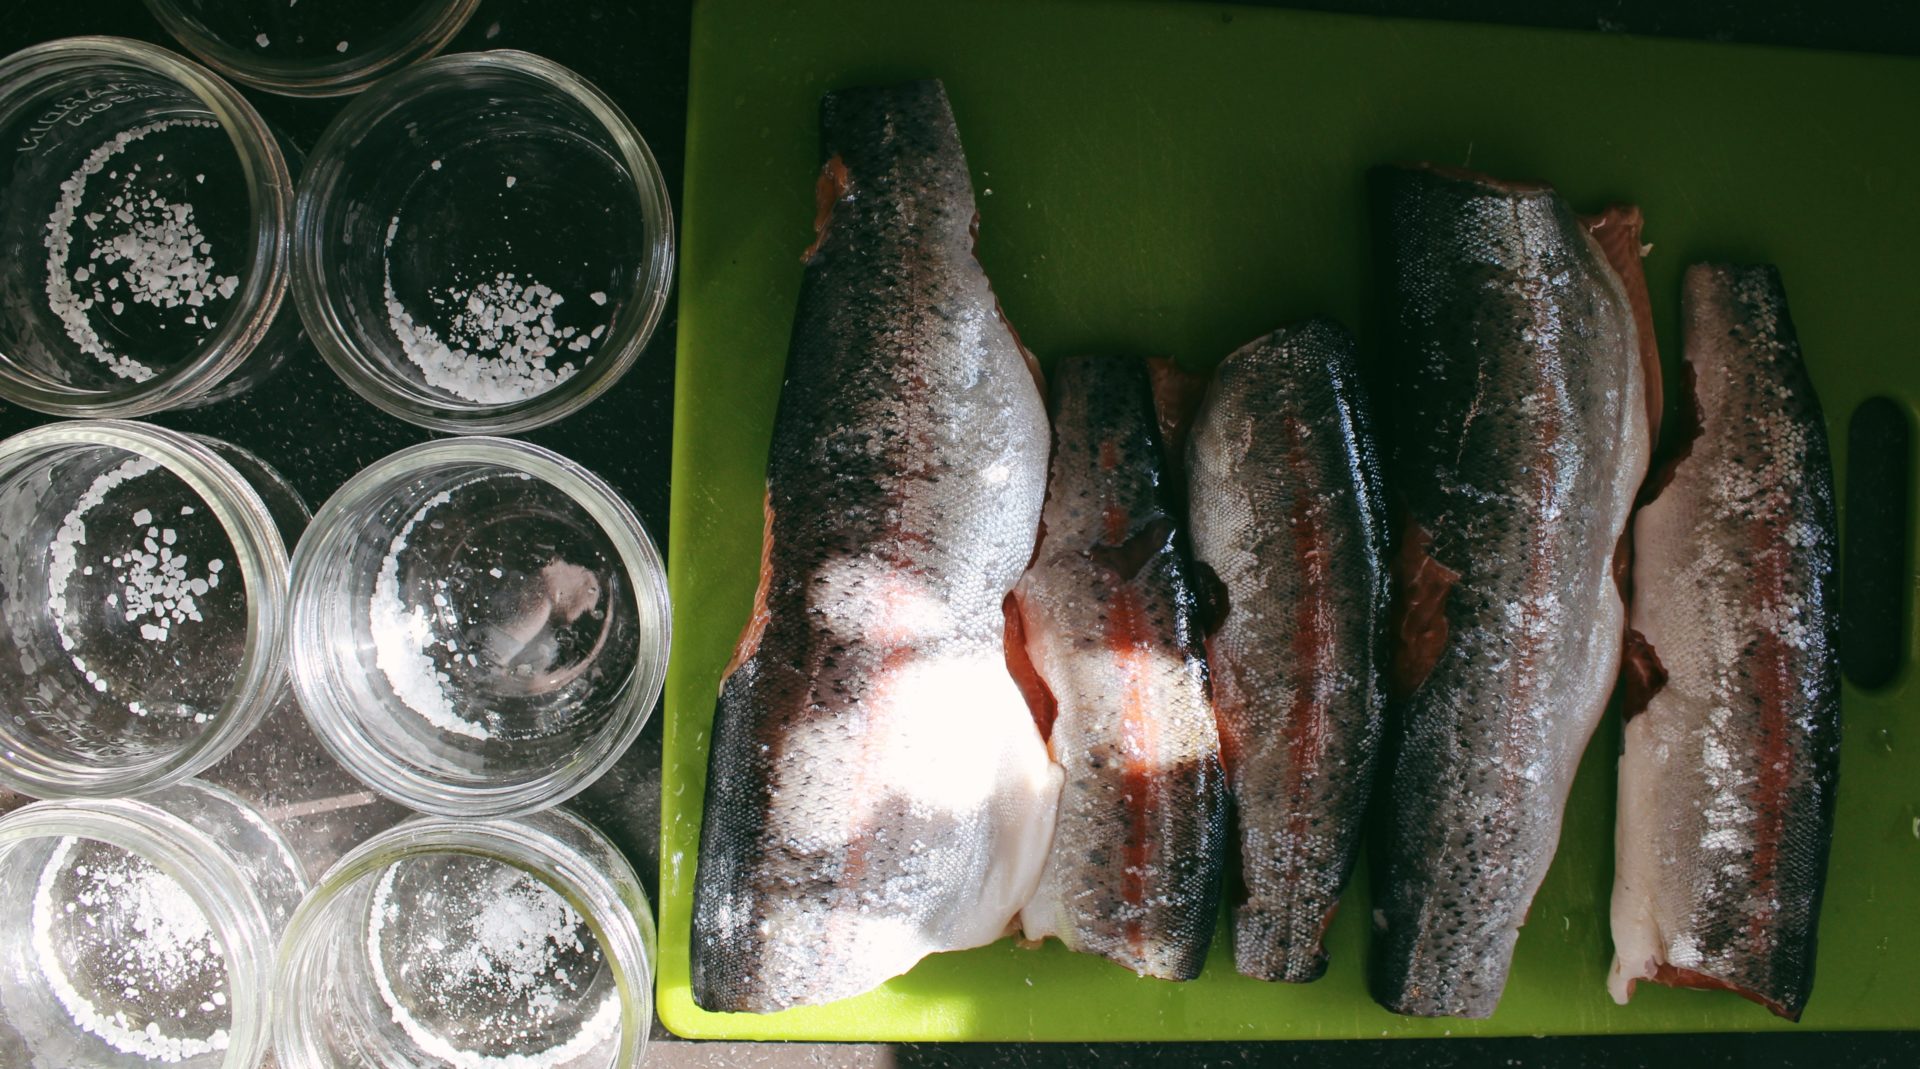
 - If desired, add salt to your jars before filling. The manufacturer of your canner may have guidelines on this, but a good baseline is a quarter teaspoon of salt in a 250ml jar, or half a teaspoon in a 500 ml jar. Meats canned be canned successfully with or without salt.

 Credit: Raeanne O’Meara.
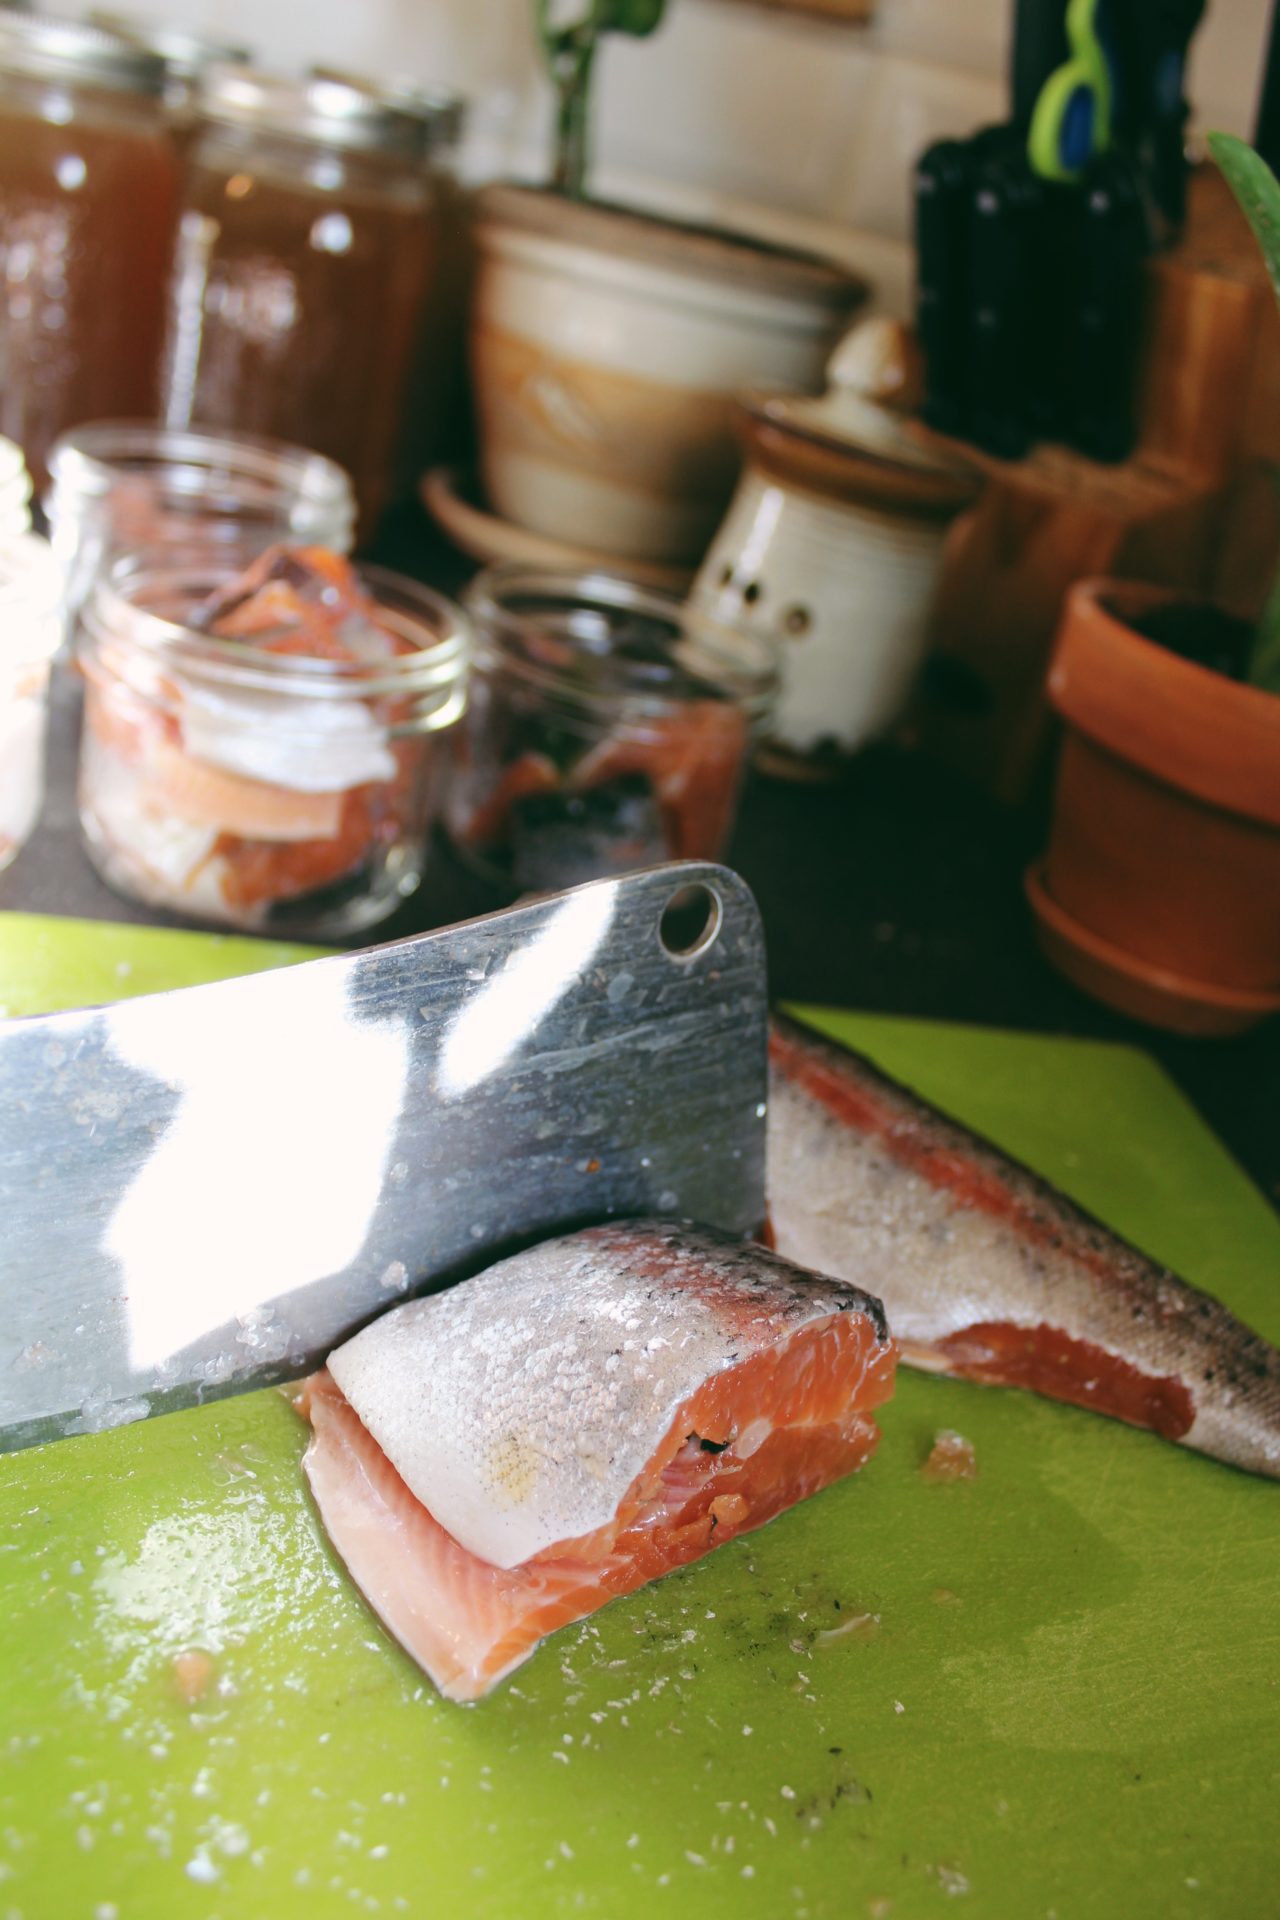
 - Pack fish into jars, leaving one inch of headspace. Depending on how you have cut the fish, you may be able to place the fish with the meat against the jar, and skin facing inwards. Often this isn’t possible. Wipe rims, put snap lids in place and tighten rings.
 Credit: Raeanne O’Meara.
 - Place rack into your pressure canner and add the recommended amount of water, according to the manufacturer’s instructions. Use room-temperature water for cold-packed items.
- Add 1 tablespoon of vinegar to prevent water stains inside the canner.
 Credit: Raeanne O’Meara.
 - Place the filled jars into the pressure canner, secure the canner lid and begin to heat. The actual process of bringing the canner up to pressure will differ depending on the style of pressure canner you have, so please refer to the manufacturer’s instructions.
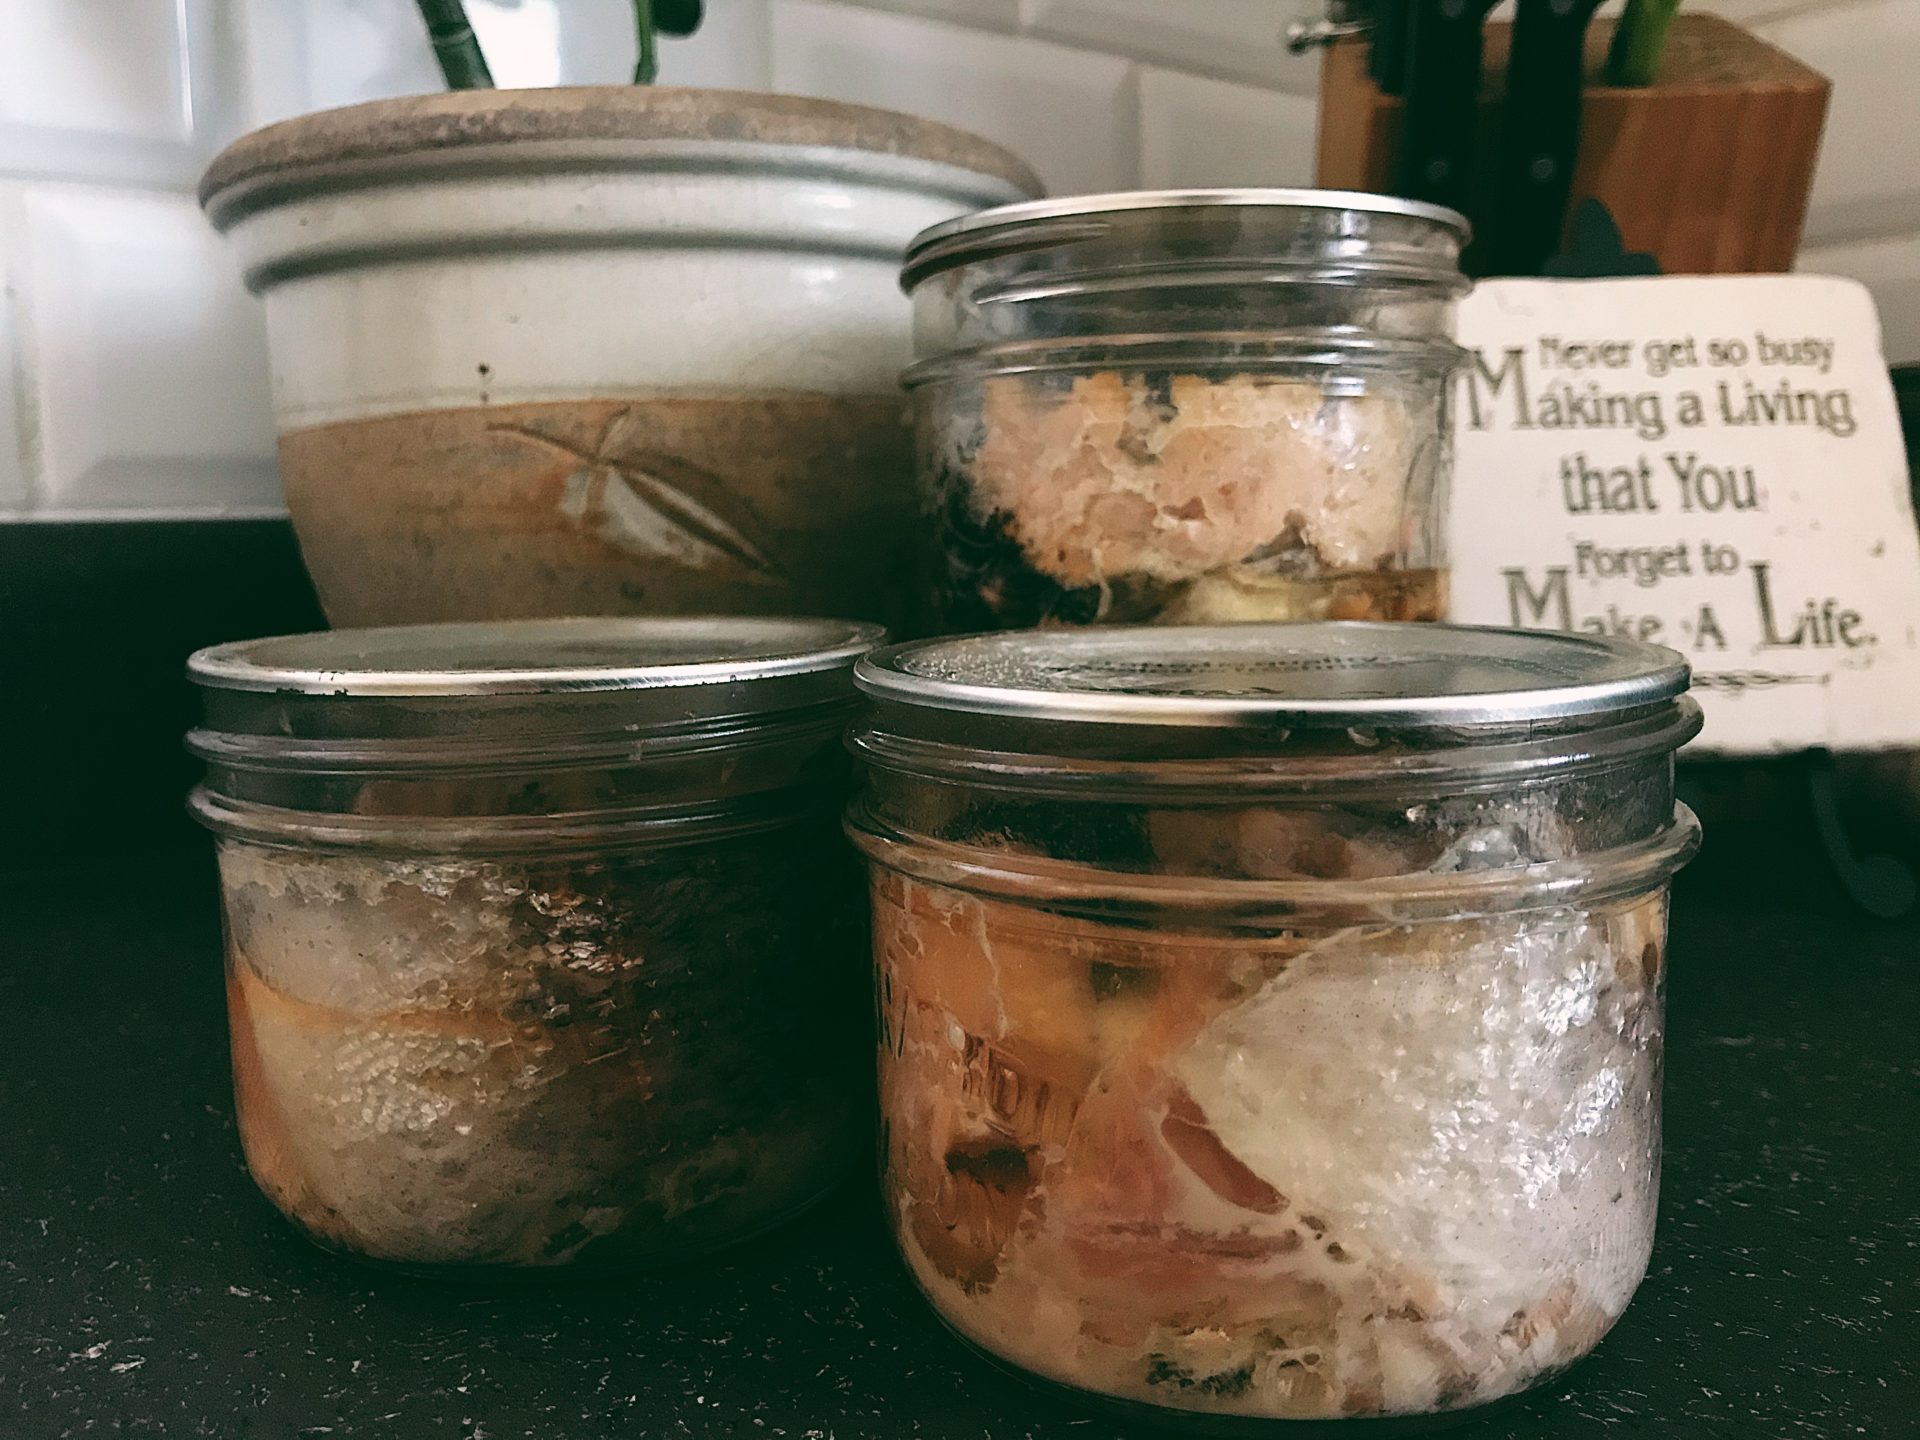
- Once the canning process is complete, let the canner completely cool down and pressure release before opening the lid and removing the jars of fish. Leave on the counter for 48 hours before removing rings.

 Credit: Raeanne O’Meara.
Advertisement