I will be the first to admit – tying knots has never been my forte. Despite knowing that it is a useful and life-saving ability to have, learning to tie knots has never been at the top of my list of skills to develop. To try and overcome my apathy towards this valuable skill, I made it my goal for the last few months of 2019 to learn five knots that I can use out fishing, hunting or exploring. This is by no means a concise list and is more a jumping-off point to encourage you to learn new knots. Individuals will learn which knots hold the most value for themselves while recreating in the outdoors. Combining these instructions along with watching YouTube videos on each knot being tied will be the most efficient way to learn.
Advertisement
Useful Terminology
Hitch: Used when bending a line around an object, such as a post; if the object is removed, the hitch will not stay together.
Bend: Used to secure two lines together.
Advertisement
Knot: Used to join two lines together or tie a line to itself; it will hold its shape even if it is not fixed to something else.
Working end/line: The active end or line being used to tie the knot.
Advertisement
Standing end/line: The end or line not being used when tying the knot.
Improved Clinch Knot
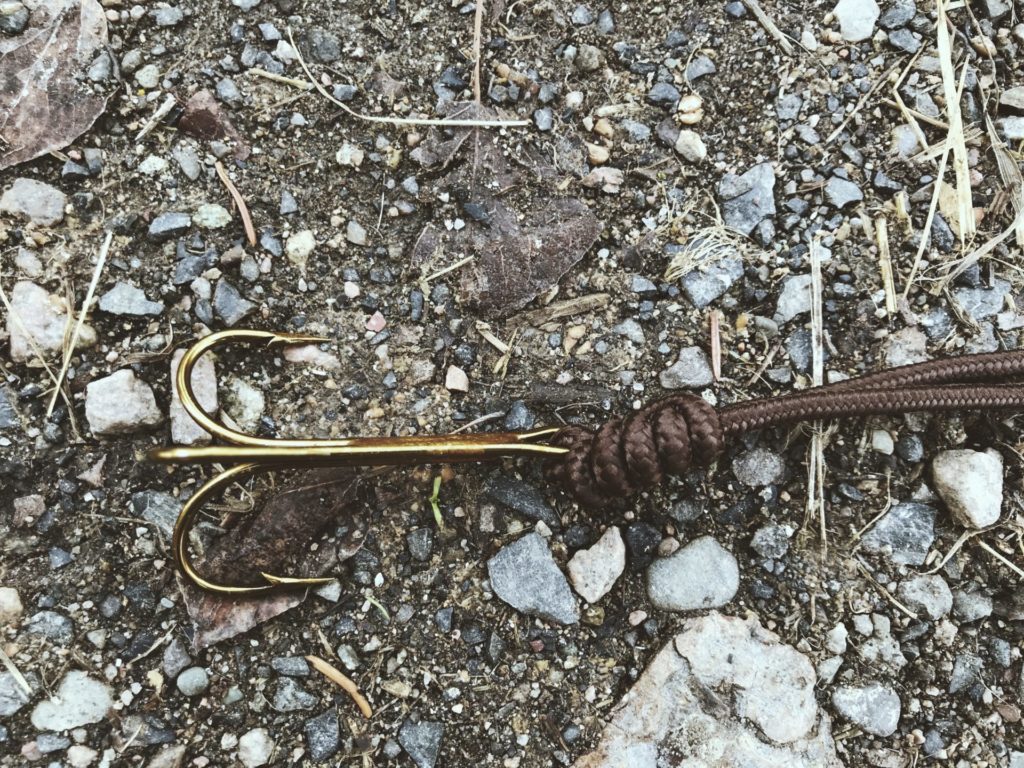 Improved clinch knot. Use monofilament line for this knot. Rope was used to show the knot a bit better. Credit: Raeanne O’Meara.
This is one of the most popular choices for fishermen and women for tying terminal tackle to fishing line. It is easy to tie, and a good knot to know so that you don’t have to tell a tale about “the one that got away.”
Directions
- Thread end of line through eye of terminal tackle, and double back making five or six turns around the standing line.
- Bring the working end back through the first loop formed near the eye of tackle and then loop back through the big loop.
- Wet knot, pull on end to tighten coils and slide tight against the eye of tackle.
Square Knot
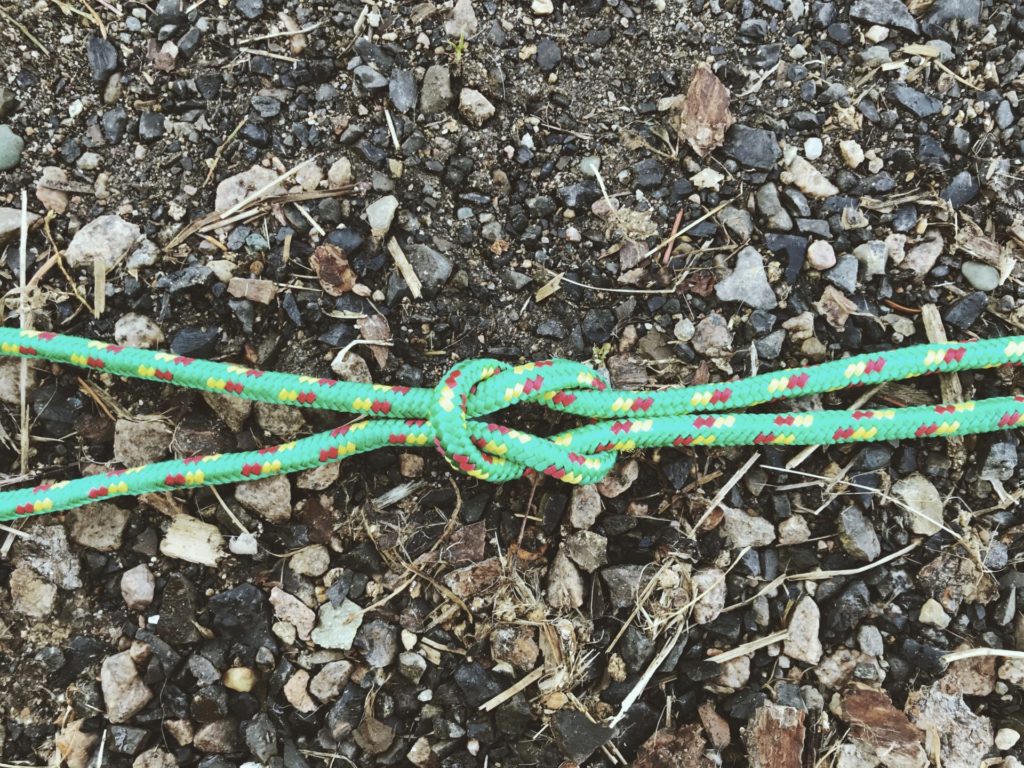 Square knot. Credit: Raeanne O’Meara.
This is an easy knot to learn and is useful in securing non-critical items, such as a bundle of firewood. This knot should NOT be used as a bend to join two ropes together in a load-bearing situation, as it can come apart.
Directions
- With an end of the rope in each hand, tie a left-handed overhand knot and then a right-handed overhand knot.
Note: Avoid tying a granny knot. Ensure that both parts of the rope exit the knot together.
Bowline Knot
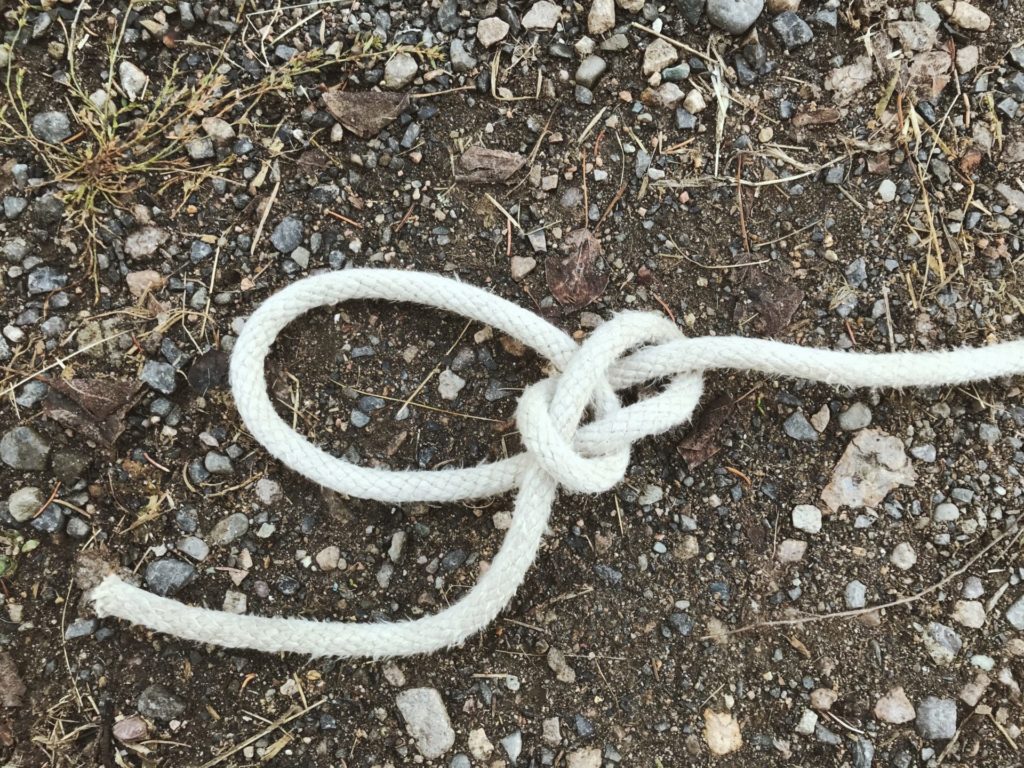 Bowline knot. Credit: Raeanne O’Meara.
This knot forms a fairly secure loop at the end of the rope. When under a load it does not slip, and when not, it is easy to undo. It is also easy to tie one handed with a bit of practice, which can be particularly useful if you are needing to hold onto your boat with one hand.
Directions
- In one hand, form a small loop, leaving enough rope in your working end to form the size of loop you want.
- Pass the working end of the rope through the loop like you are making an overhand knot.
- Pass the working end around the standing end and back through the small loop.
Sheet Bend
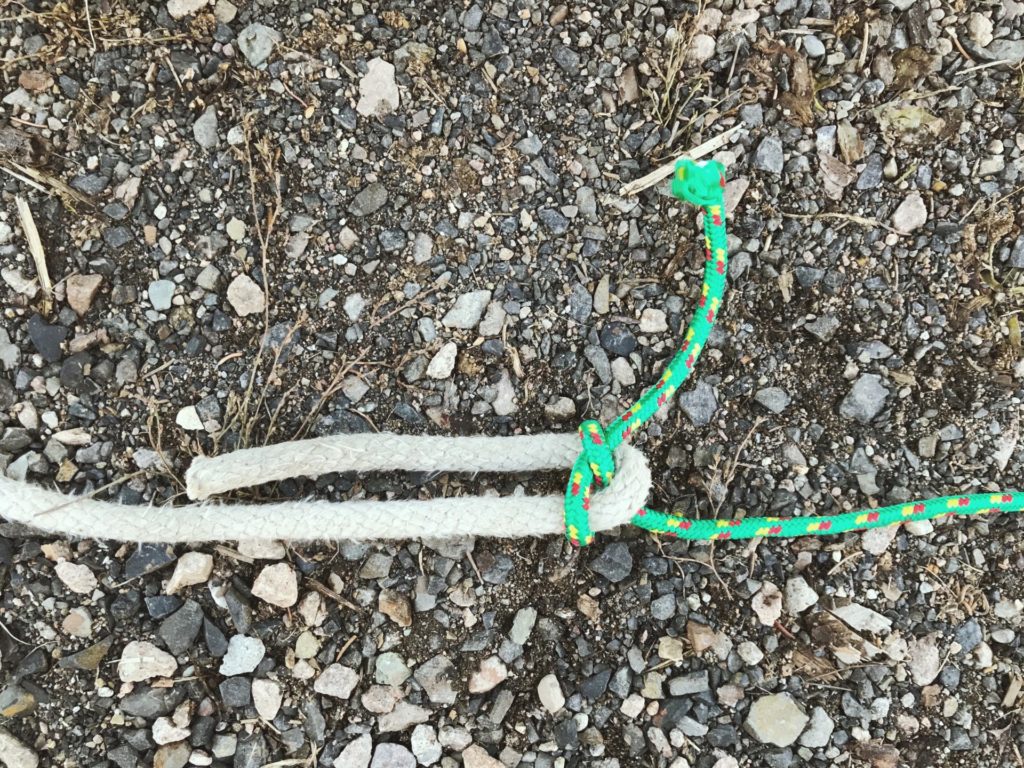 Sheet bend. Credit: Raeanne O’Meara.
This knot is useful for connecting two ropes of different materials and size. The sheet bend is another simple knot to master. To maintain strength, both free ends should end up on the same side of knot.
Directions
- In one hand, form a loop with the rope of largest diameter. Pass the working end of the second rope under the loop, around both tails of the first rope and back under itself.
- Pull on all four ends to tighten the bend.
Round Turn & Two Half Hitches
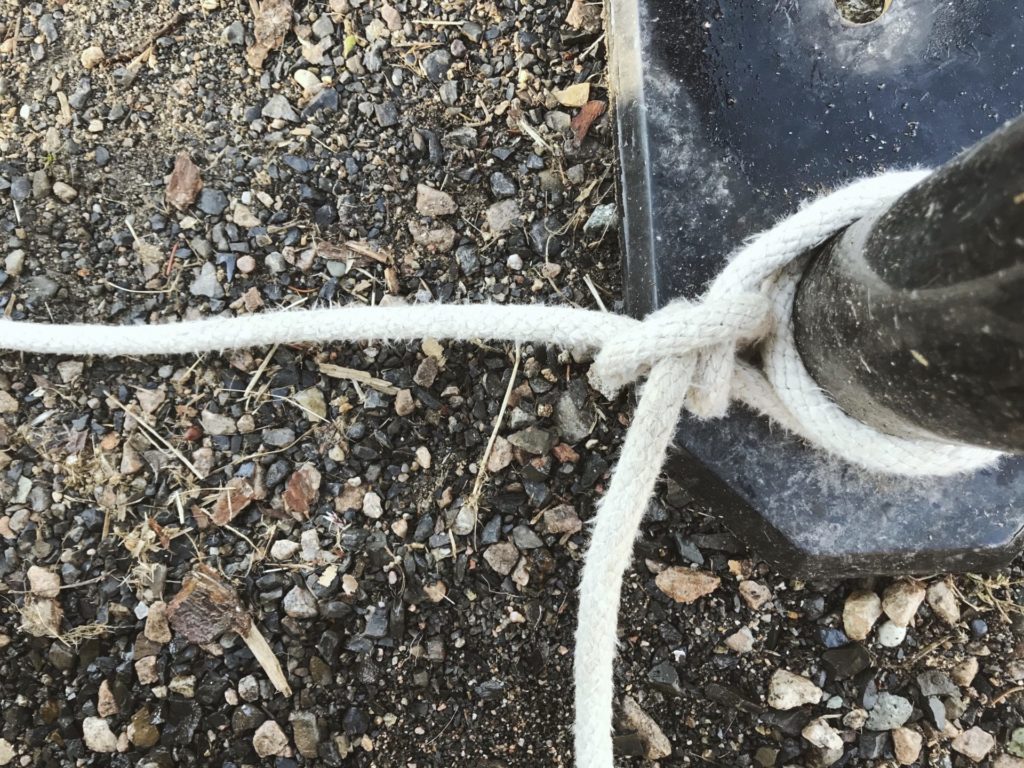 Round turn and two half hitches. Credit: Raeanne O’Meara.
This is a basic knot for securing a line to a pole or post. The number of round turns and hitches can be increased if heavier loads are being handled.
Directions
- Wrap the working end of the rope around the pole twice.
- Pass the end under the standing line to make the first half hitch and pull tight.
- In the same direction, continue around to make the second half hitch and pull tight to complete.