Long ago, humans learned that smoke makes food taste better. Cold smoking adds exotic flavour and a rich colour to foods like fresh sausage, fish, cheese and salt. Smoking can preserve meat, too. Hot smoking cooks meat at the same time as smoking it. Be cautious – there are precise food safety rules when smoking meats in particular, so do your homework and don’t make yourself sick.
Advertisement
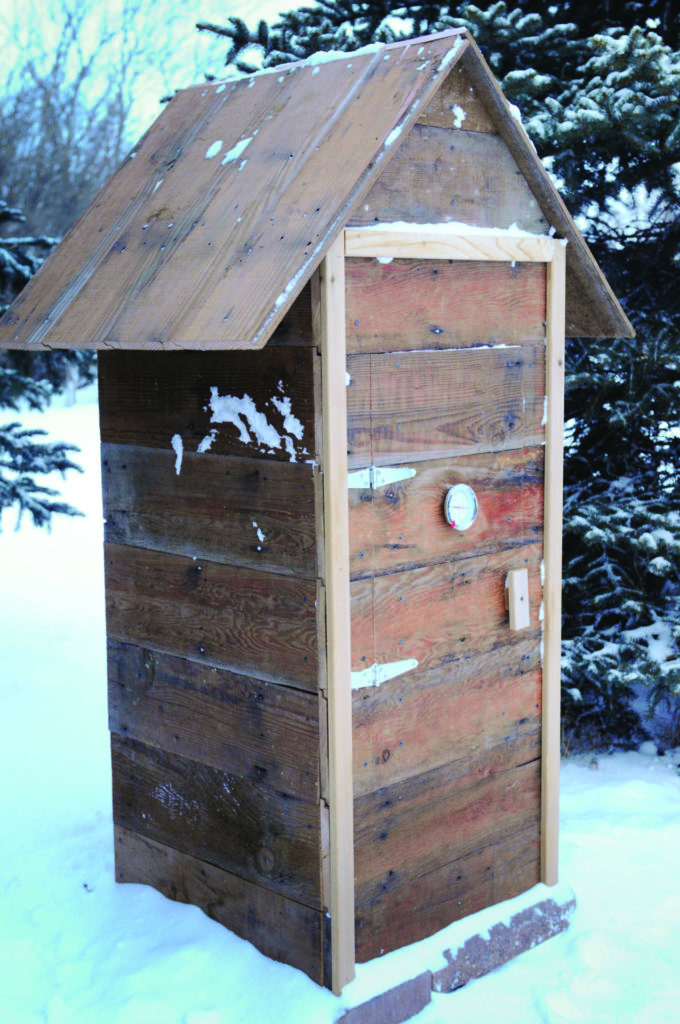
Commercial hot smokers and grills are great for smoke-cooking meals, but consumer models often cannot cold smoke or lack the size to smoke large batches of meat. For high-volume cold smoking, the simple solution is your next DIY project. Follow along as I build a smokehouse that’s perfect for my needs.
Step 1: Design A Smokehouse
At its most basic, a smokehouse is a just container that traps the smoke from a smoldering fire. There are as many smokehouse designs as there are recipes for smoked food. An Internet search for smokehouse design will help get those creative juices flowing. Some considerations in the design phase are size, type of materials and type of smoking. I opted for a design large enough to smoke about 25 pounds of sausage. Its square base measures 22 inches and it stands 45 inches tall. You may want to build your smokehouse larger or smaller to suit.
Advertisement
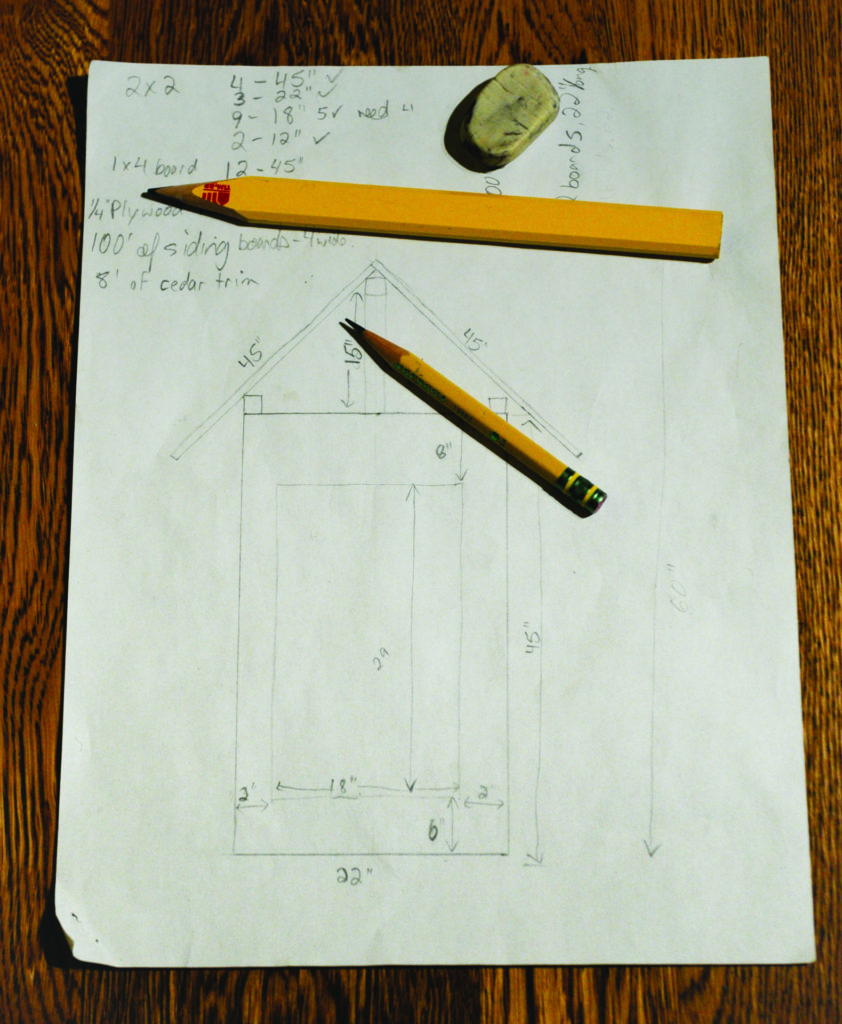 1: Designing a smokehouse starts with a great idea and roughing out the dimensions on paper.
Step 2: Build The Frame
In keeping with the DIY spirit and my propensity to recycle building materials, I salvaged everything but the screws, hinges and a handful of nails. My small smokehouse is built around a frame of 2x2s. The fastest stage of this project was ripping 2x4s on a table saw and crosscutting to length with a miter saw to provide the materials for the frame. A butt joint isn’t a robust joint, but it’s strong enough for this light-duty frame. I used wood glue and deck screws to fasten the frame together.
 2A: Ripping 2×4 boards for the smokehouse frame.
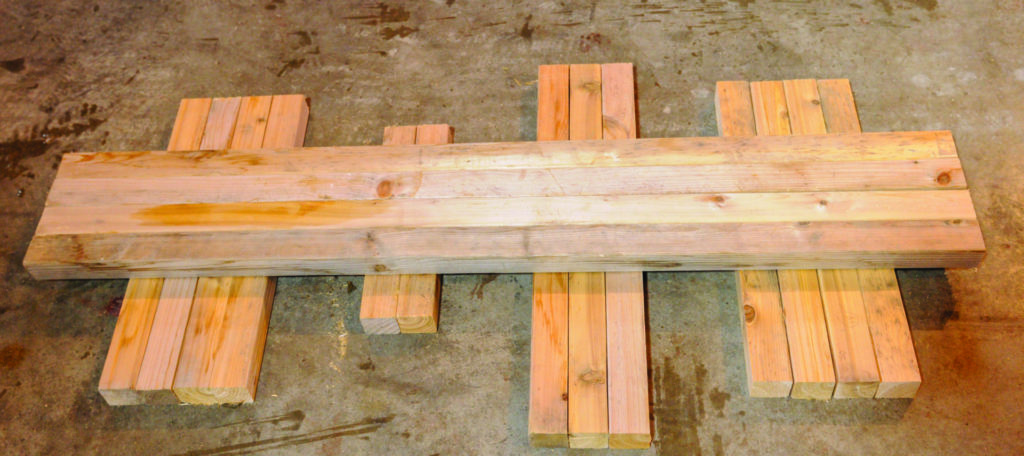 2B: The 2×2 boards for the smokehouse frame, cut from 2x4s.
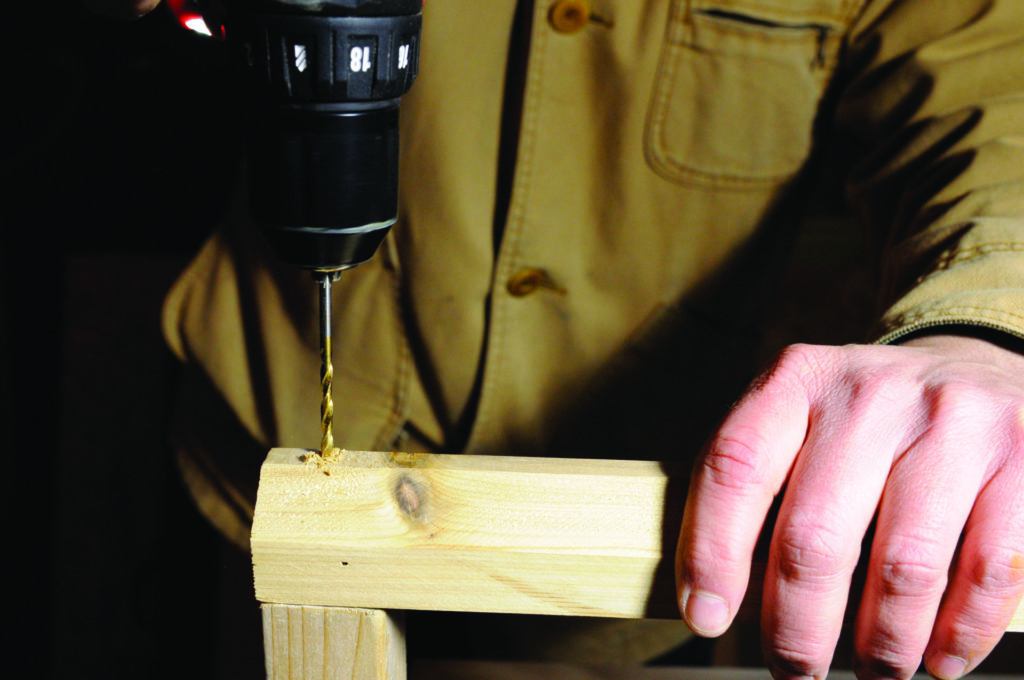 2C: The smokehouse frame was assembled with glue and butt joints. Screw holes pre-drilled to prevent splitting.
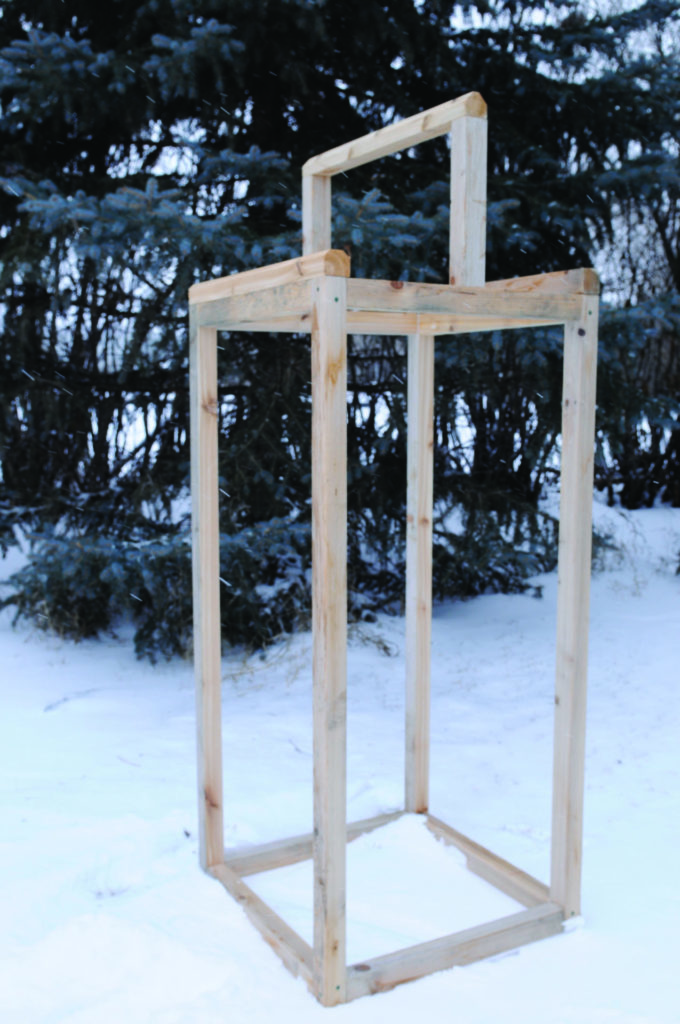 2D: Completed smokehouse frame made from 2×2 boards.
Step 3: Install The Sides & Roof
I utilized salvaged wood siding, rather than buying plywood. Using sheet goods can expedite simple projects like this, but I opted for character-filled wood to suit a smoker’s rustic and outdoorsy feel. I crosscut the siding with a circular saw. If you use old lumber, I recommend pre-drilling screw holes to prevent those brittle dry boards from splitting. My smokehouse doesn’t include a floor, which adds versatility for using it as either a temporary or permanent installation.
Advertisement
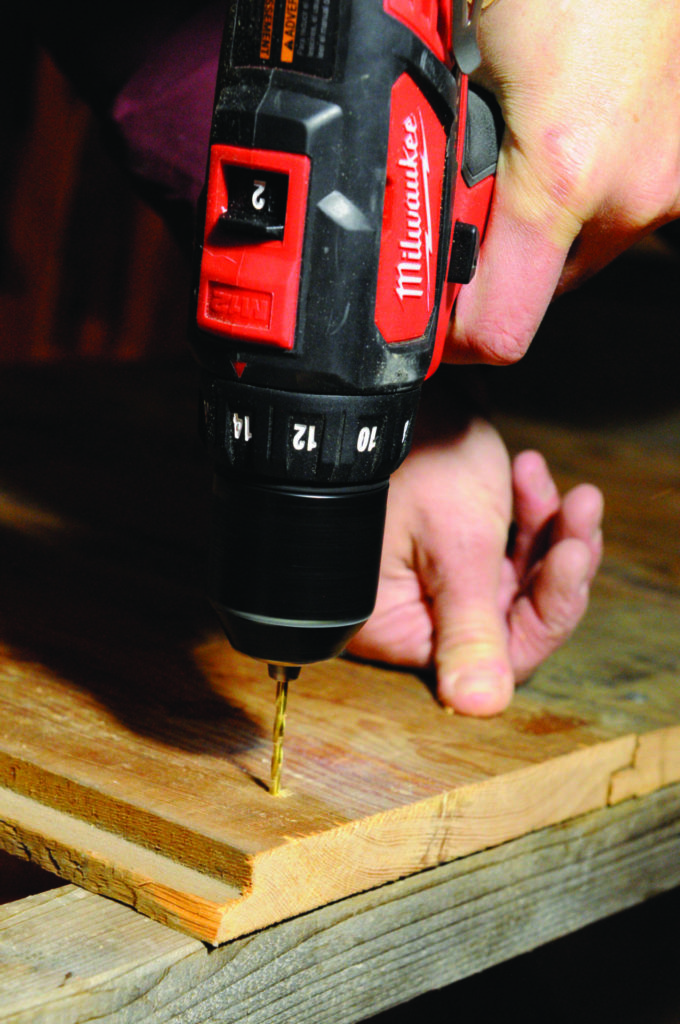 3A: Make the sides and roof from either boards or plywood. Here, salvaged siding boards are pre-drilled before securing to the frame with screws.
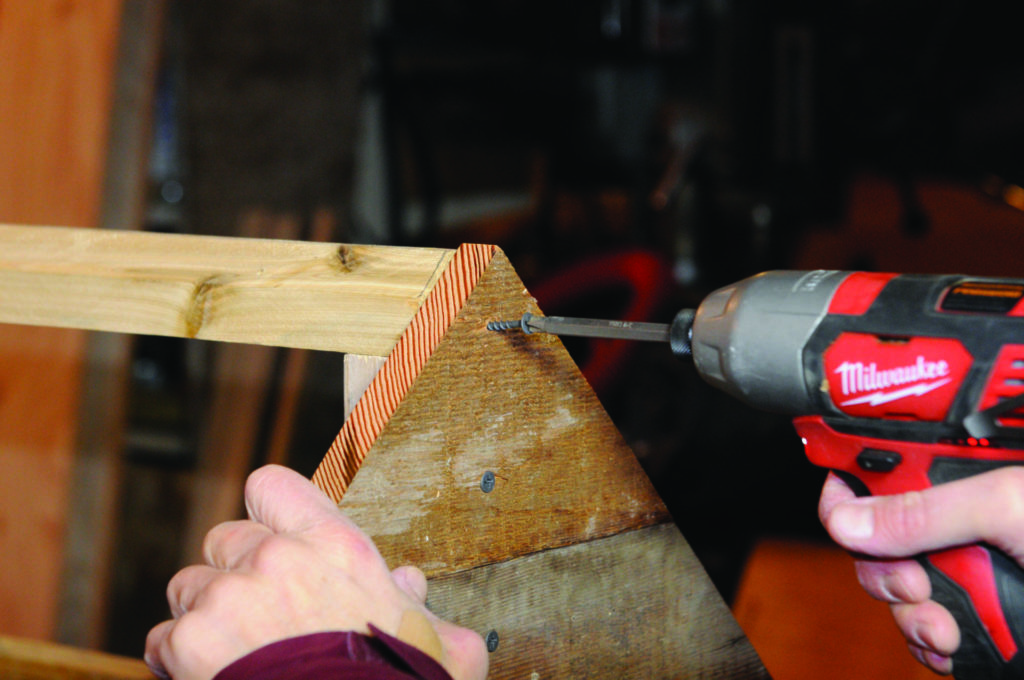 3B: Siding boards are screwed to the smokehouse frame.
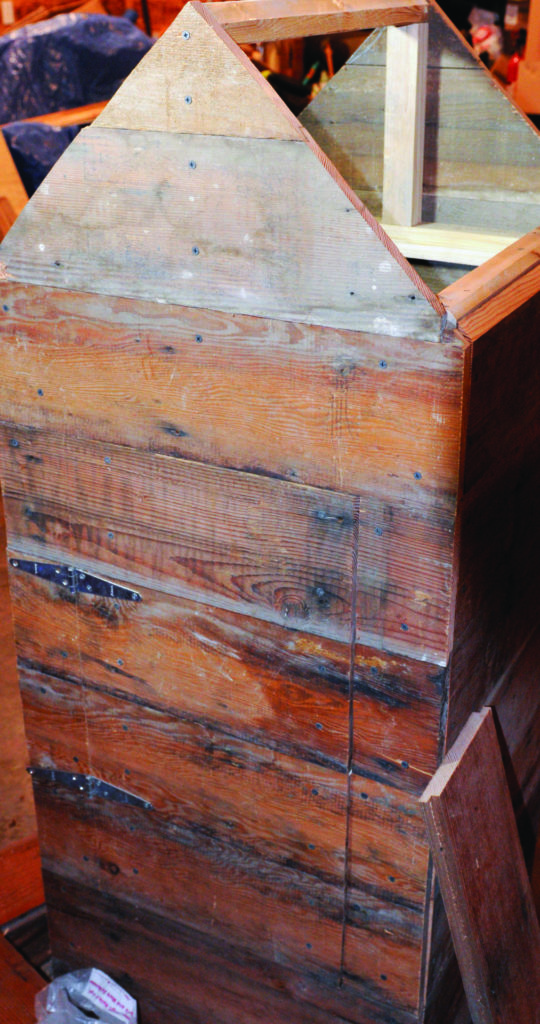 3C: Finished installing smokehouse sides, and roof boards are cut and ready for installation.
Step 4: Add A Door
Create a door large enough to easily add and remove food, but not so large that all the smoke wafts out when you sneak a peek. This smokehouse traps smoke above the door, in the roof area, too, so not everything is lost even when the door opens. To integrate a seamless transition from the door to the siding, I cut a piece of plywood half an inch smaller than the dimensions of the door to act as a backer. The siding was temporarily installed on the front of the frame, and then I used drywall screws to attach the plywood backing. Crosscutting the door in this way ensures a perfect fit.
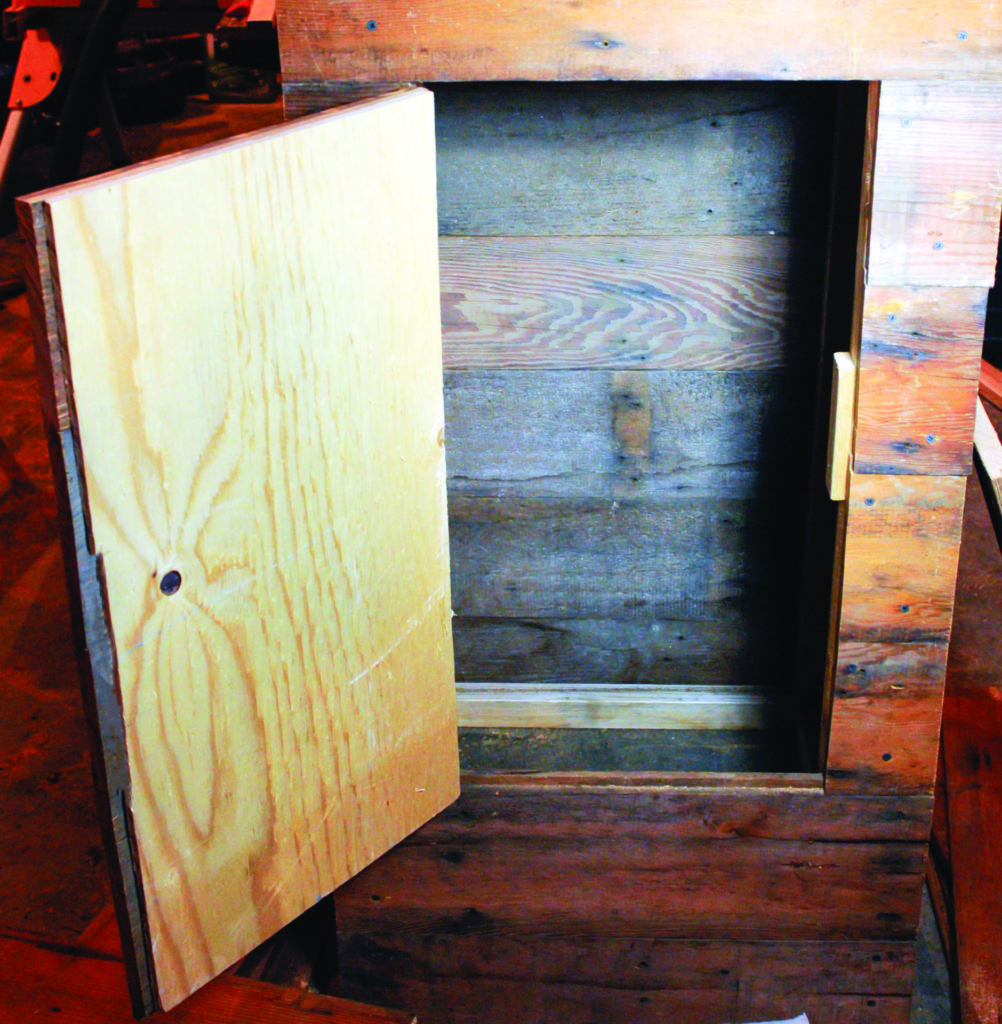 4A: A piece of plywood is used to secure the siding boards to the door panel.
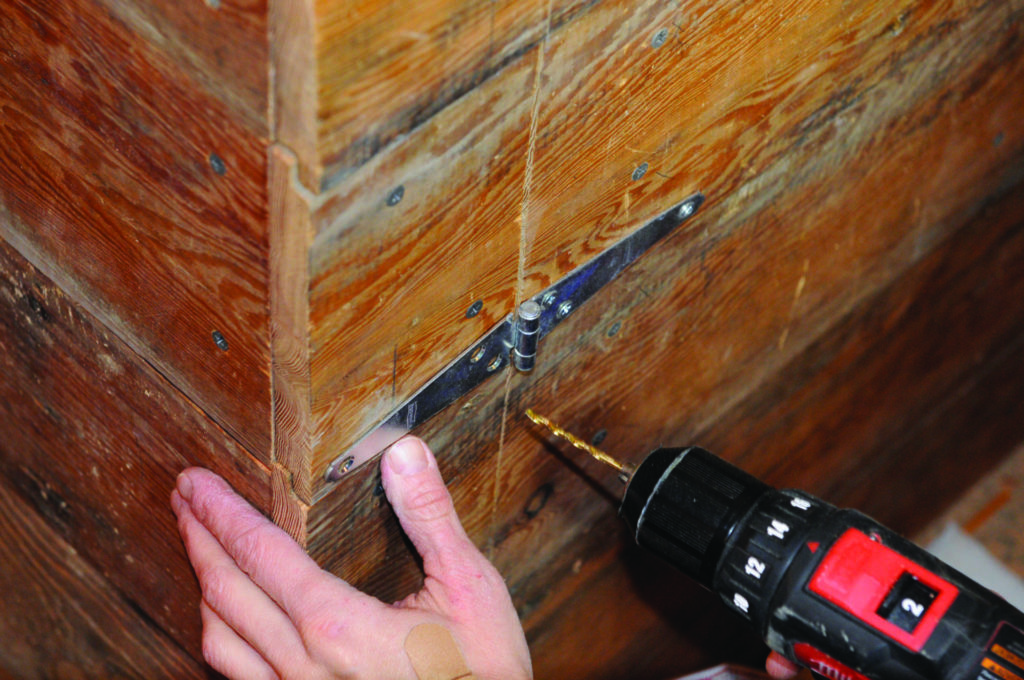 4B: Crosscutting the door out of the siding boards ensures a perfect fit. Here, the door is mounted with barn-style hinges.
Step 5: Smoke Generator
A method to create smoke and deliver it to the food in the smokehouse is the heart of this operation. Depending on where you live, some options are better than others. Building a firebox/smoke generator away from the smokehouse and piping the smoke into the house is a popular method. Adding a length of pipe, either above ground or underground, ensures that the smoke is cold when it reaches your food. Temperature-sensitive foods like cheese will melt if they get too warm. I do much of my sausage making and smoking in the fall and early winter, when temperatures are cooler. I have used methods such as an electric element under a heavy cast iron pot holding wood chips or lighting a low, slow fire in a hibachi grill right inside the smokehouse. I keep an eye on the fire and my thermometer.
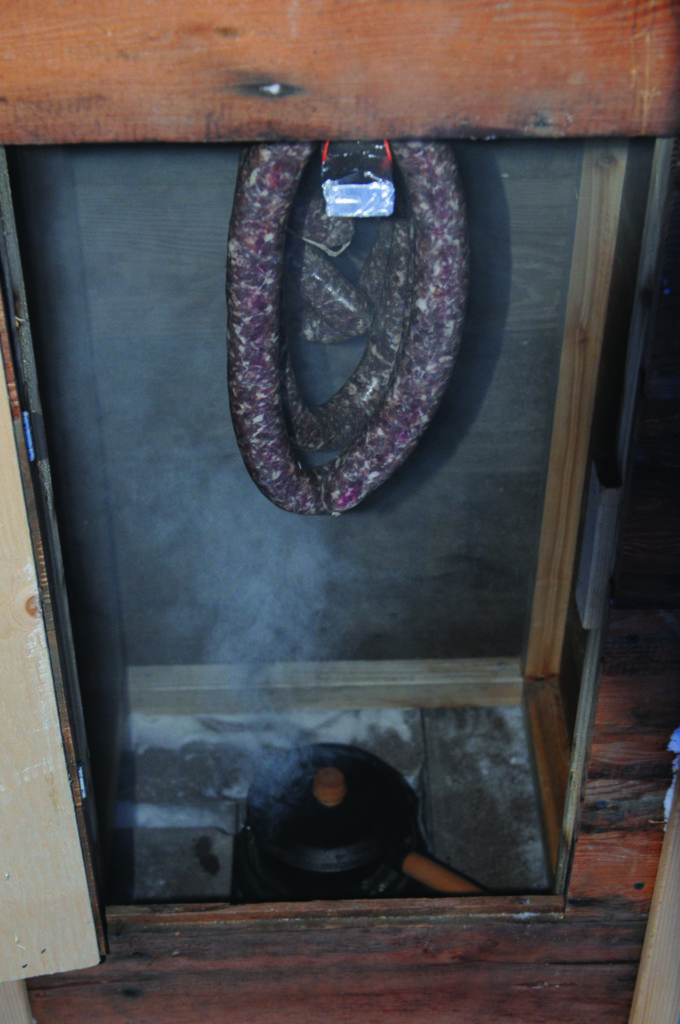 5: For simplicity, an electric element and cast-iron pot with wood sawdust is used to generate smoke.
Step 6: Fill Your Smokehouse
After you build a smokehouse, it’s time to experiment. Different woods impart their own unique flavours. Check the many online resource guides to pairing wood species to the fish or game of your choice.
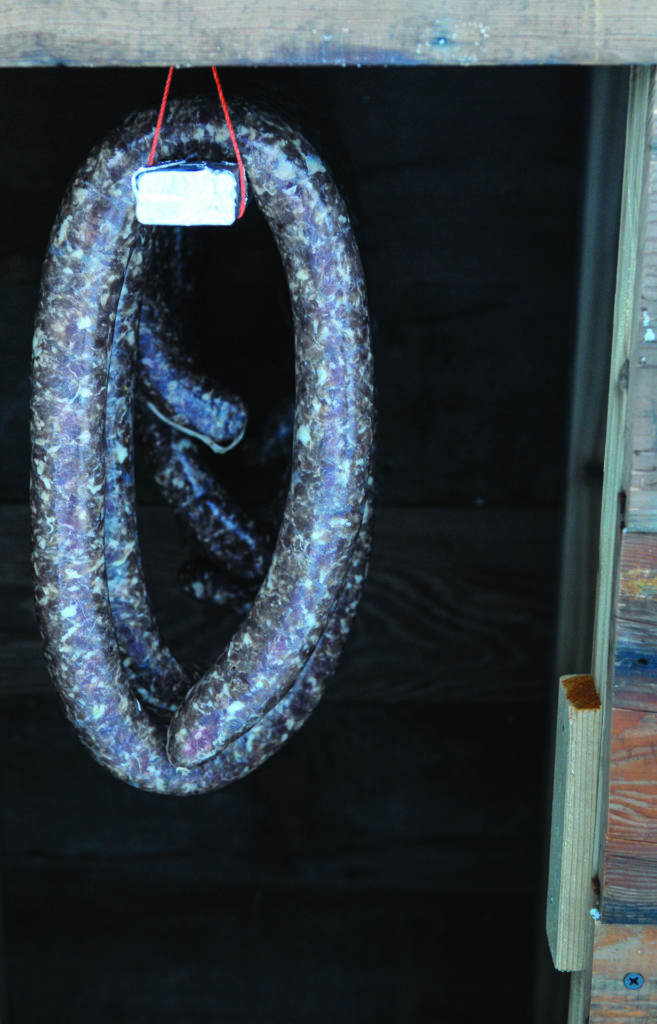 6: Fill your smokehouse with food. Pictured, the author is smoking fresh venison sausages using a DIY smokehouse.
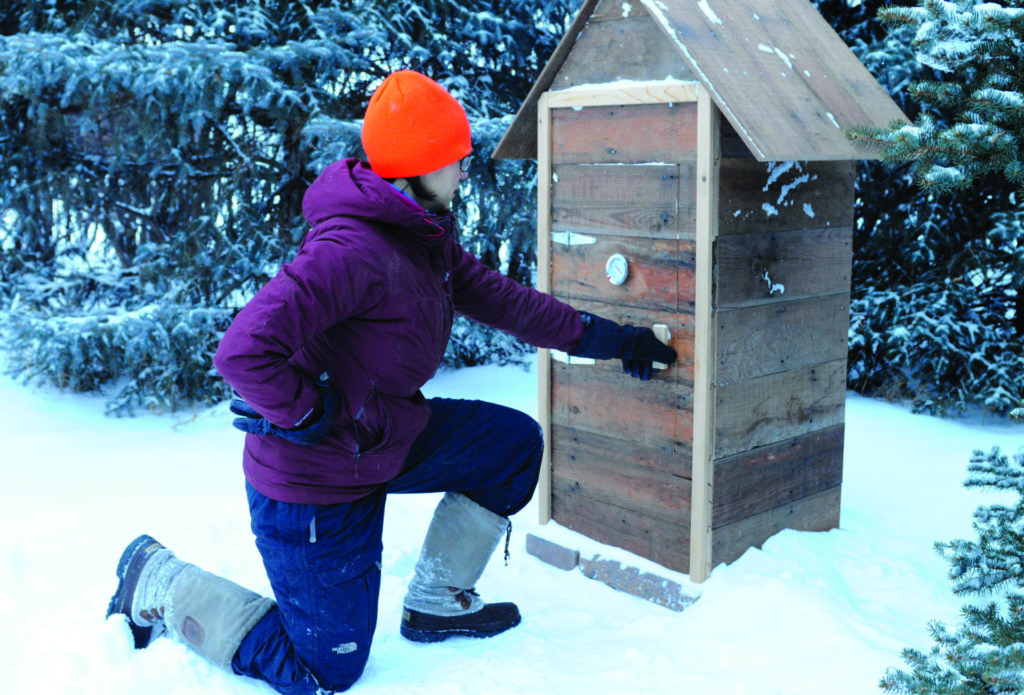 After your project is complete, it’s time to get smoking!
Tips
- If you’re using salvaged materials like treated wood or pallets, do your research as to which materials are safe.
- A sliding vent helps keep smokehouse temperatures from getting too high in warm weather.
- Include removable racks in your design for increased versatility.
- Use a thermometer to monitor your smokehouse’s internal temperature.