All-terrain vehicles improve access to the backcountry. ATVs and side-by-sides excel at carrying people, but their restricted cargo room limits the gear we can haul in, and the meat we can pack out. To better suit my outdoor adventures and projects around my homestead, I needed more space to haul the necessary gear. It was time to build a utility trailer!
Advertisement
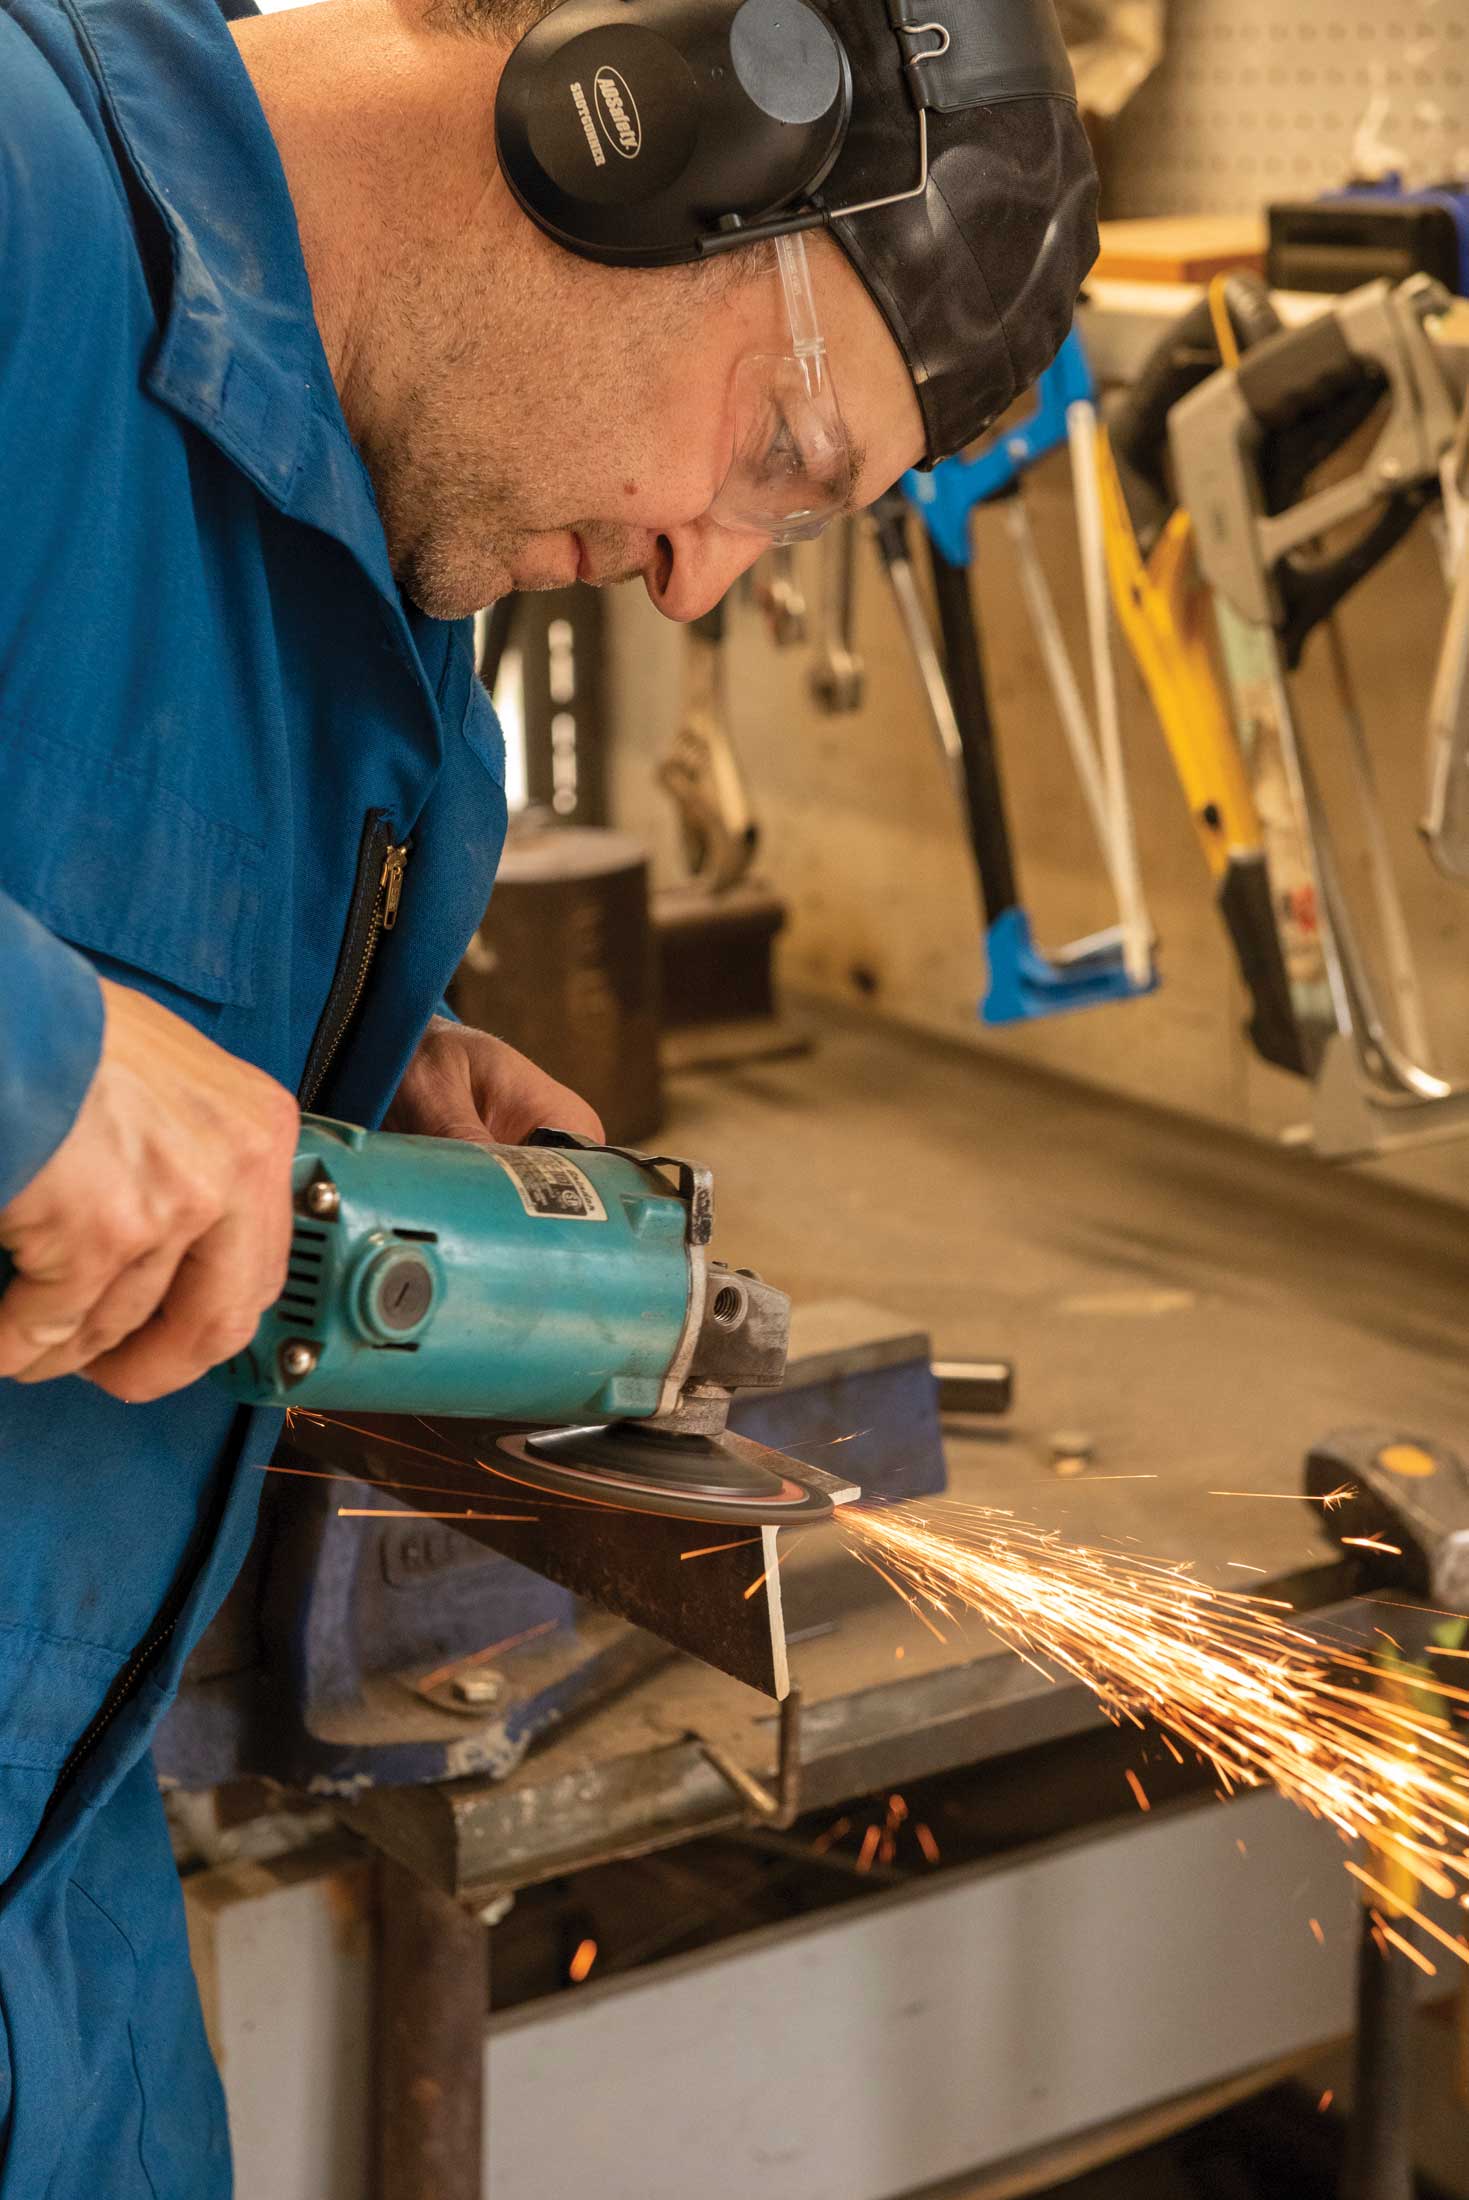
In the spirit of any good DIY project, salvaged materials kept my costs down. I used as much repurposed metal as possible to create my ATV trailer. When using old metal, good prep improves weld quality, so I brushed or ground off rust and old paint.
Advertisement
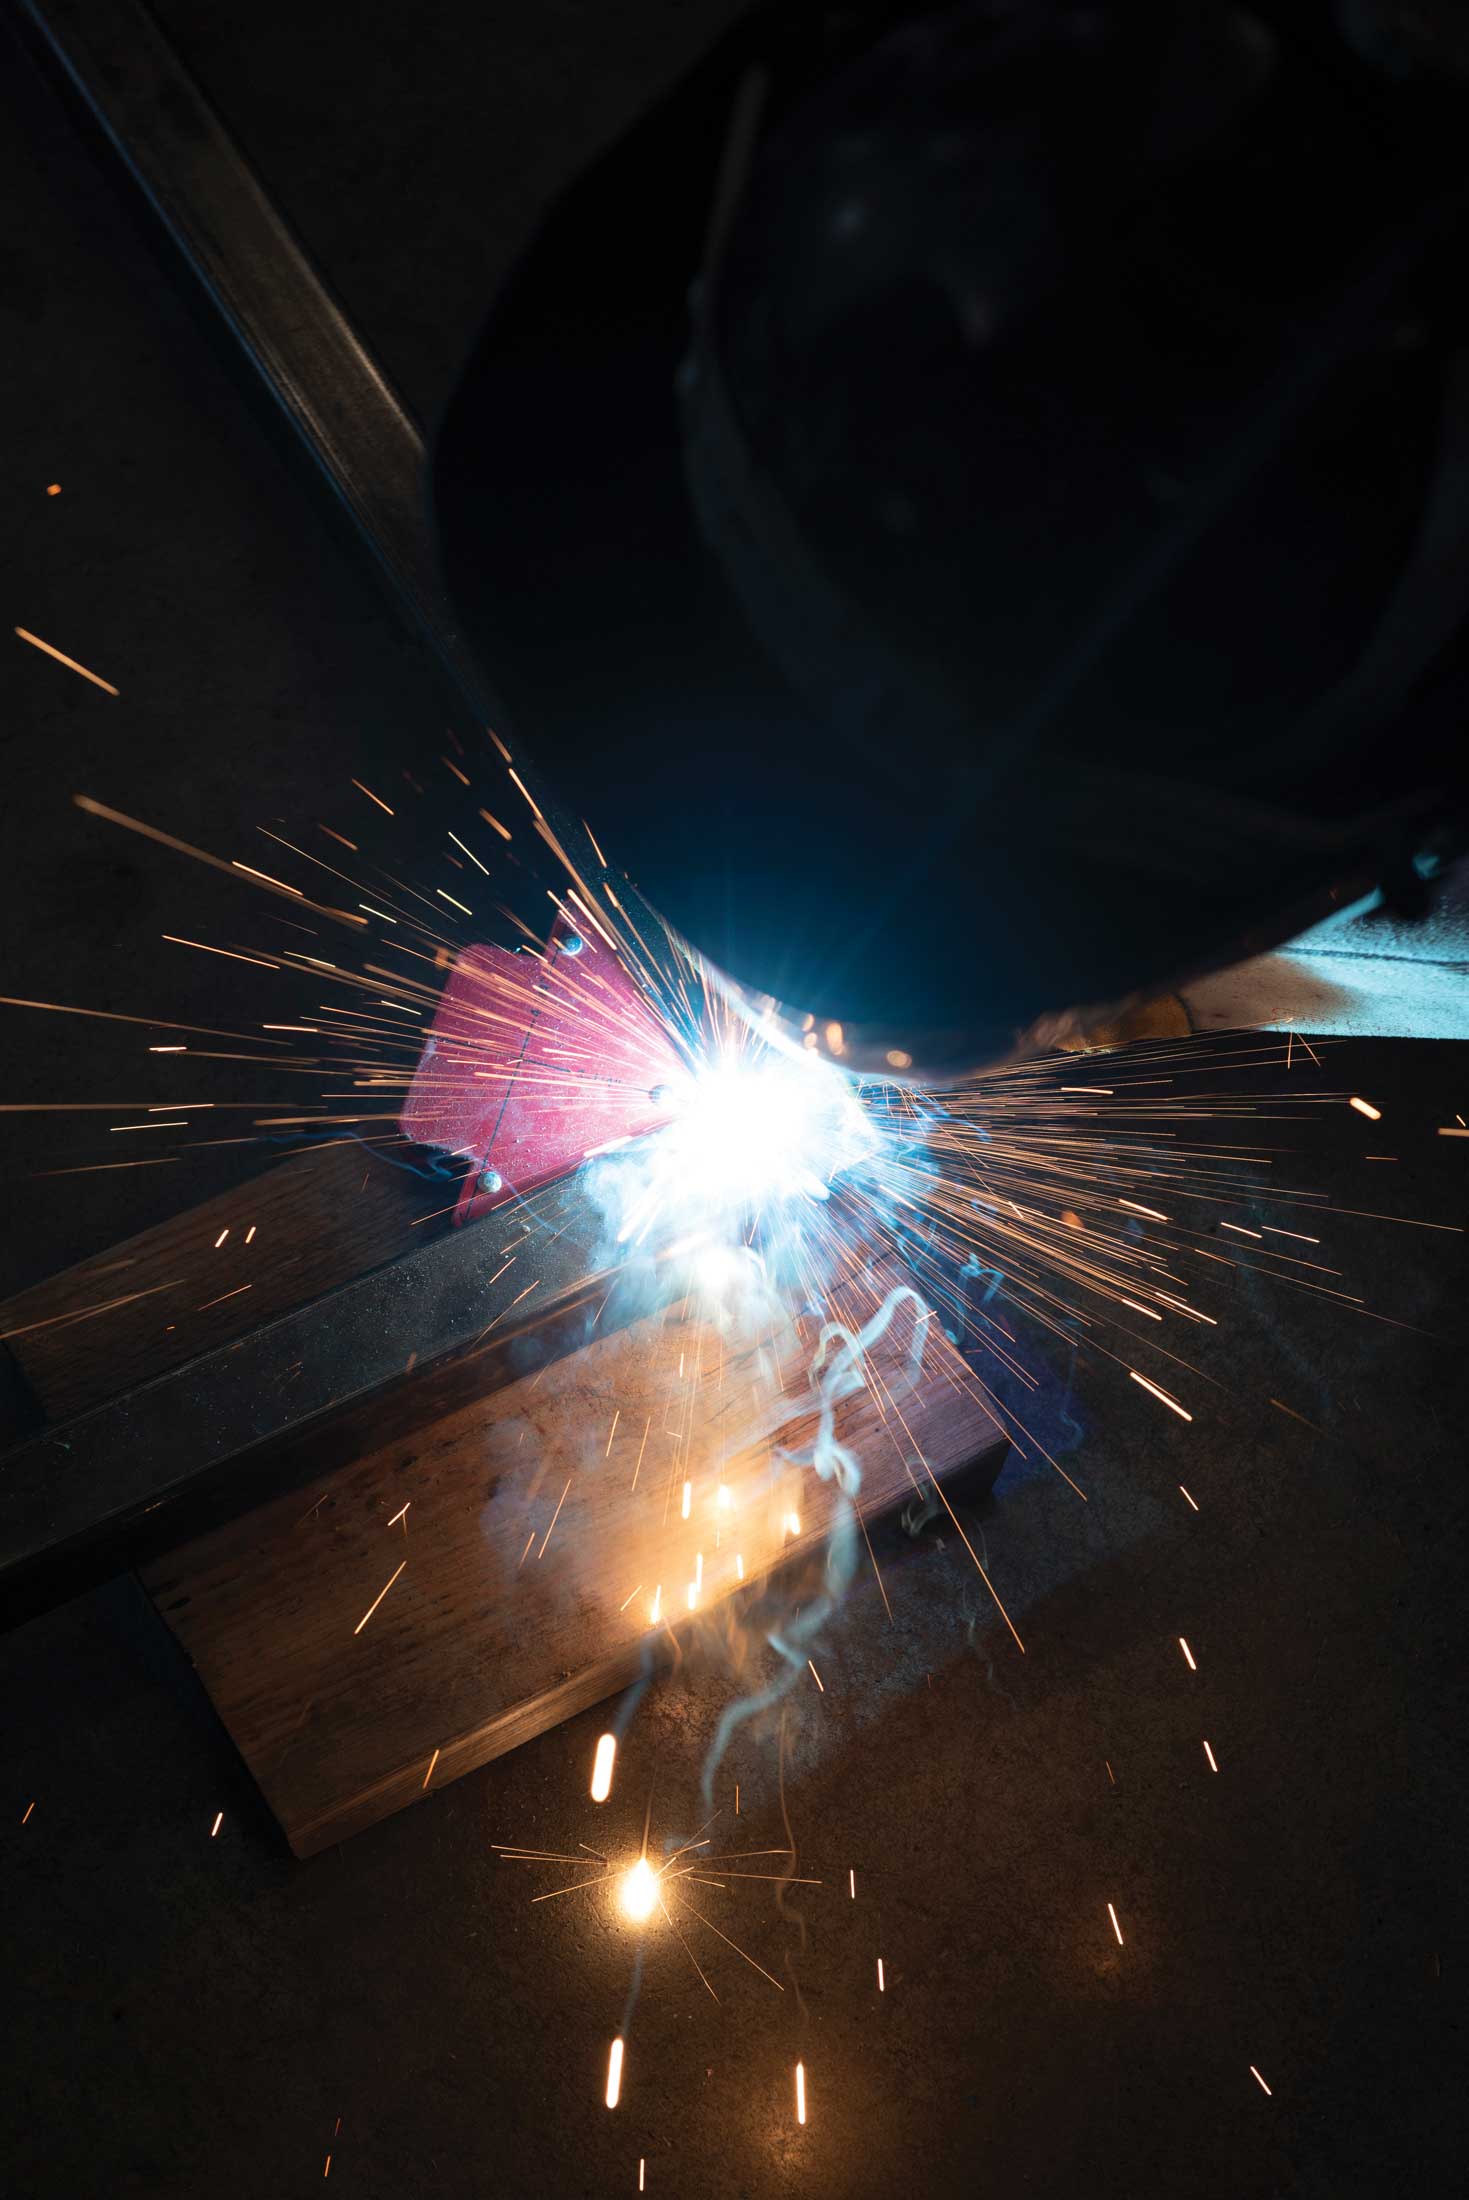
I rate this project as intermediate both for its required skill level and time to complete. To tackle this project, you’ll need access to a welder and a compliment of workshop tools. I chose wood planks for the decking, so a method to cut wood to length helps too. I’m not a welder by training, so there was a steep learning curve. Nevertheless, using a MIG welder and attention to detail, I achieved ‘professional’ results.
The hardest part of the project was coming up with a design. Plan considerations included trailer purpose, bed size, ground clearance, tires, hitch, load capacity and overall trailer weight. Some of decisions were easy, based on locally available materials – type of hitch, for example. Others crystalized after much deliberation. With my trailer specs and materials in hand, it was time to start cutting.
Advertisement
I cut the metal parts with a chop saw, a bandsaw and a special thin cutting blade on an angle grinder – any of the three will work well. The three-foot by five-foot frame was built using one-and-a-half-inch square tubing, which is strong and makes a superb platform on which to mount everything else. Simple butt joints to make neat square corners simplified welding for a beginner. Using two-inch square tubing for extra strength, I welded the tongue at 26 inches, allowing ample clearance between the ATV and trailer, even during tight turns. For frame strength and a place to secure the decking, I welded angle iron side to side across the trailer in strategic locations.
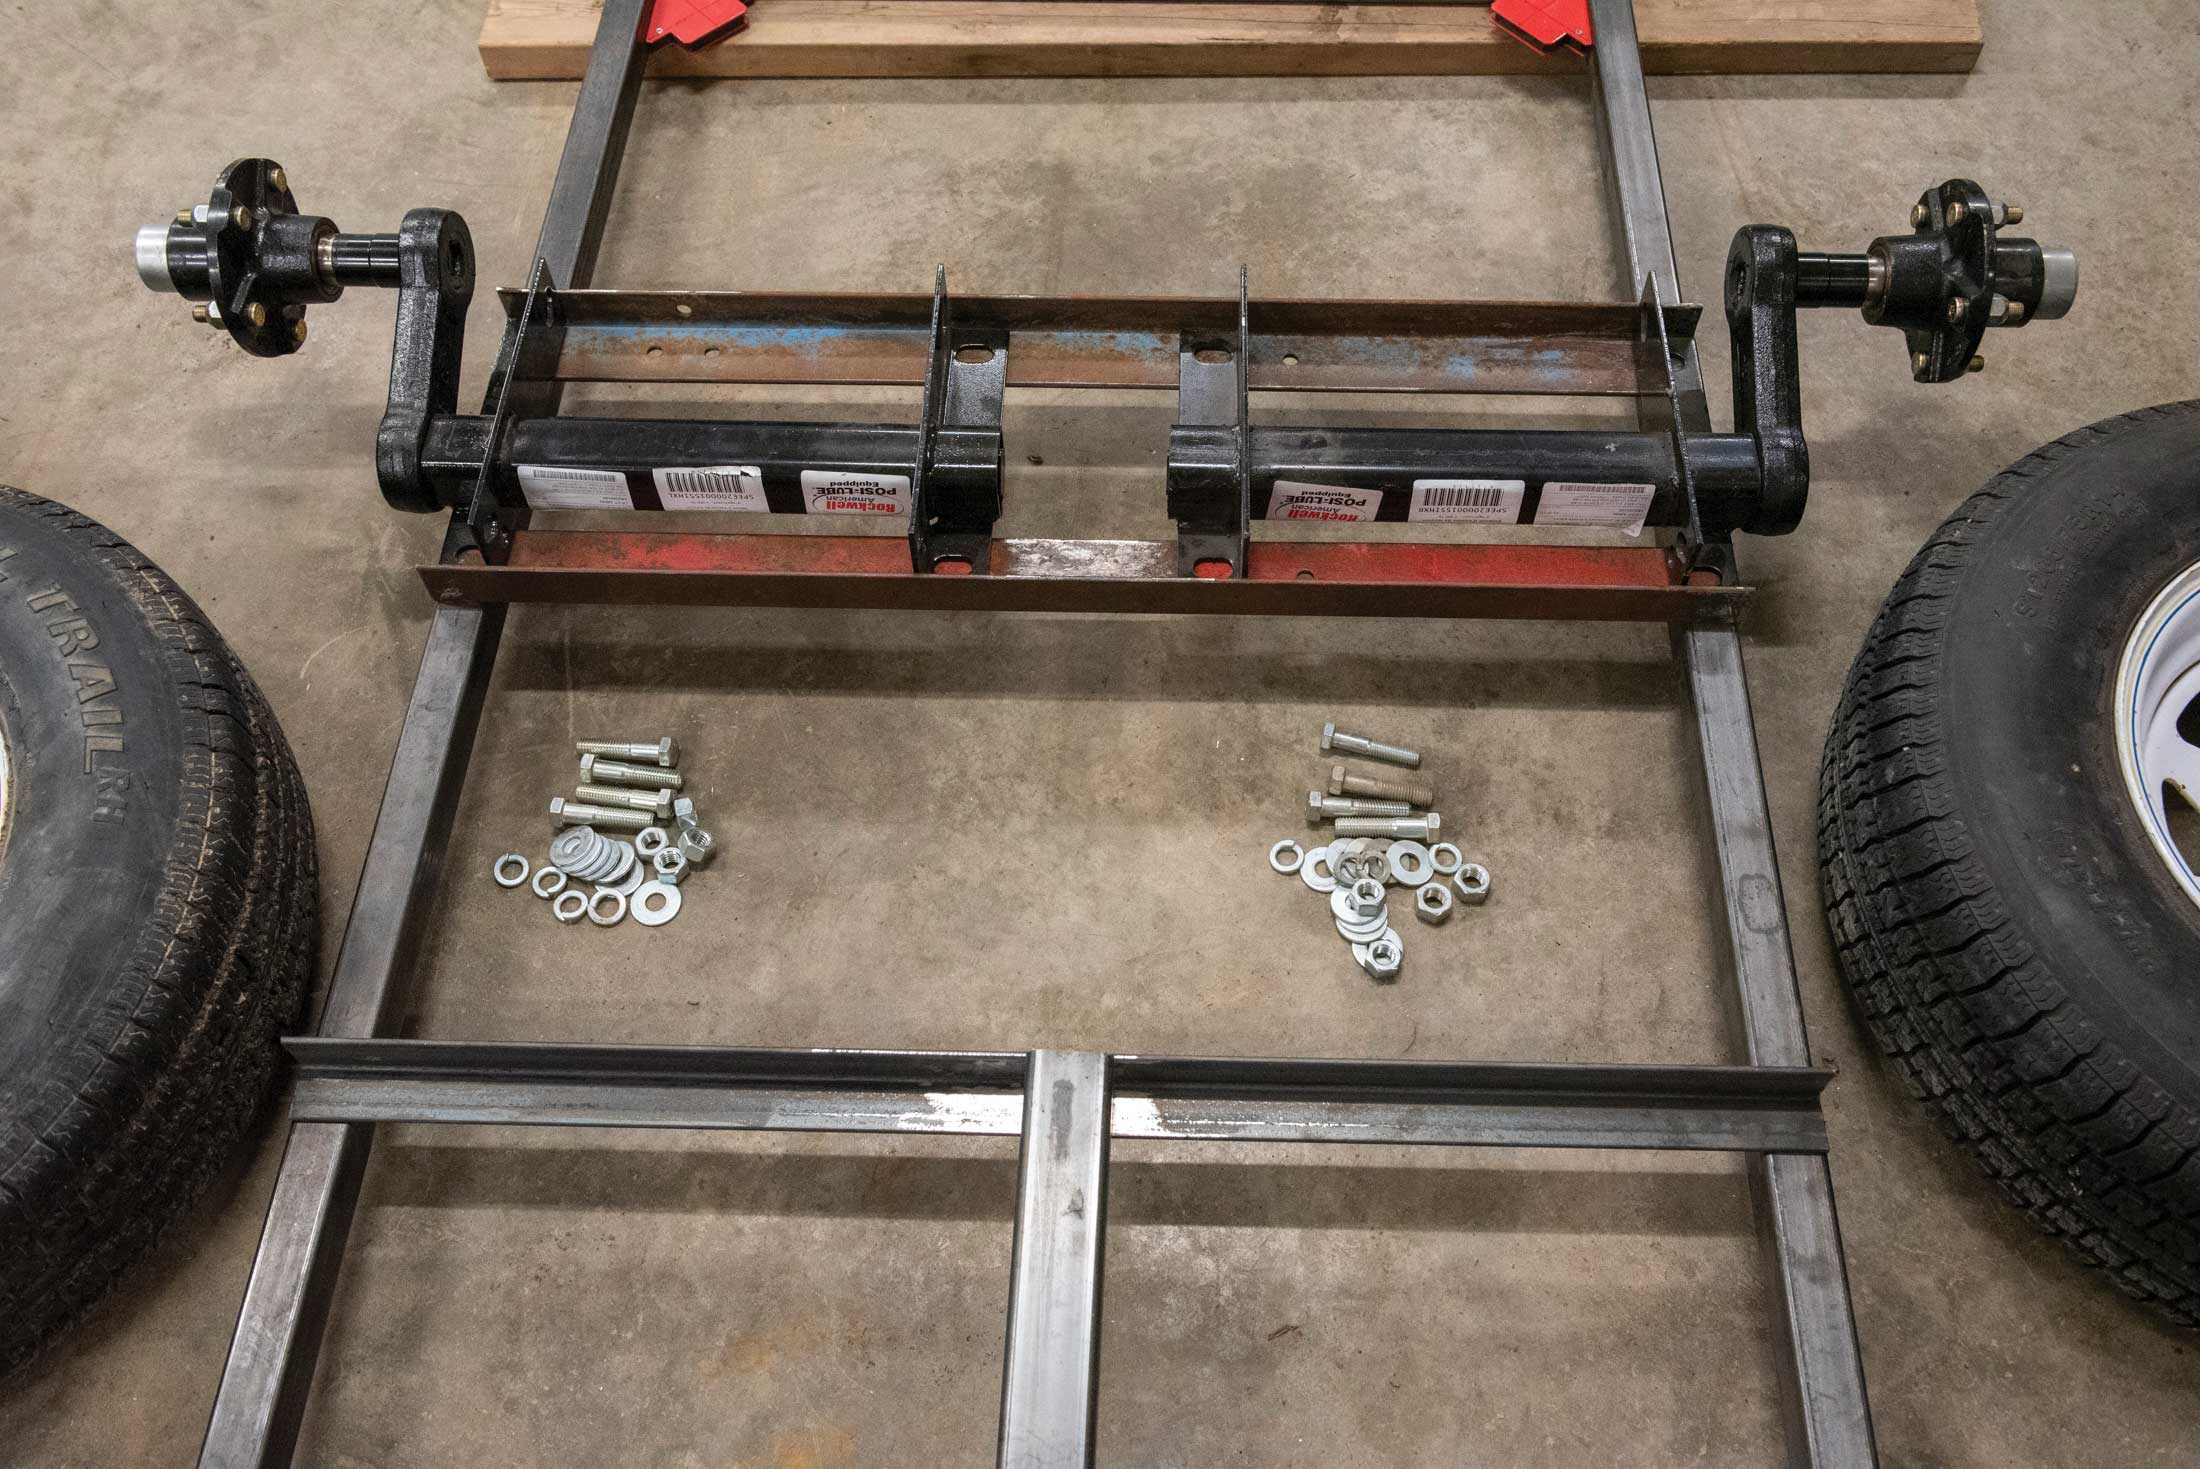
The wheel assembly is the most complicated part of this project. An online search returns several suitable ideas, from a simple straight axle with no suspension, to more complex walking axle designs. For me, design considerations included the type of tire. I opted for a standard 14-inch trailer tire and reduced the fabrication process by purchasing a pair of bolt-on equalizer torsion axles for a five-bolt rim. Swapping tire hubs to a four-bolt ATV style will accommodate off-road ATV-style floatation tires. I fabricated the axle supports using angle iron. Using the wheel assembly as a template, I marked and drilled holes to accommodate the bolts.
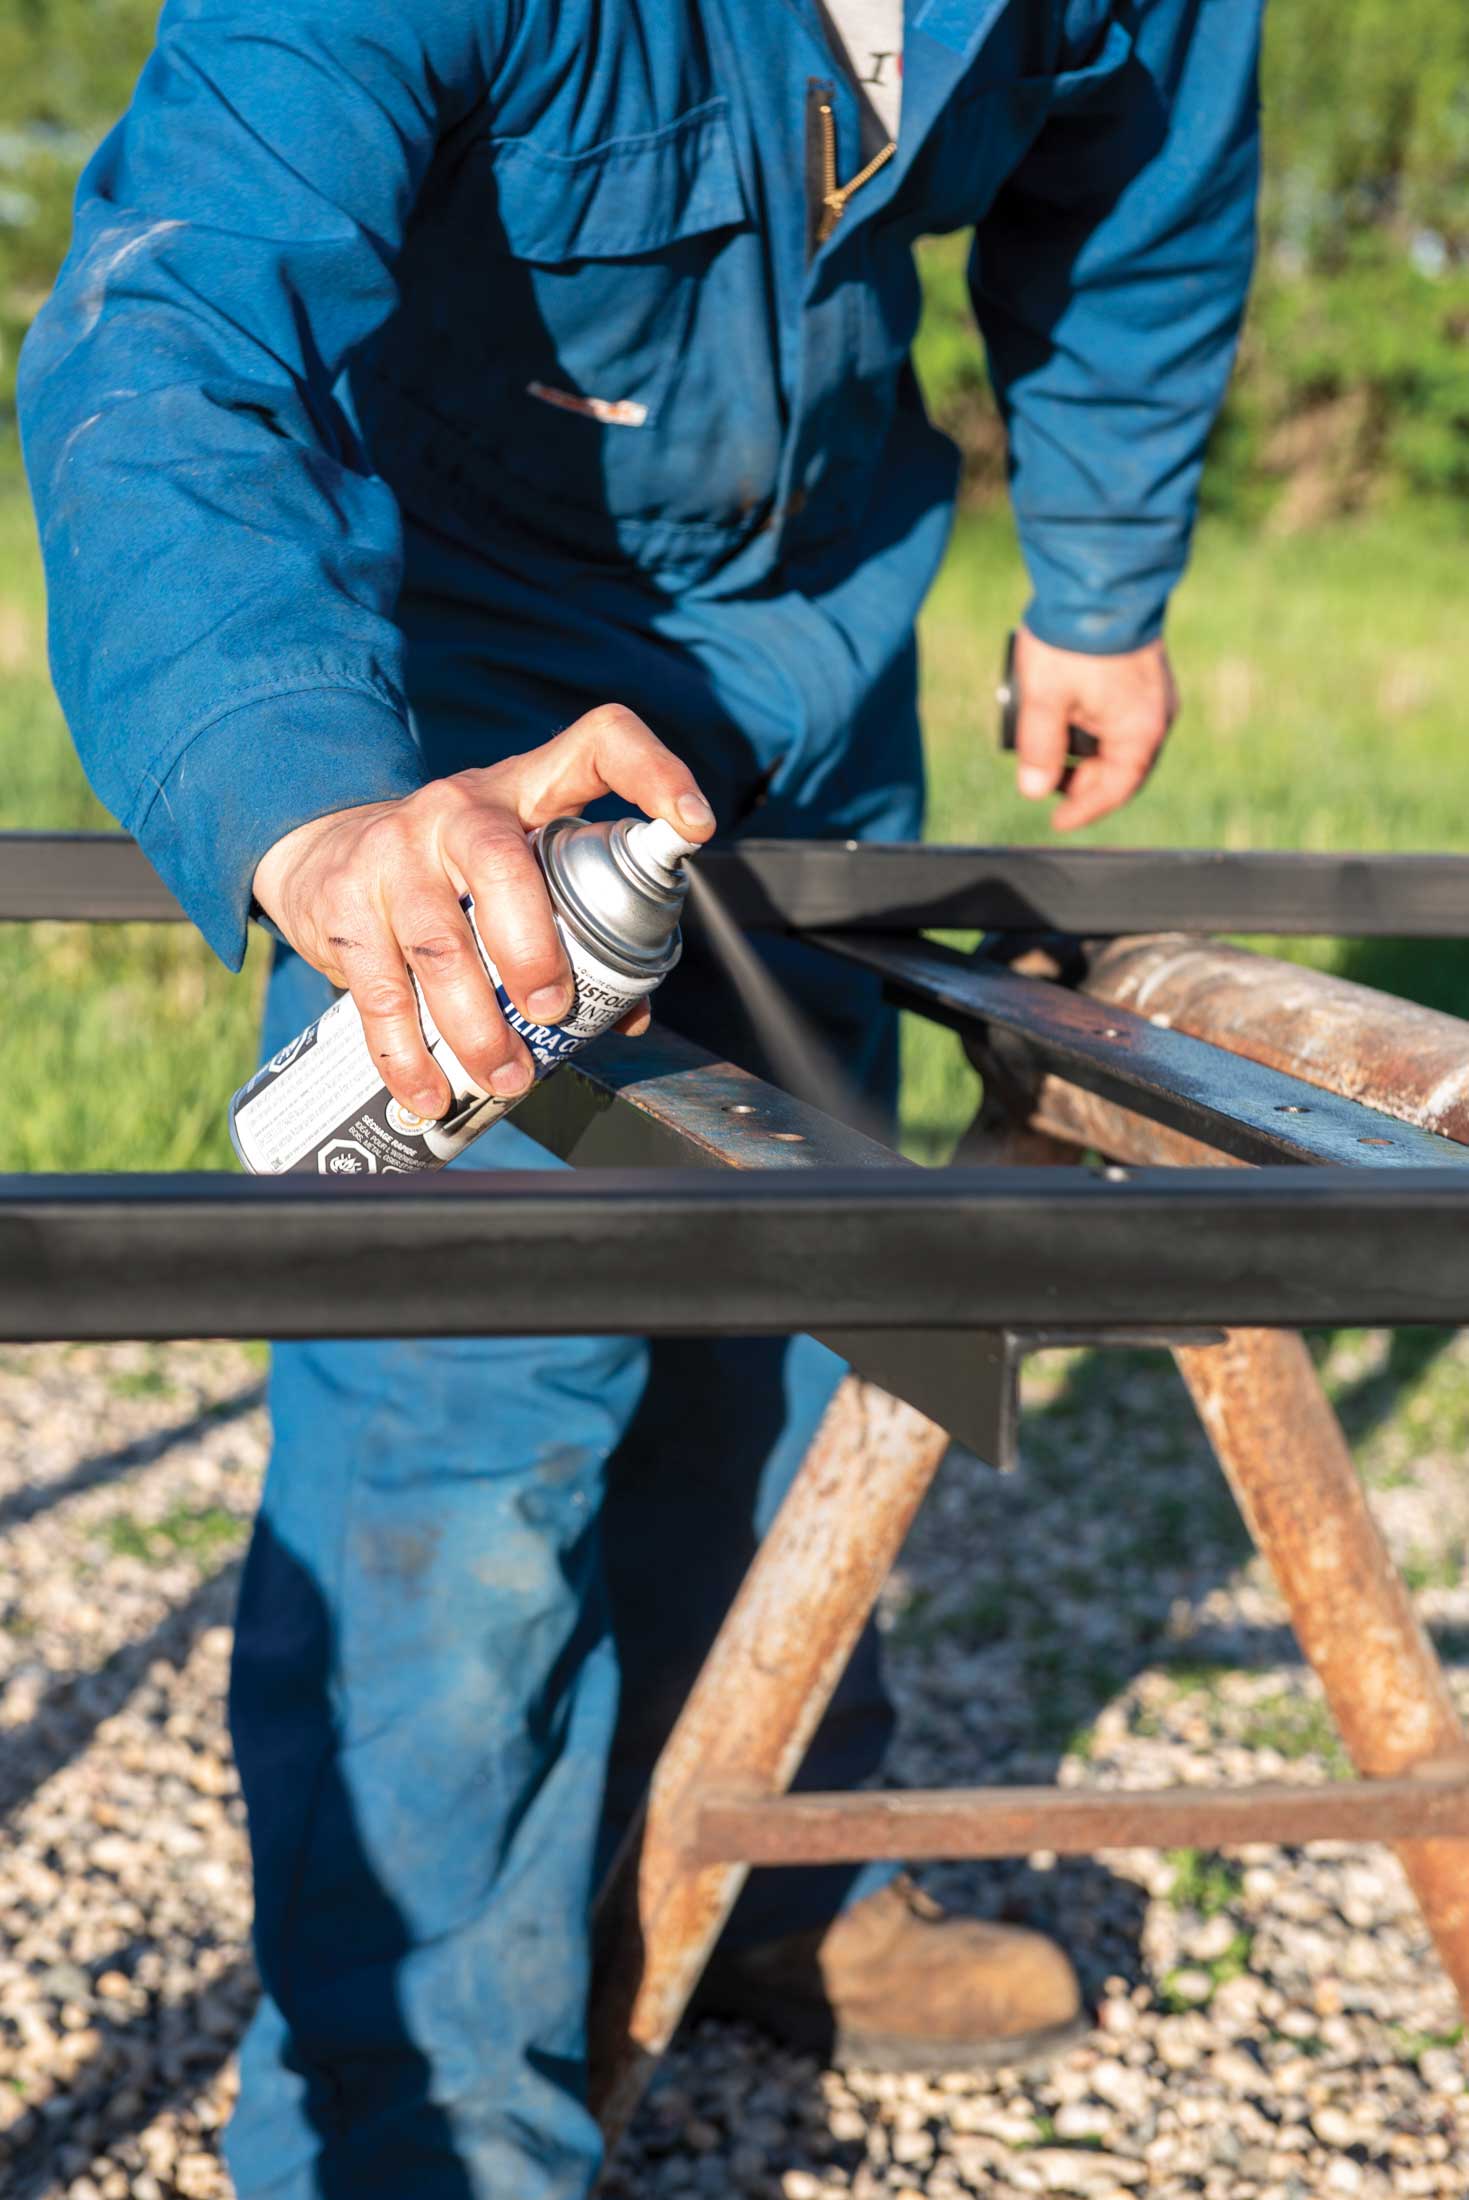
I used a wire wheel on an angle grinder to clean and rough up the metal surface of the trailer prior to painting. For paint, a rattle-can of spray paint for metal did the trick. To prevent slipping when wet, I plan to add a rubberized rocker guard paint on the tongue.
With the trailer still upside down, I bolted the axle assemblies to the frame and installed the tires. My wife and I easily lifted the trailer off the sawhorses and rotated it to sit on the ground right-side up. It wasn’t too heavy, yet!
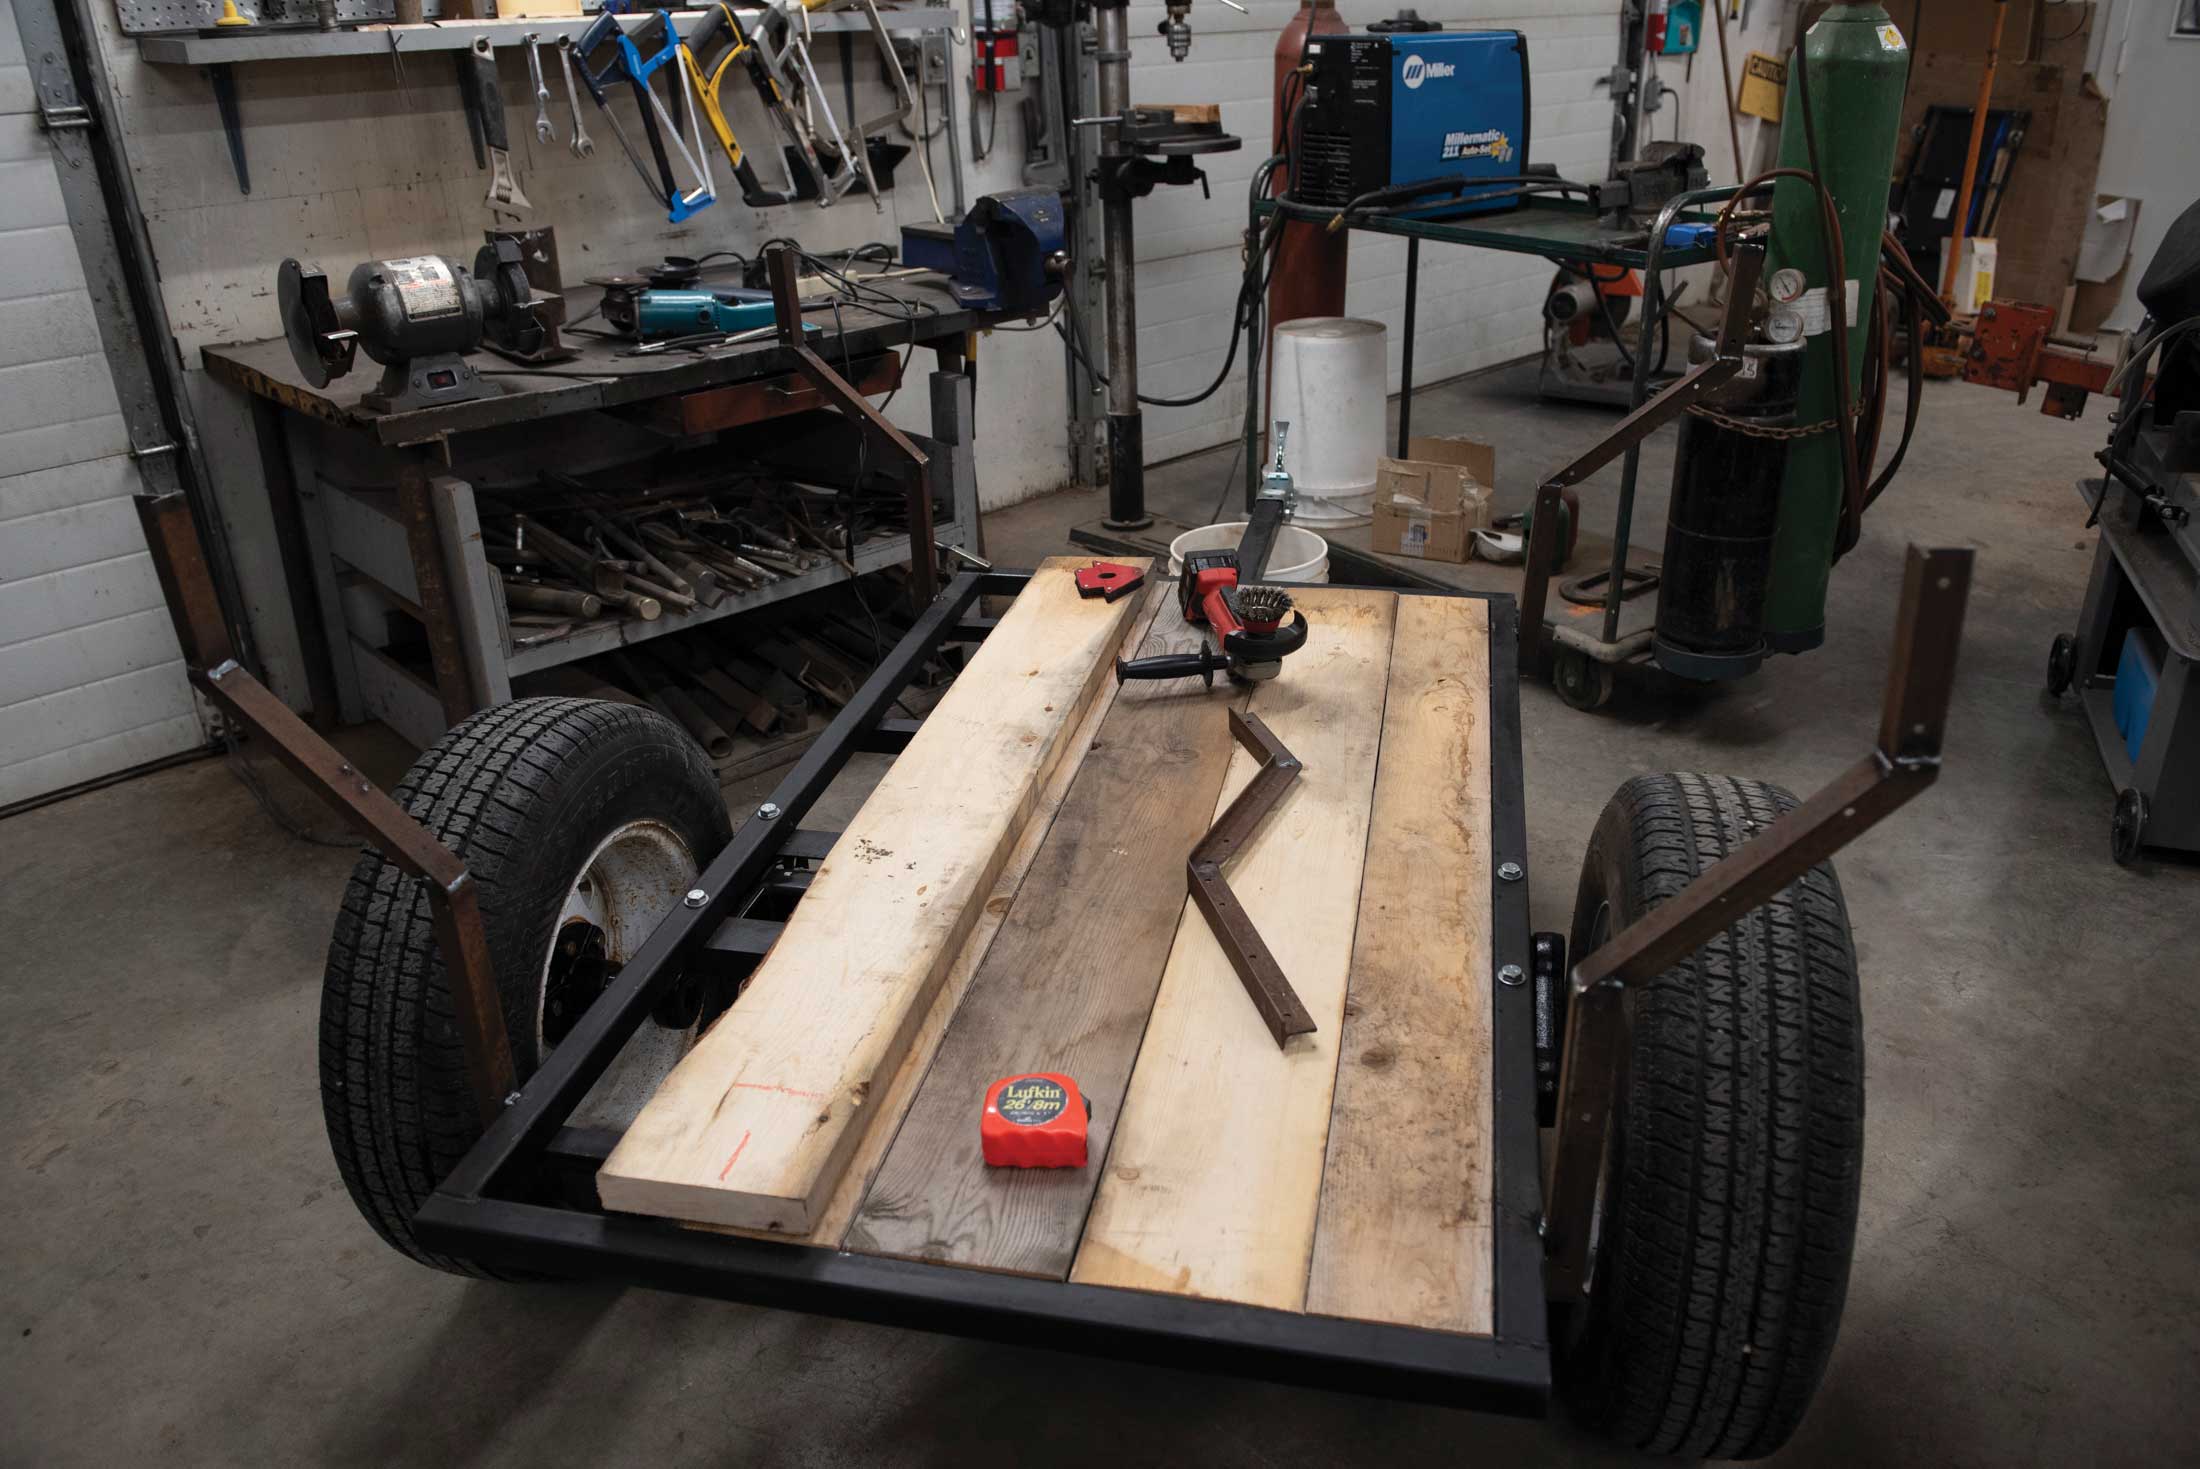
Next was cutting the trailer decking – I used spruce 2x6s and 2x8s – securing them to the trailer using self-tapping metal screws into the angle iron supports. For longer life, I’ll paint the deck with a water seal. Treated lumber works well too, I just didn’t have any on hand at the time.
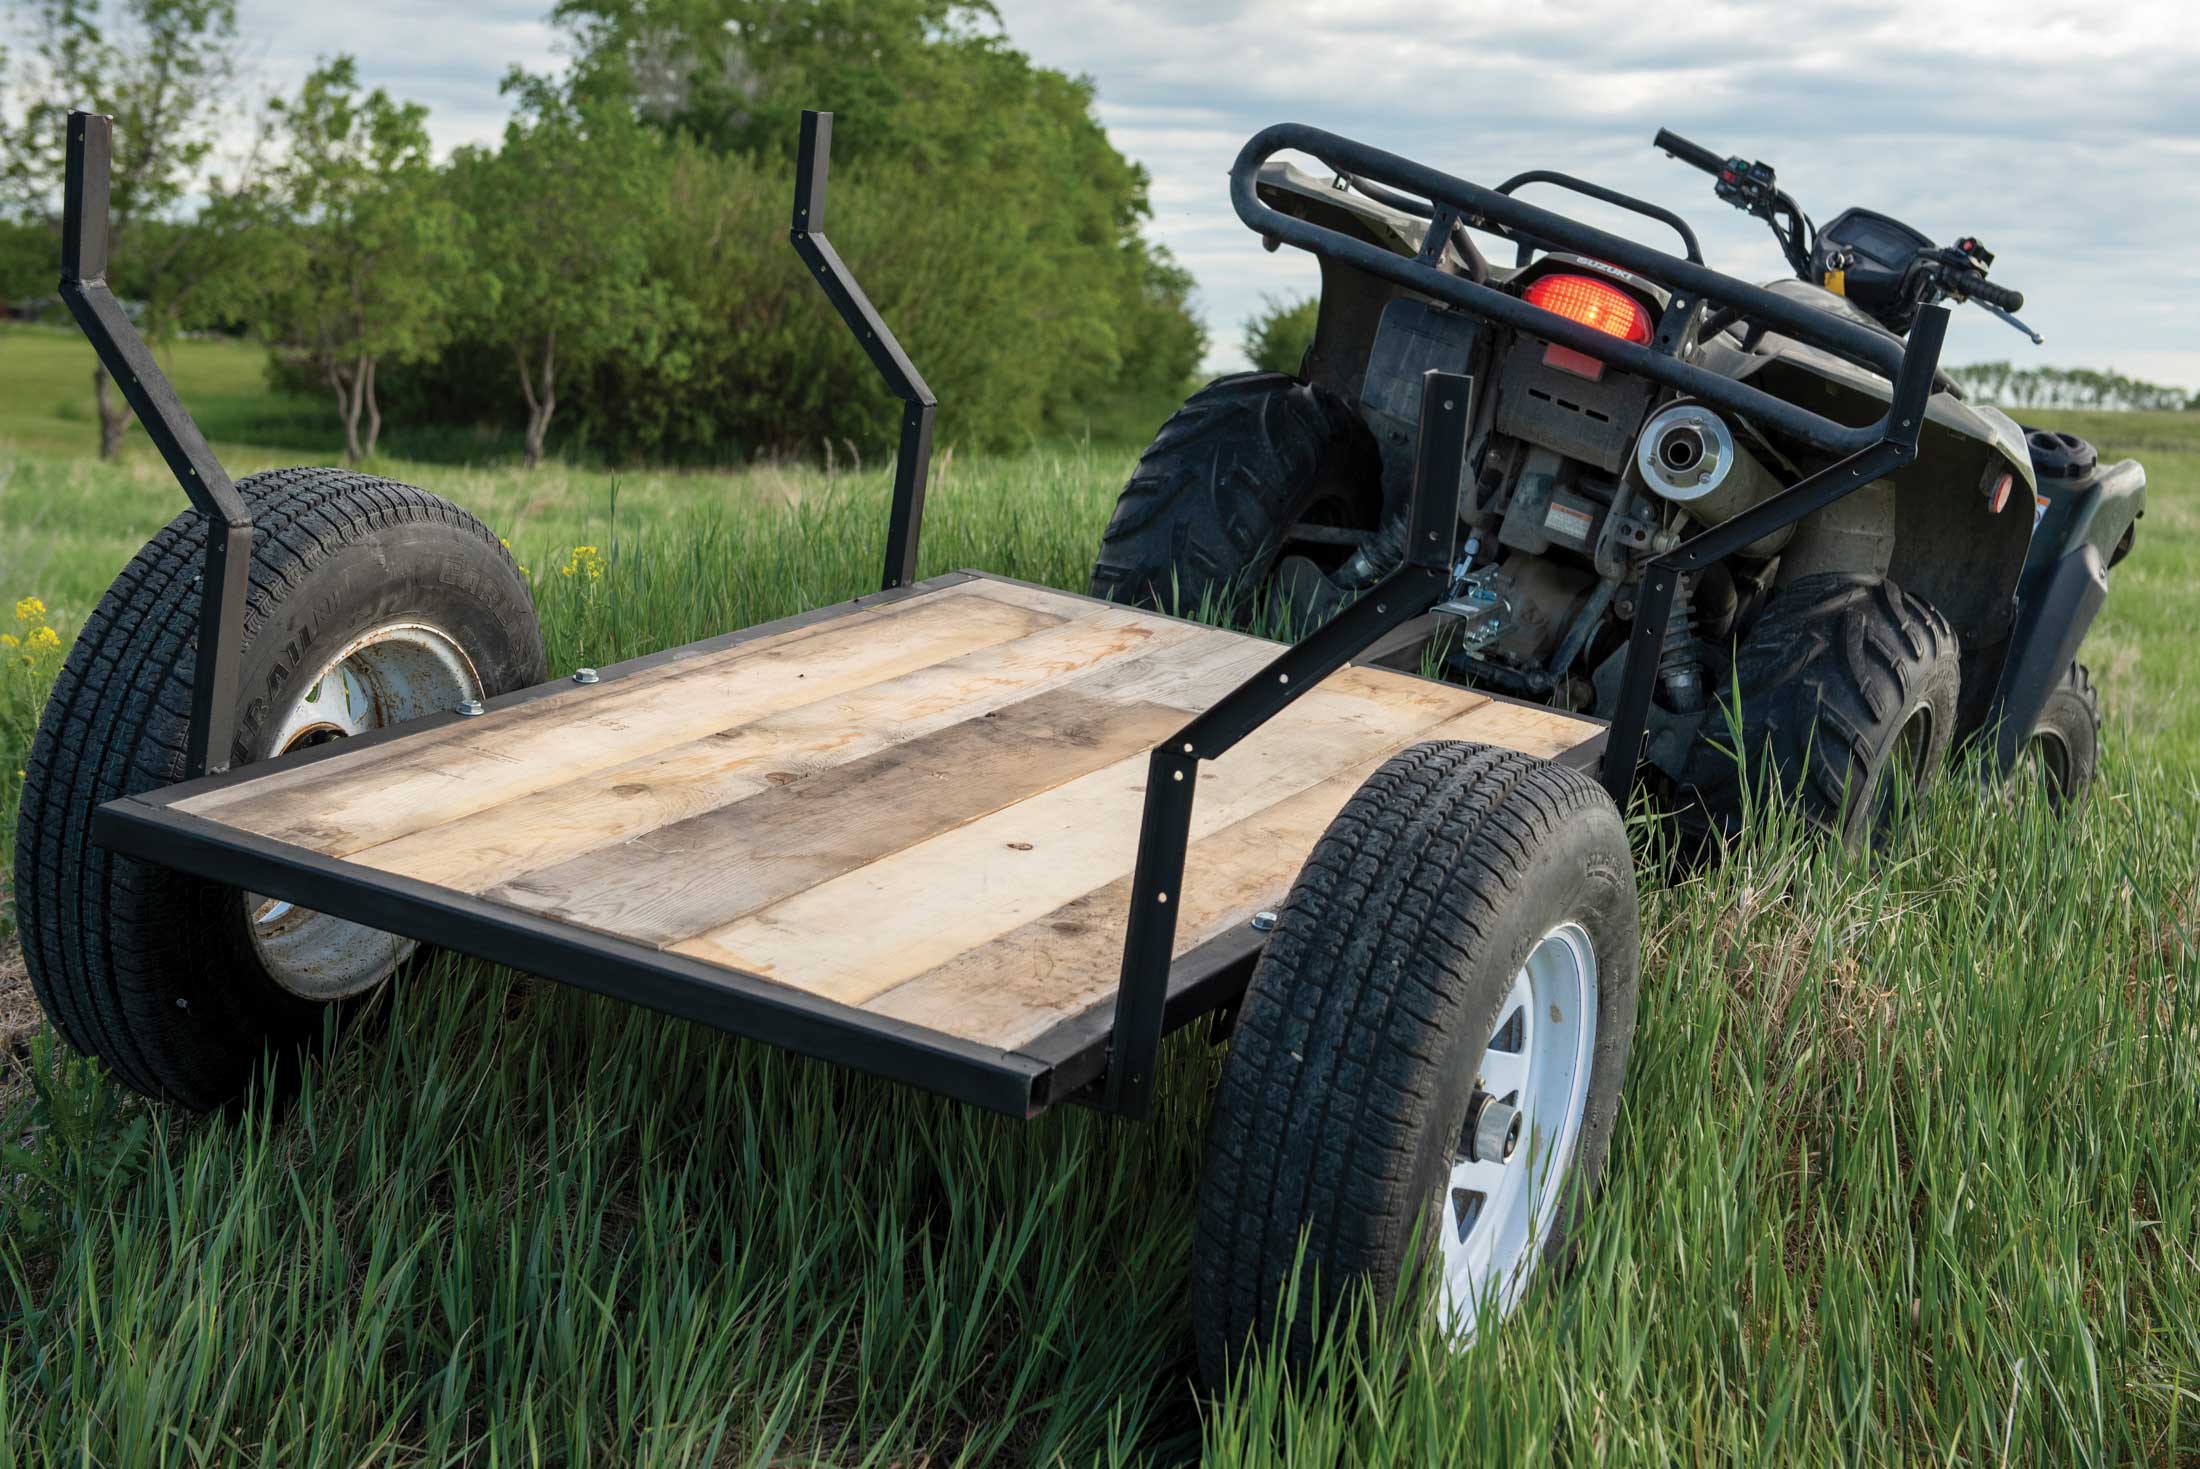
After the trailer frame and deck was built, it was time to focus on the sides. For now, I just needed a cart to haul logs and game out of the field, so I added arms that flare out from the trailer for more capacity. An alternative is quick-detach brackets and modular sides to slide in, to suit your adventure.
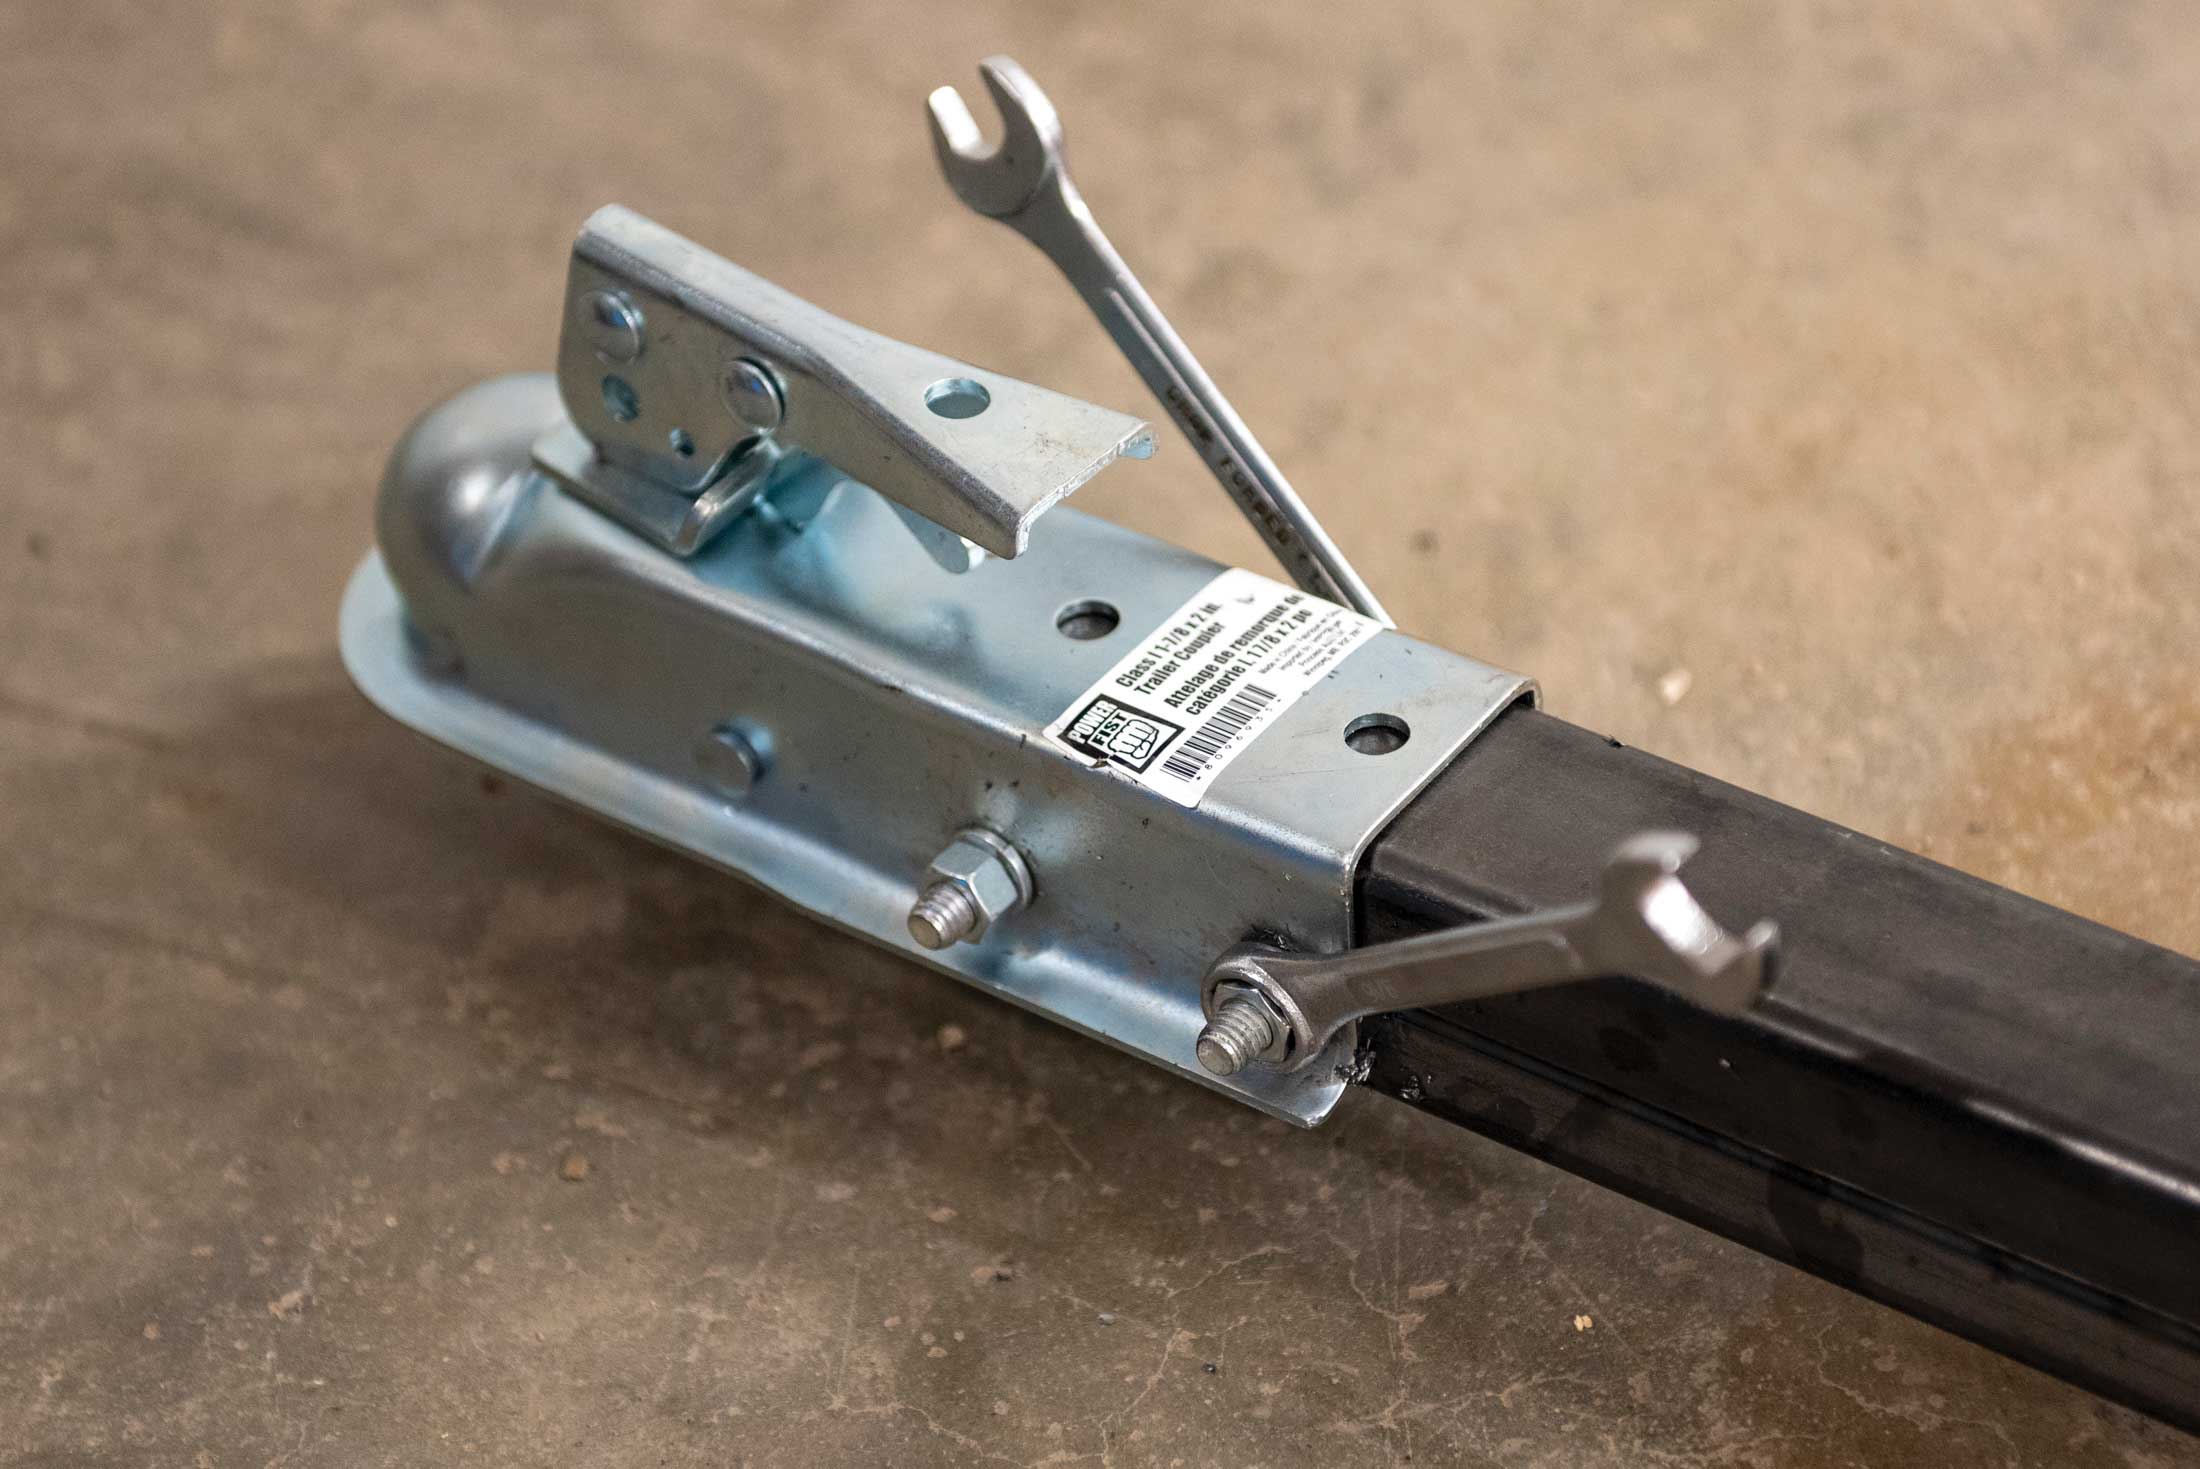
The last step was installing a trailer coupler. I used a standard part-store aluminum ball-hitch coupler, simply bolting the basic coupler through the tongue. I admit, I do admire the swivel hitch designs for safety considerations in rough terrain – if you misjudge your centre of gravity, your cart can tip without flipping the ATV on its side as well.
I had a great deal of fun researching and building this project. I learned new skills and created something that makes me proud to look at and use. Plus, I now have a custom trailer that is more solid and heavy-duty than most commercially made items of this size. If I wished to get it inspected and licenced, I could use it on the road behind my truck as well.
Have fun choosing your options and building your own utility trailer!
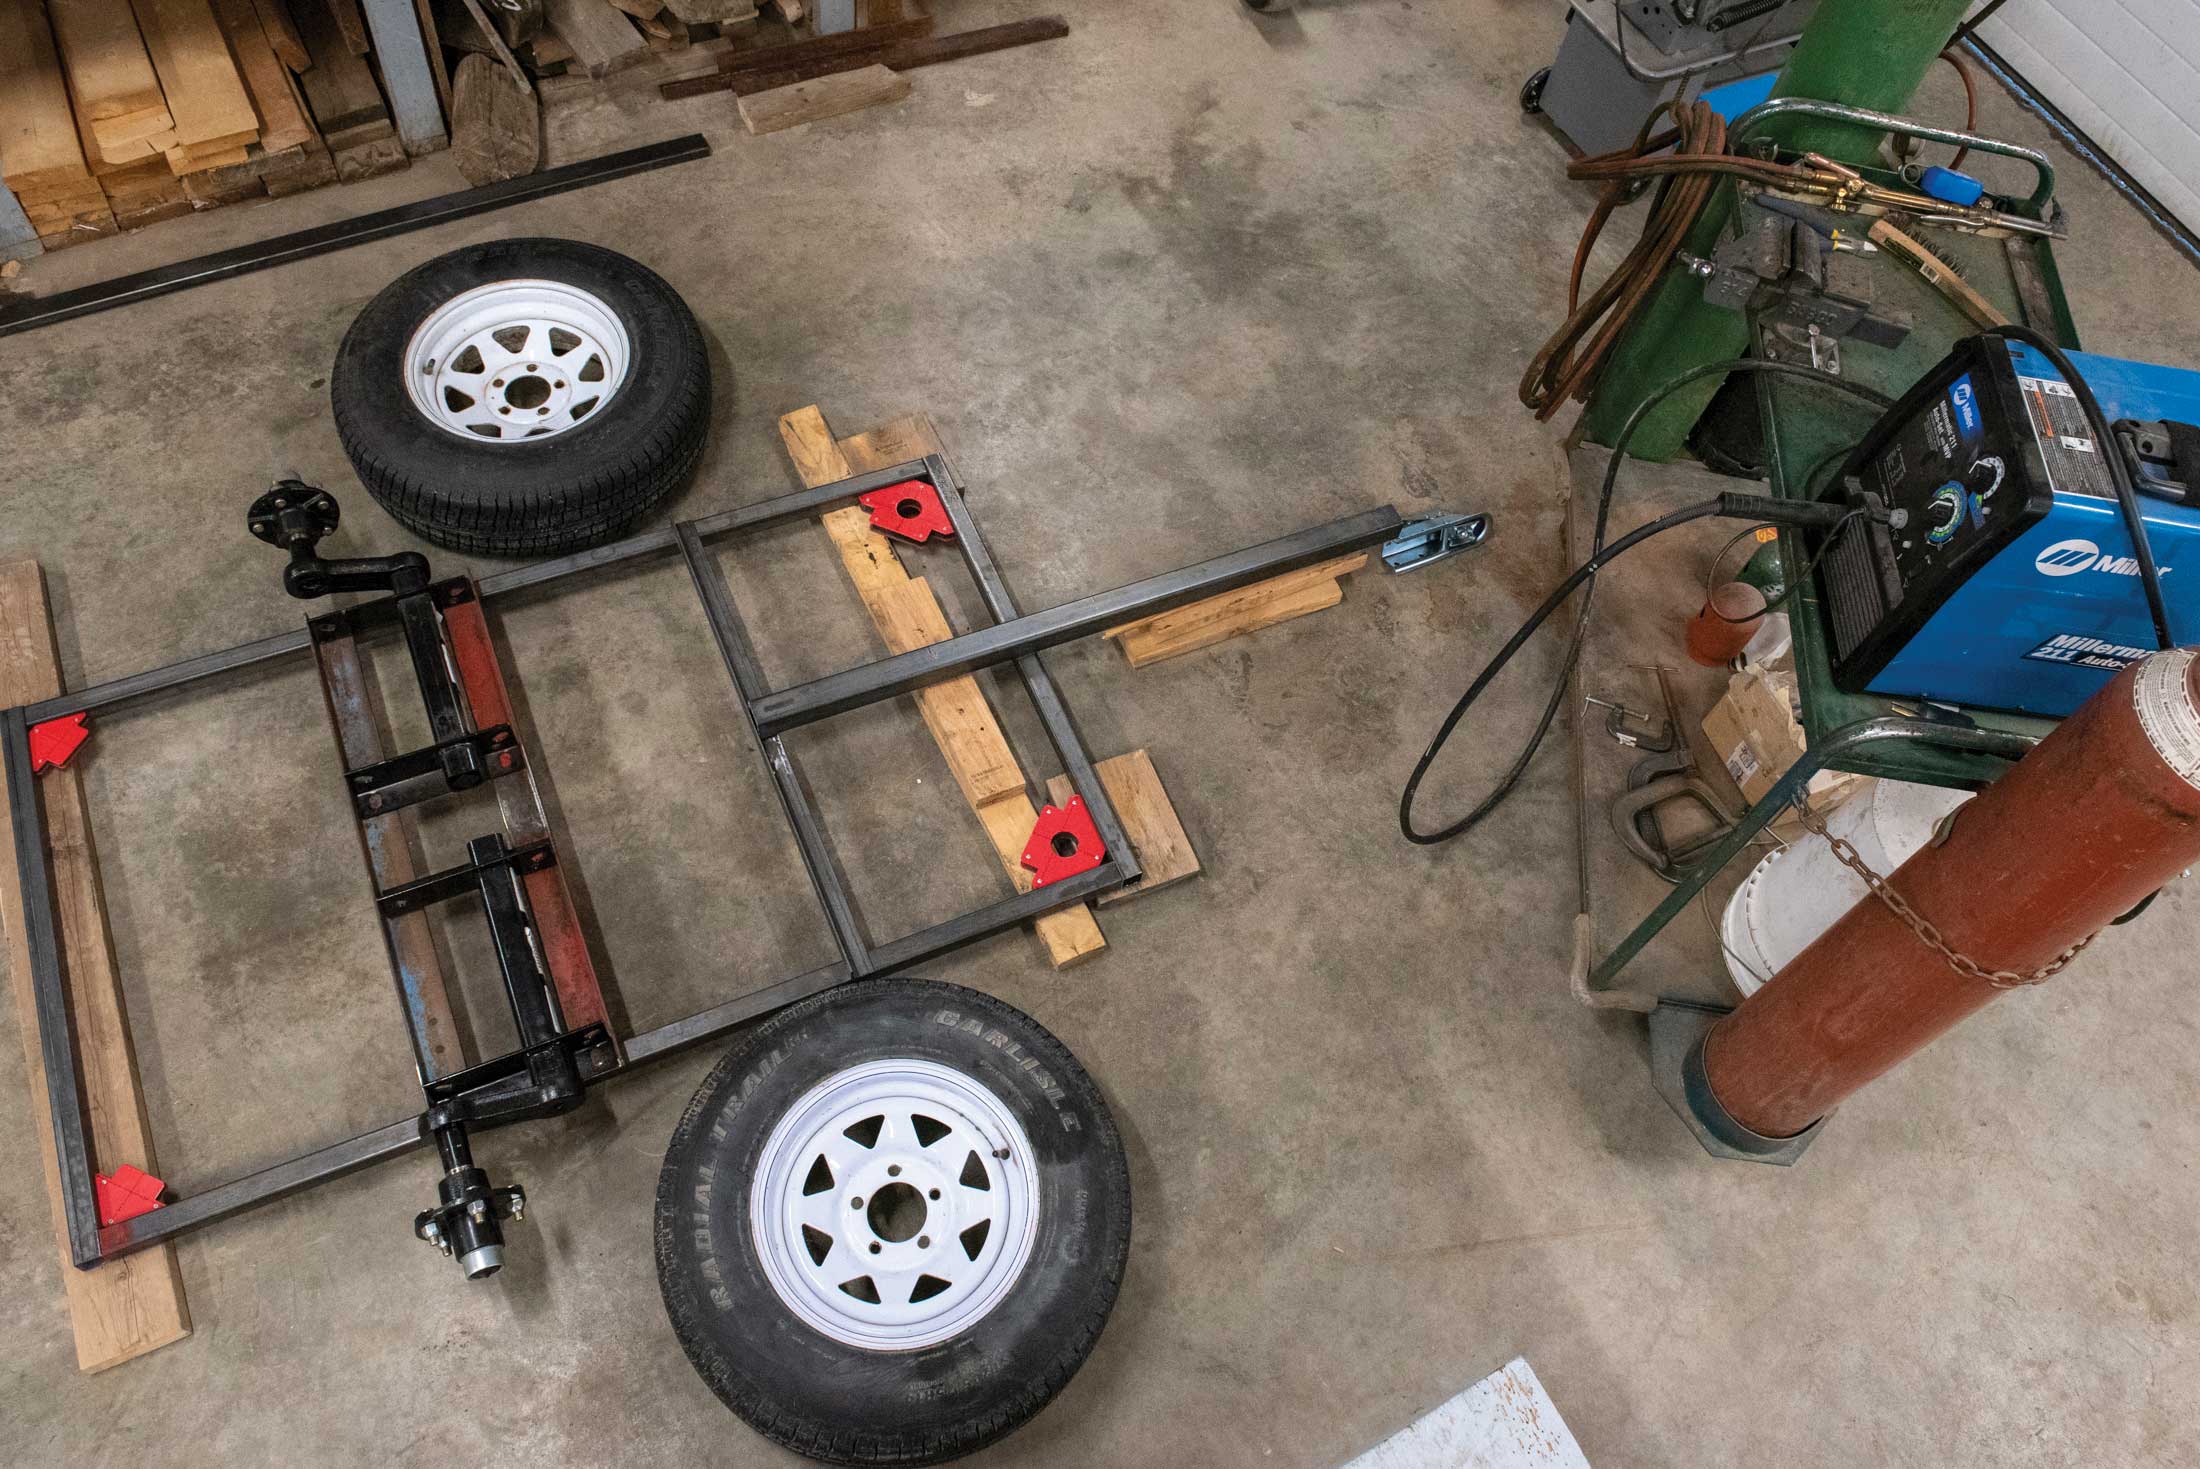
Step 1, plans and parts: I decided on the size, shape and parts specification for the trailer I wanted to build. I scrounged used metal where I could and purchased the parts and materials I needed.
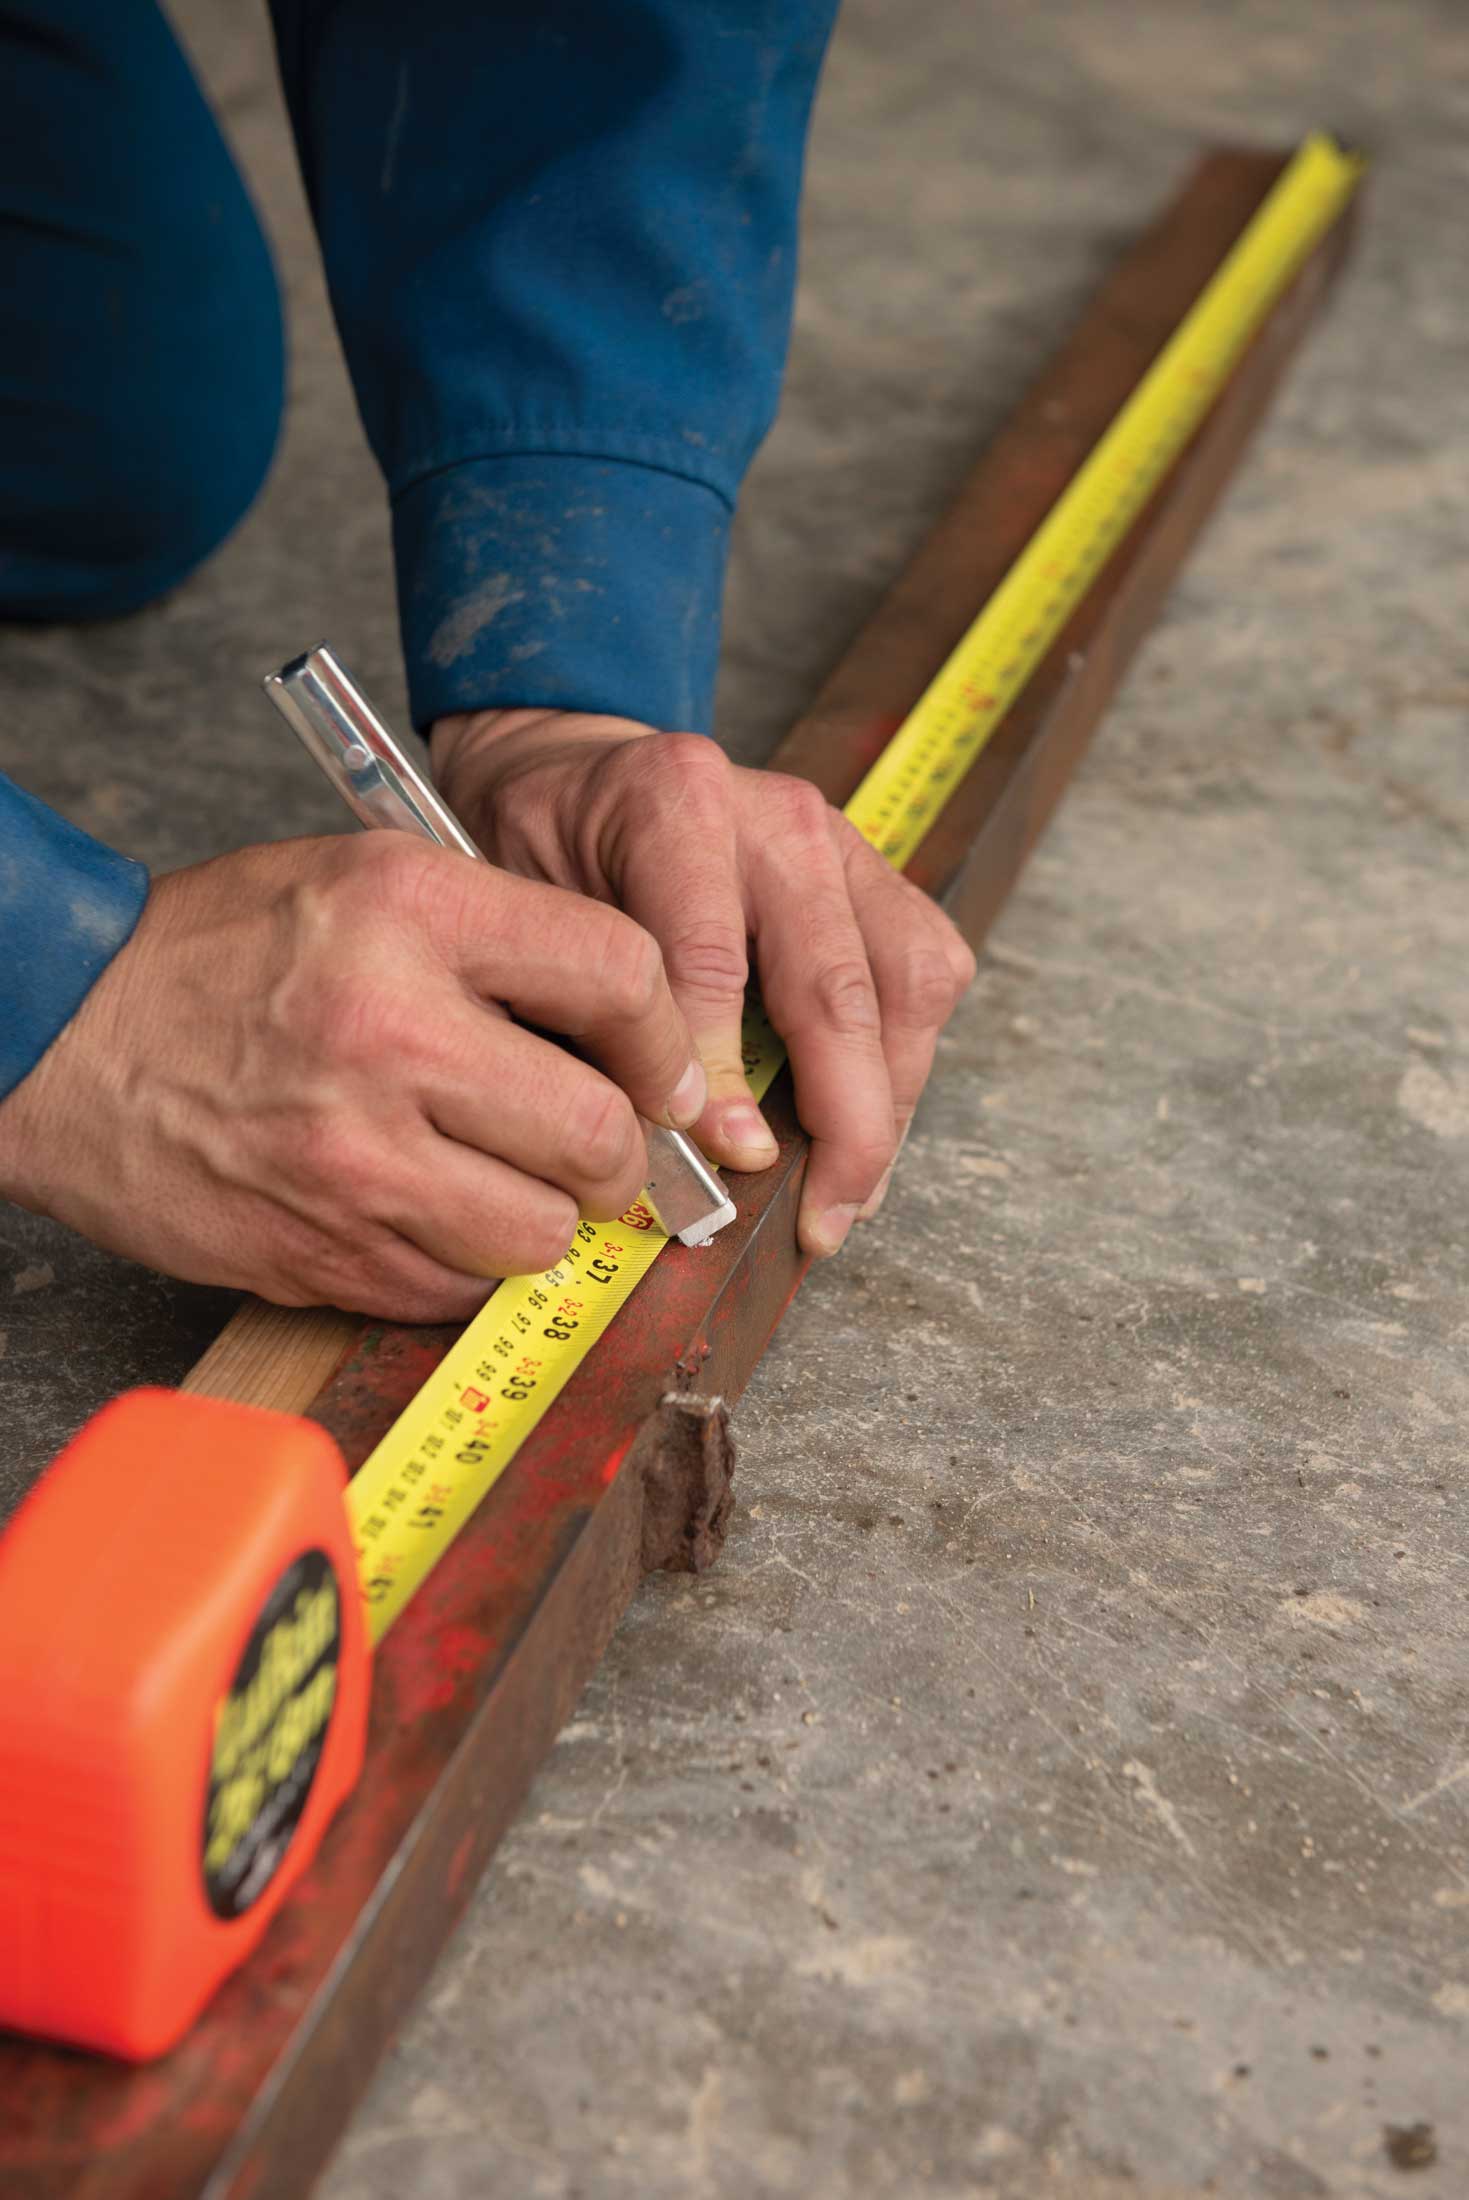
Step 2, layout: Metal parts measured and marked in preparation for cutting.
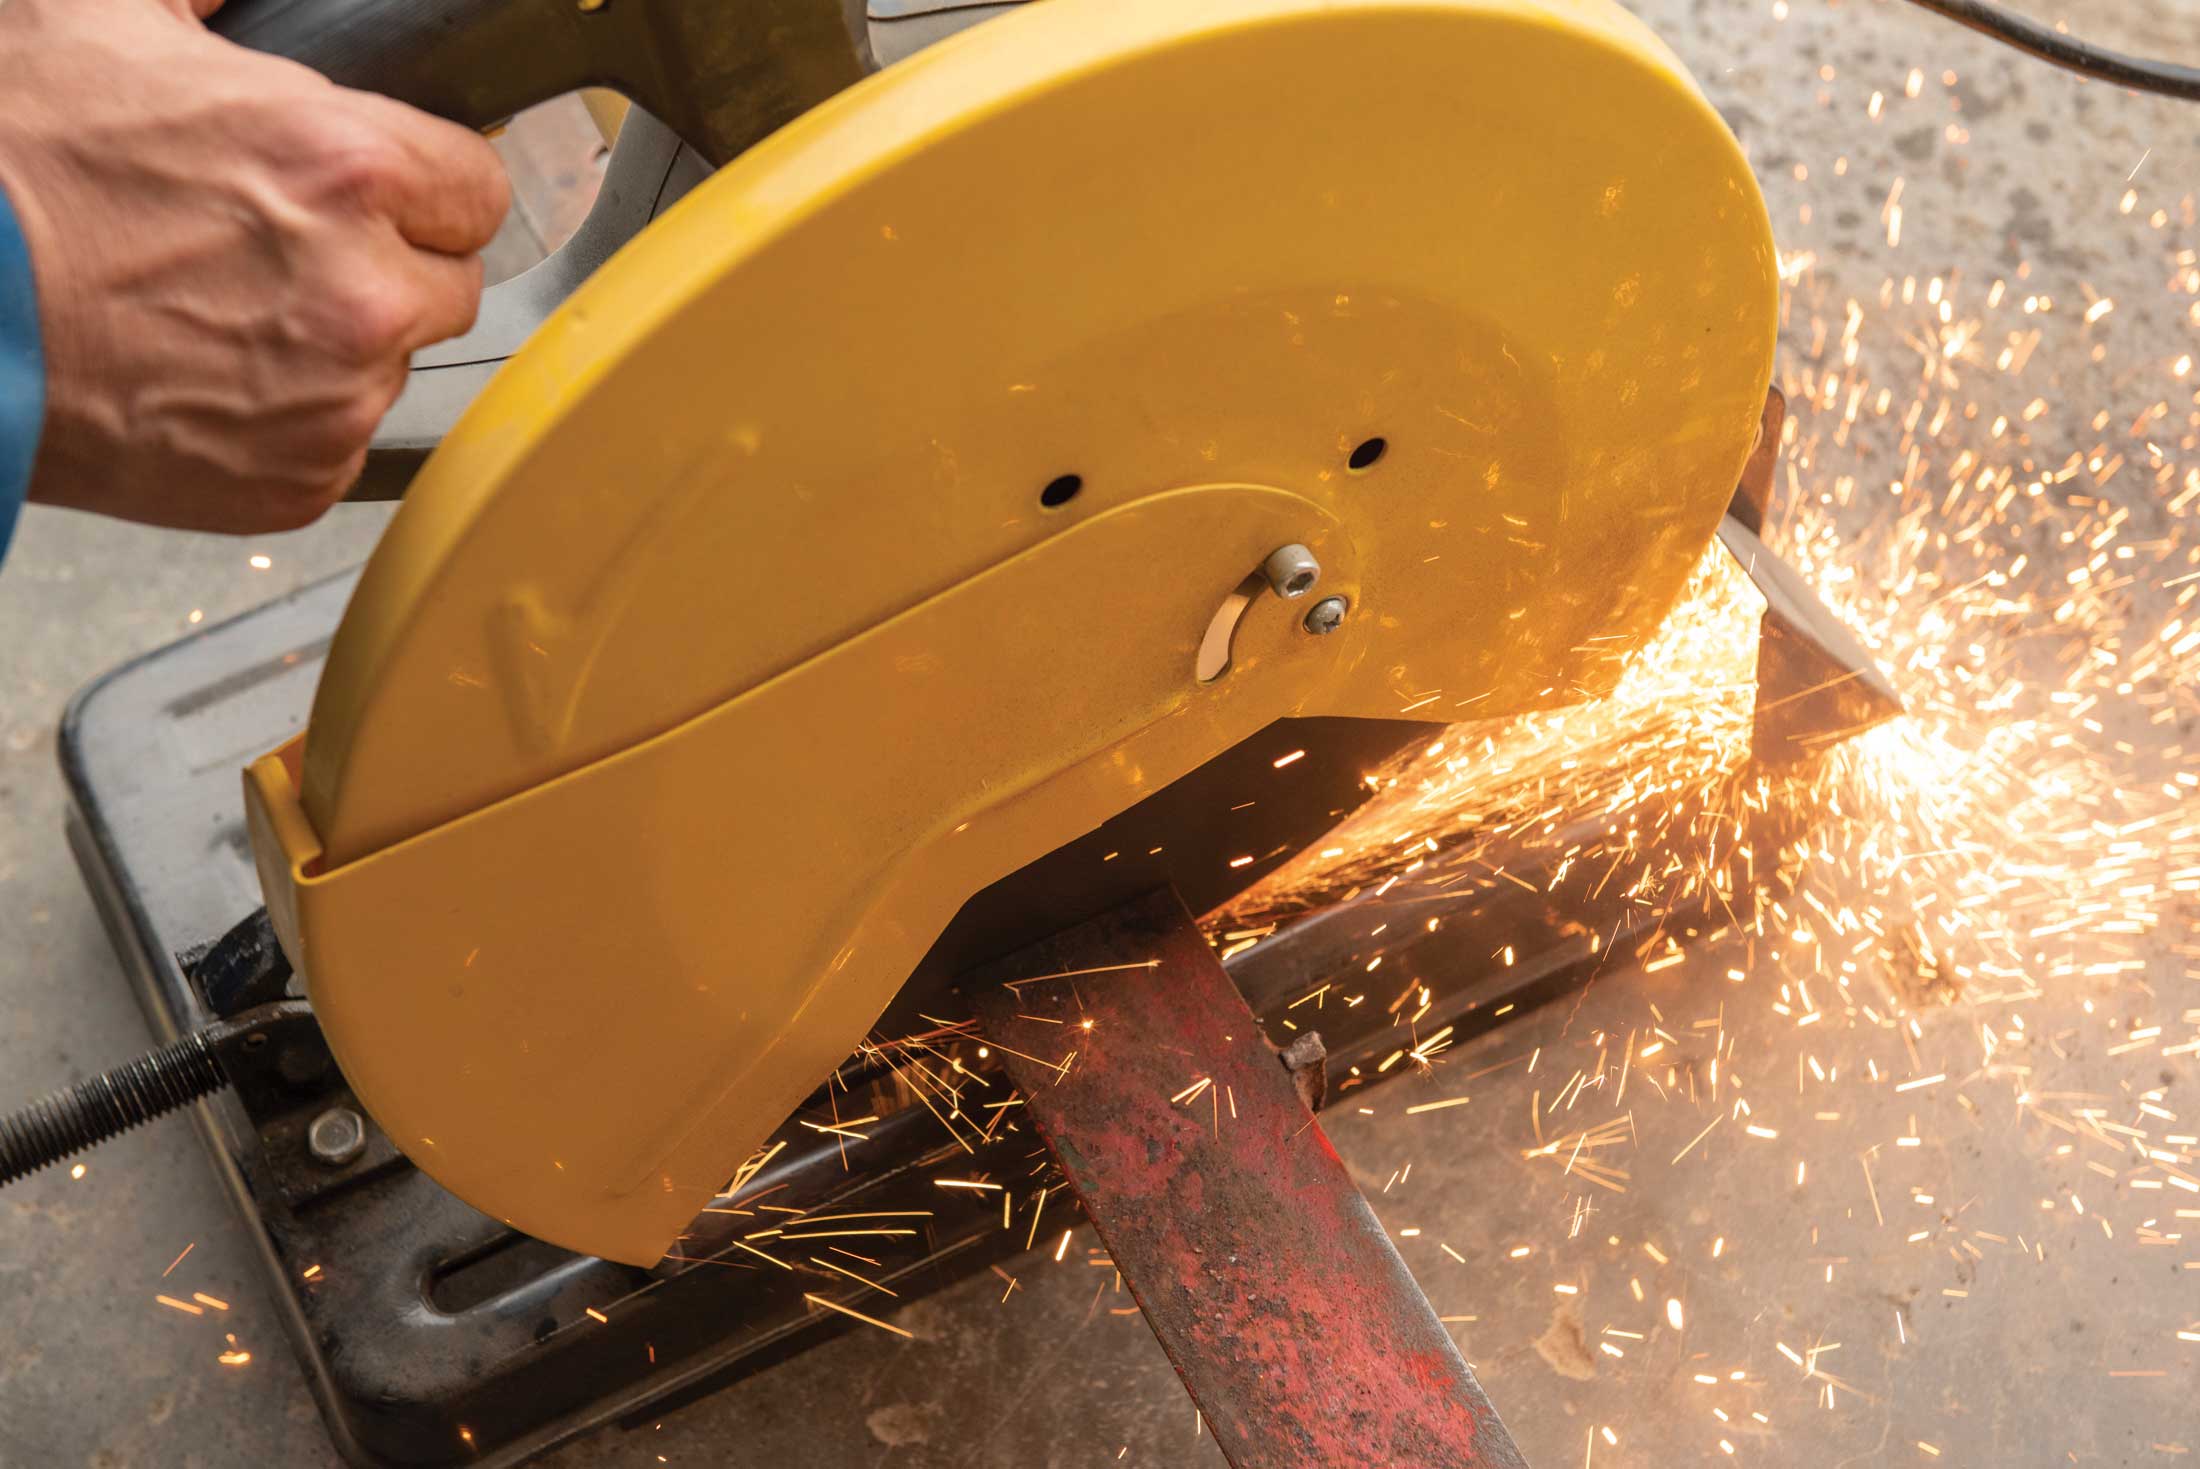
Step 3, cutting: I used a chop saw to cut most of the metal parts to length. A metal cutting bandsaw is another method for cutting metal parts.
Step 4, metal preparation: Good metal preparation is crucial to good welds, especially when using recycled metal. Here, a wire brush on an angle grinder removes old paint and rust.
Step 5, welding: Magnetic clamps hold the workpiece while welding, keeping everything square. For the perfect fit, the axle assemblies were used as a spacer while the supports were tack-welded into place.
Step 6, painting: After welding the frame, the steel was painted before assembling.
Step 7A, assembly: The axel assemblies were bolted onto the frame supports, followed by tire installation.
Step 7B, assembly: The hitch coupler was bolted to the tongue to facilitate future upgrades or replacement.
Step 8, final details: Install side arms and pre-cut decking.
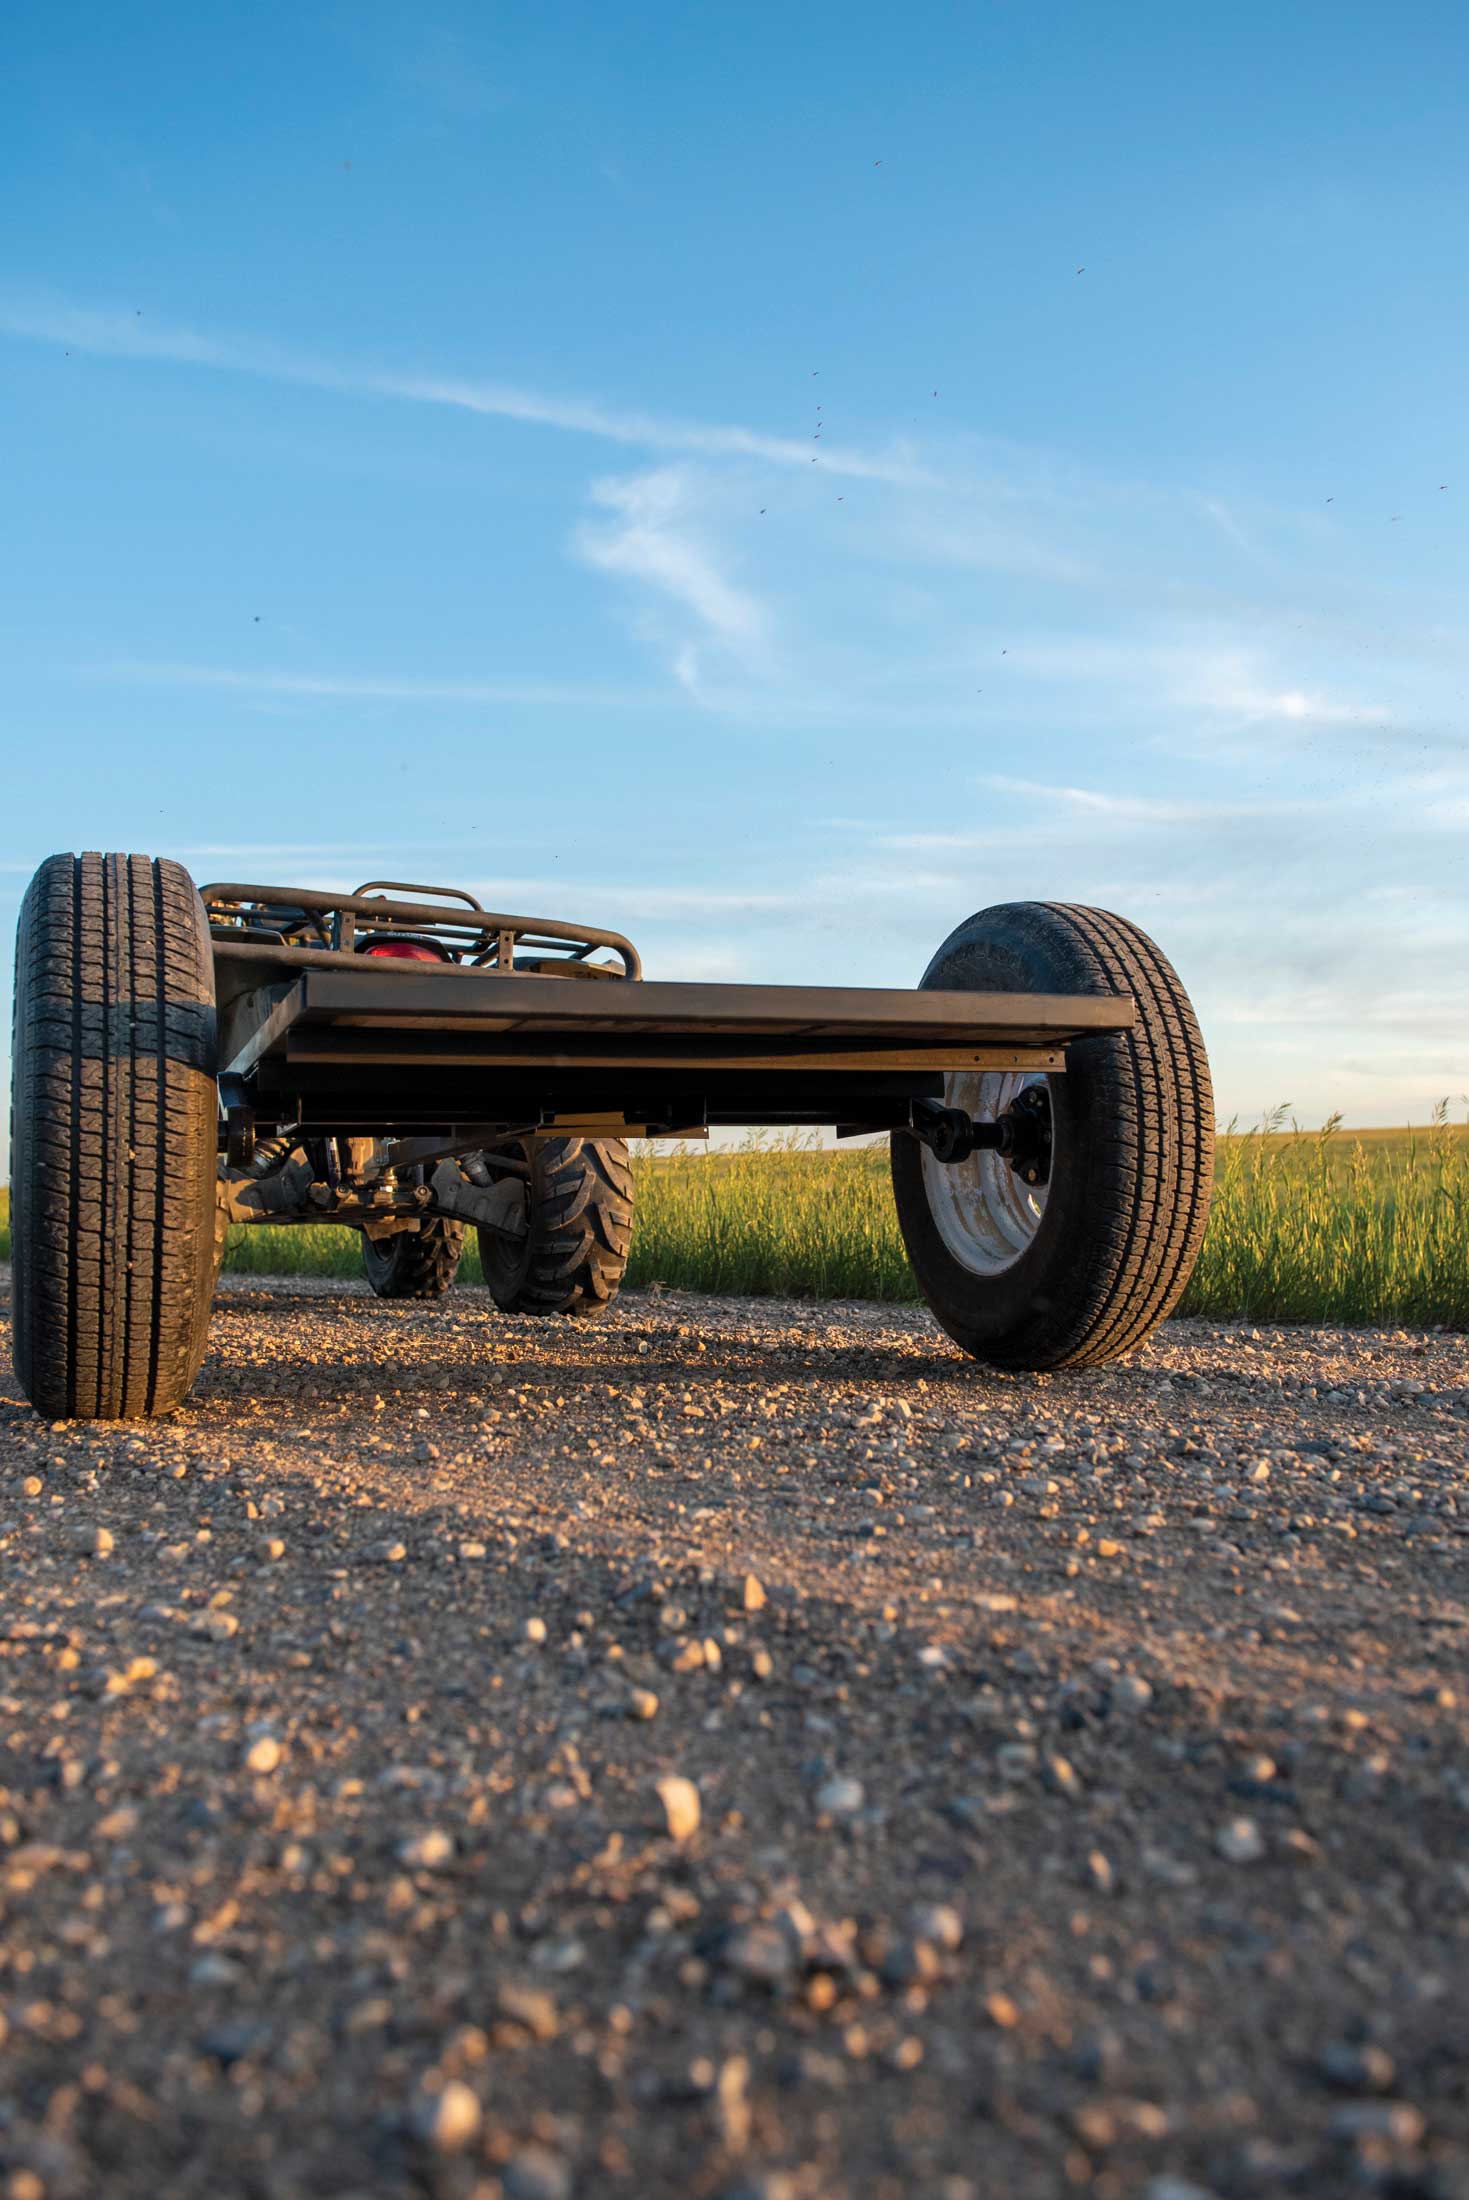 The final product, showing clearance, axel assembly and tires.