
Anglers and hunters own some highly specialized gear. Much of it is exclusive to our particular pursuits, but there’s at least one item we share with our neighbours down the street: the lowly binocular. But as common as this optical tool is, few people understand the basics of how one works, how to adjust it for maximum performance or what to look for when making a purchase. Whether you’re looking for maximum performance from your own binocular or are in the market for a new one, understanding some binocular basics will go a long way toward owning an optical device that does exactly what you need it to do.
Advertisement
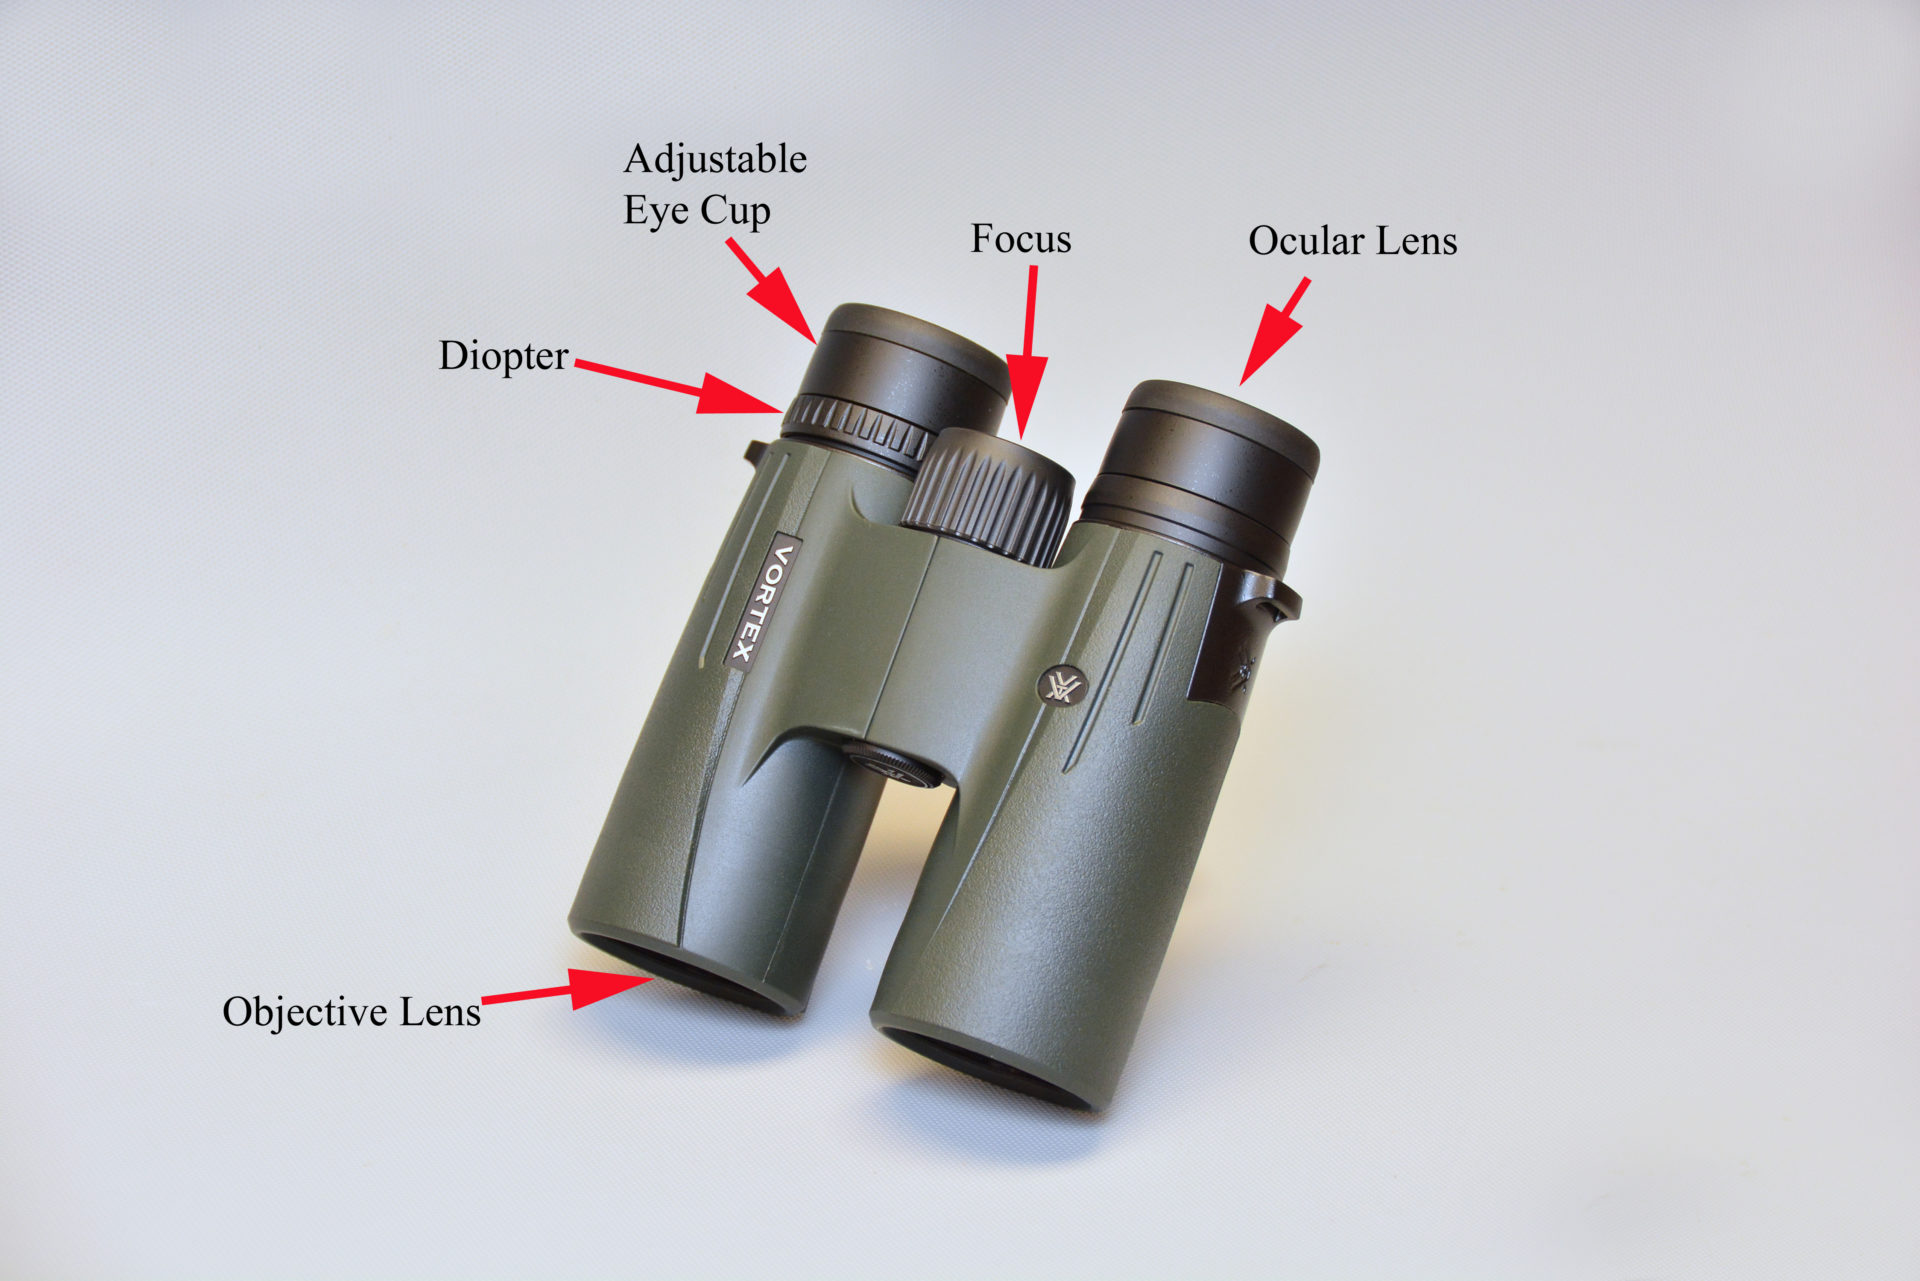 Understanding the major parts of a binocular is imperative to adjusting them properly.
Binocular Design
A quick look at any binocular quickly reveals its basic design, with Porro prism and roof prism designs being the most common.
Roof prism binoculars have barrels which are essentially straight tubes. From the exterior, it appears as if light enters at one end and travels in a straight line to the viewer’s eye. But actually, light makes two 90-degree turns and three angled turns inside that tube. Prisms positioned inside the binocular do the redirecting, and since their shape resembles a roof, we get the roof prism name. This design makes for a smaller binocular, but one which is more expensive to manufacture because a higher degree of precision is required.
Advertisement
In Porro prism binoculars, a complicated light path is more obvious, as the dog-leg shape of the tubes makes it evident that light is being drastically redirected inside. This design’s name comes from its Italian inventor, Ignazio Porro. The Porro prism design makes for a larger binocular, and since it doesn’t require the degree of precision roof prisms do, they tend to occupy a lower price point. To their advantage, they provide a more three-dimensional view than roof prisms because their objective lenses are further apart. The design can also be modified into a reverse Porro prism, producing a compact binocular.
Numbers
Binoculars are also classified by a series of numbers, with a typical designation being 10X42. That first number is the amount of magnification the optic produces, while the second number is the diametre of the binocular’s objective lens, expressed in millimetres.
Advertisement
However, these numbers don’t tell the entire story. We also use them to determine exit pupil, which refers to the diametre of the shaft of light reaching the eye. If that shaft is smaller in diameter than the pupil, the viewer’s eye is effectively light-starved. When that shaft is larger than pupil diametre, light is being wasted. However, our pupils are constantly changing size based on light conditions, while a binocular’s exit pupil is fixed, creating a potential mismatch.
Determining a binocular’s exit pupil size is done by dividing the objective lens size by magnification, meaning our 10X42 binocular has an exit pupil of 4.2 millimetres. But pupil sizes range from about two millimetres in sunshine to seven millimetres in darkness, with age-over-50 eyes having a maximum size of about five millimetres. This makes it important to decide under what light conditions you’ll do most of your viewing. Remembering, too, that 12X is about the highest magnification which can be handheld with any degree of stability, and objective lenses of 50 millimetres or larger quickly get bulky and heavy.
It all makes the selection of the right binocular an exercise in compromise. The smallest binoculars are handy and lightweight, but will appear dim when trying to pick a deer out of the shadows at sunrise. Although a binocular with large lenses will do that job nicely, it will be so large and heavy you’ll likely have left it in the truck.
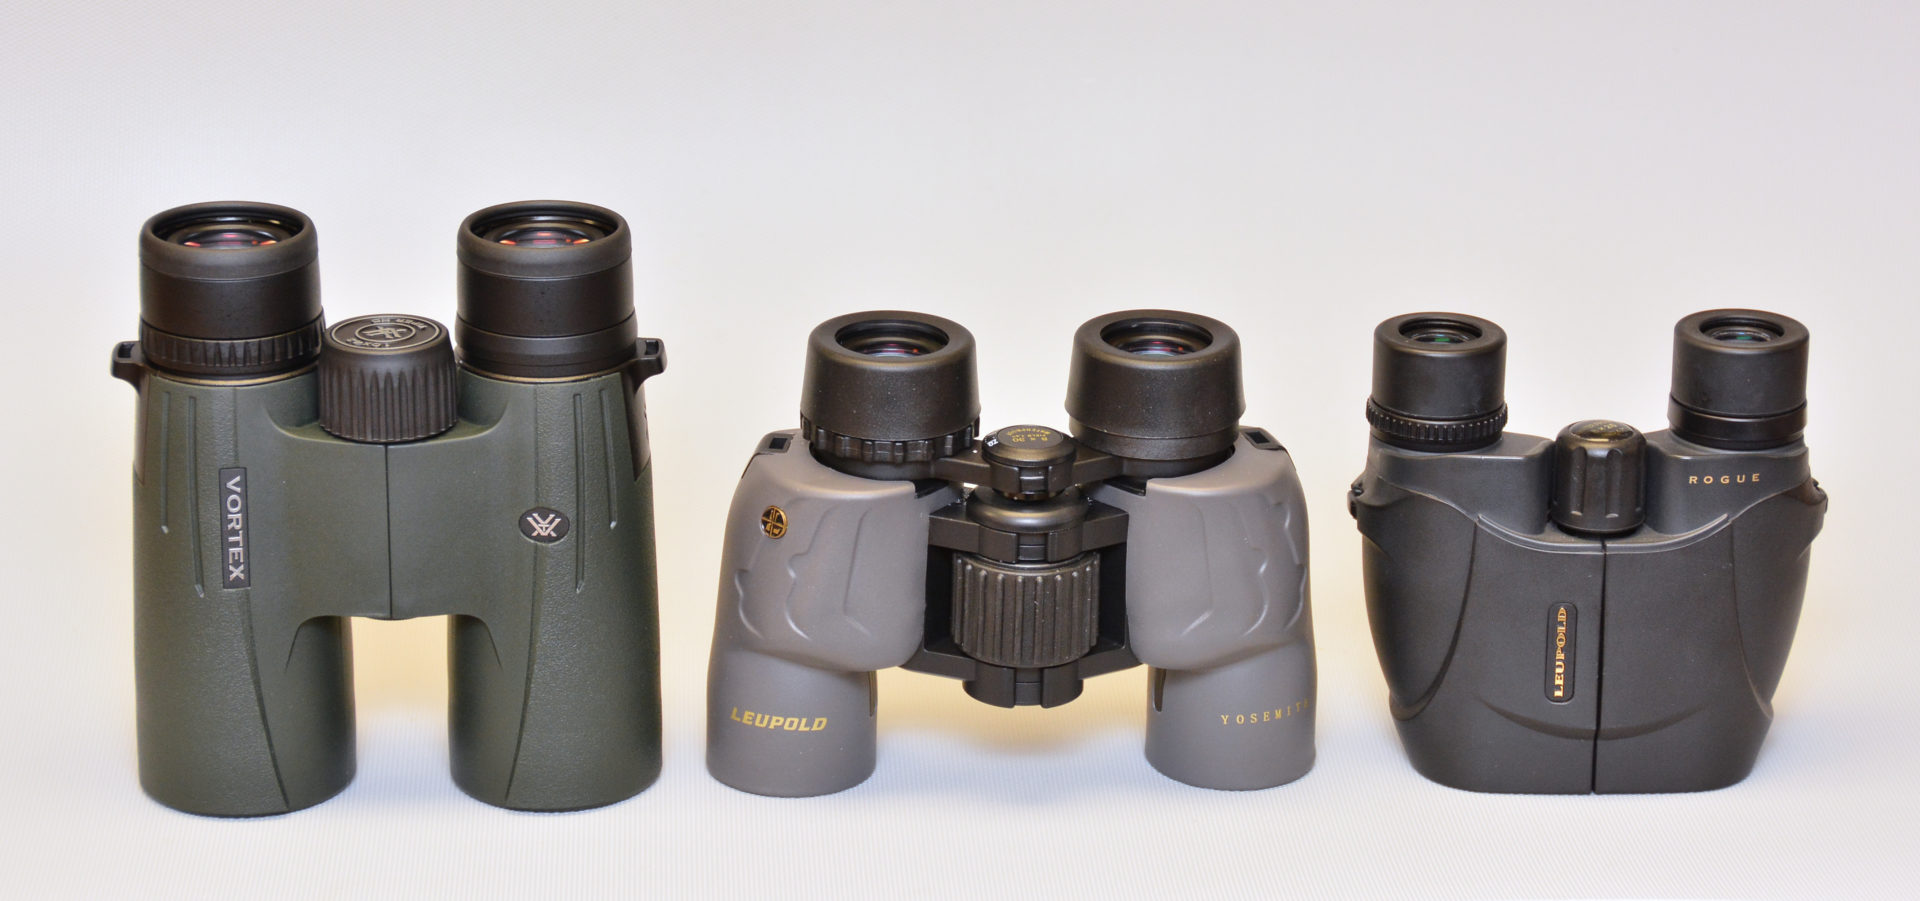 Binoculars use one of two basic designs: roof prism (left) or Porro prism (centre). The Porro prism design can also be reversed (right) to make a compact binocular.
Glass
The lenses in a binocular are key components to image quality and viewing without eye strain. And as you’d expect, the better the glass, the more expensive the binocular. However, most people don’t realize that best-quality glass is significantly heavier than standard-quality glass, making light weight and quality mutually exclusive. To offset this, manufacturers use lighter-weight components like magnesium in the body/chassis construction. This helps with weight, but those components are also more expensive, and the combination begins to explain why top-quality binoculars are so pricey.
When looking at binocular specifications, you’ll invariably see terms like ED (extra-low dispersion), LD (low dispersion), SLD (special low dispersion) and ELD (extraordinary low dispersion). While these indicate high-quality glass, there is no formal standard or specification for what they mean. They all have properties which reduce chromatic aberration, or colour fringing, and thus produce a better image.
While glass is important to image quality, so are the coatings applied to the glass. For example, if a binocular has 10 lens and prism surfaces, but none are coated, only about 60 per cent of the light entering the objective lens will reach the viewer’s eye. A single coating on these surfaces will bump that up to about 85 per cent, while multicoating all surfaces yields about 95 per cent light transmission. The phrase “fully multi-coated” in a binocular’s specifications indicates this highest level of coating technology. But coatings differ too, and every manufacturer has their own formulae and technique.
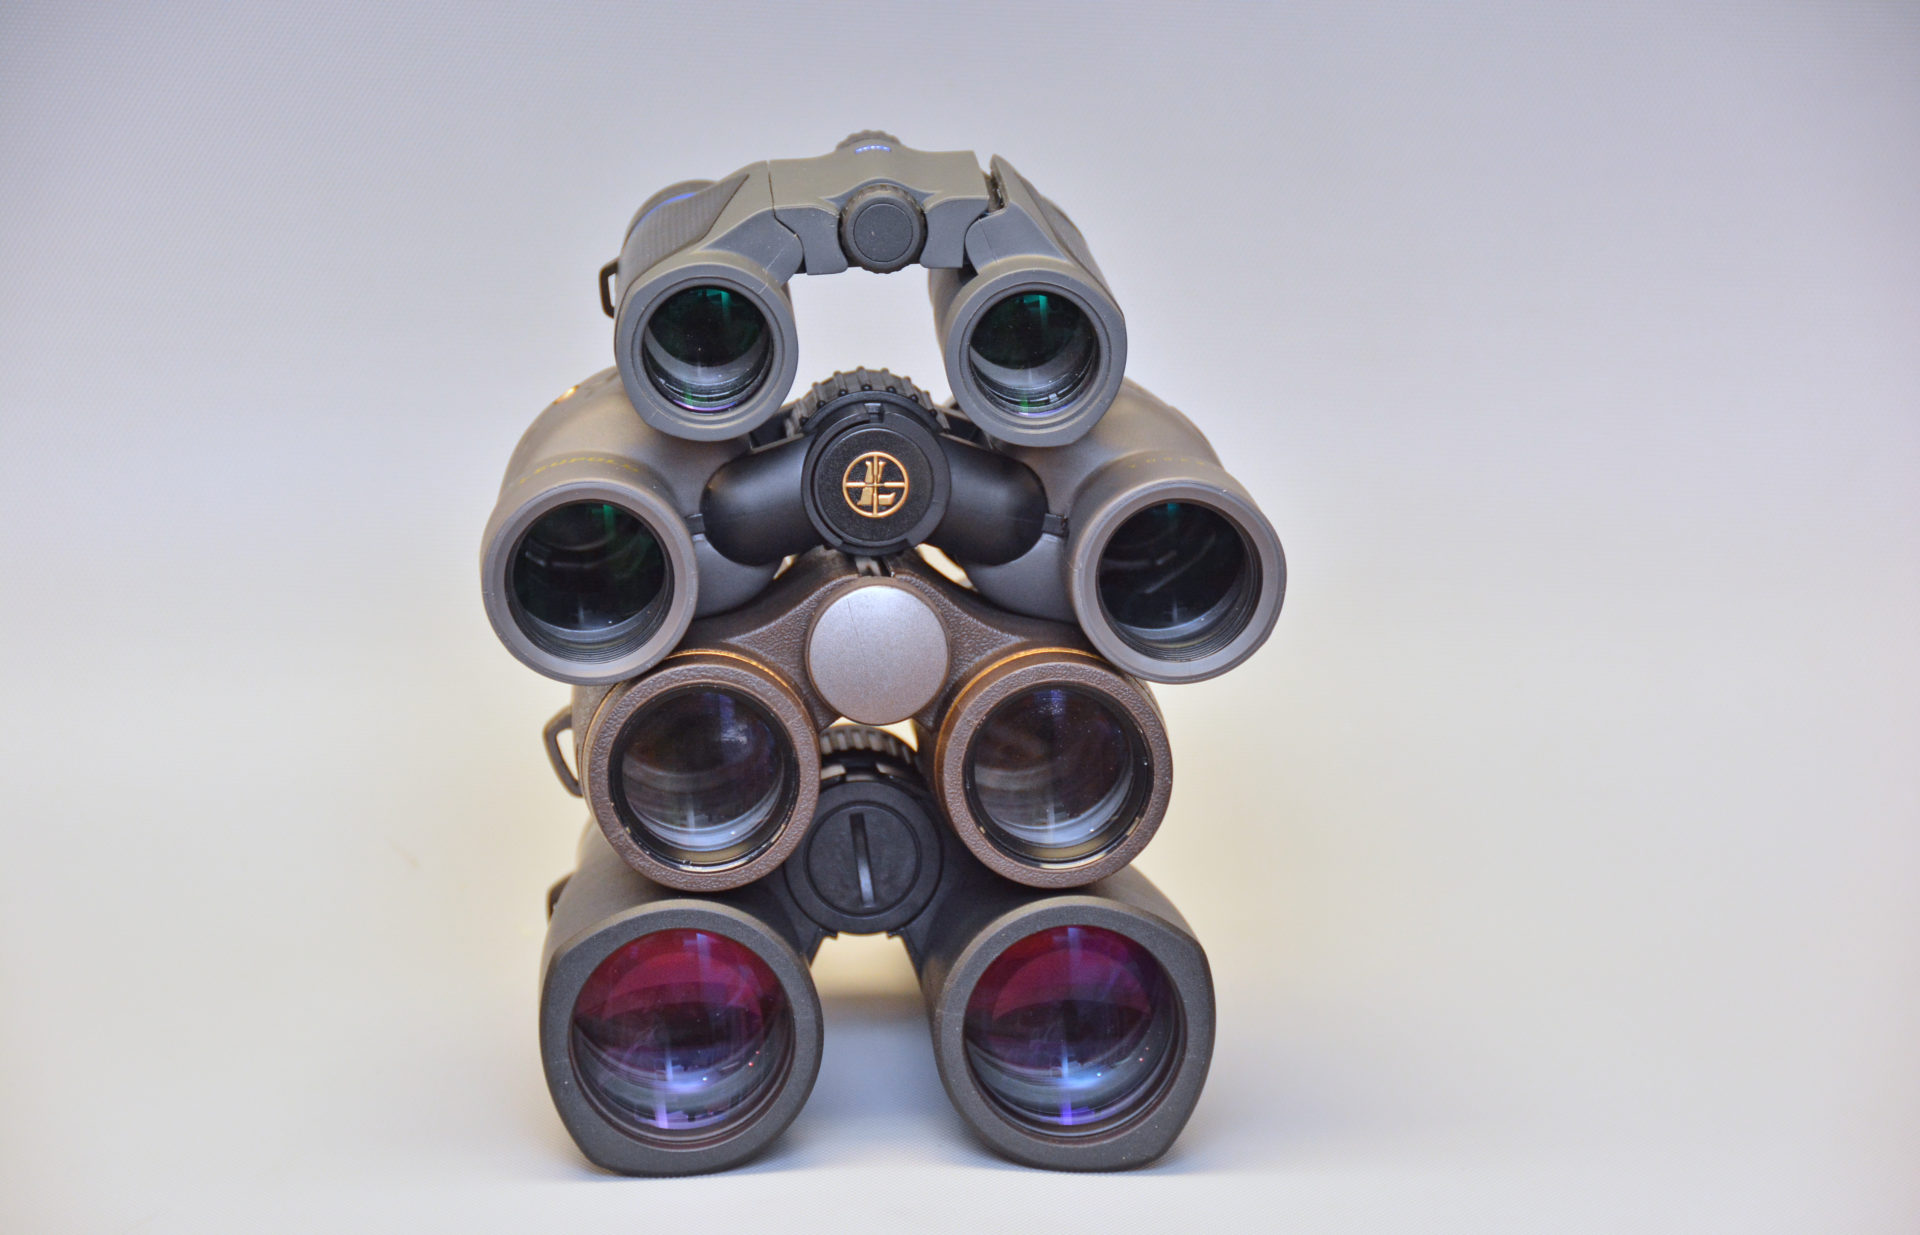 Objective lens size is a large determinate of how they perform in dim light. From top to bottom these optics have 25, 30, 32 and 42-millimetre objective lenses.
Adjusting Binoculars
If you’ve ever tried to share a binocular with someone else, you’ve likely discovered they need to be adjusted to an individual user. The following is a list of the steps needed to do that.
- Adjust the binocular’s eye cups. If you don’t wear glasses, extend them fully. If you do wear glasses, collapse them completely. If the eye cups are capable of intermediate steps, their position can be fine-tuned later.
- Adjust the interpupillary distance to suit your eye spacing. This is done by “bending” the binocular at its hinge, changing the distance between the left and right ocular lenses until you see a single round image.
- Focus the left barrel. With your right eye closed, turn the focus knob until the image is clear.
- Focus right barrel. With the left eye closed, rotate the diopter until the image seen by the right eye is focused.
That’s it. The binocular is now adjusted for your vision peculiarities, making this is a good time for a discussion about how to evaluate binoculars.
Evaluating Binoculars
Unfortunately, a store environment is a poor place to evaluate binoculars. That bright atmosphere which shoppers find inviting is only good for some of the tests you should perform. Chief among them is a look at a resolution chart, which a store serious about optics will have mounted to a distant wall opposite the optics counter. Take note first of the smallest lines/letters which can be clearly seen in the centre of the image. Then pay attention to the edges and the degree to which things are out of focus there. While at the edges, also look for curvature distortion.
Next, it’s time to go outside. Forget viewing through a store window as it will invariably distort the image. If the clerk won’t walk outside with you, leave and find a store where they will. Once you’re out, look for something like a roof antenna or a light pole with clear sky behind it. Focus on that and observe the edges. Looking closely, you may see a fringe of colour at those edges. This is called chromatic aberration and the better the binocular, the less of it you’ll see. If you’re focused on a tall vertical object, take the opportunity to also look for bending of the image, both in the centre of your view and with it stuffed over to the edge. If you’re lucky, there may be a brick wall in view, focus on it and look for bending of both the vertical and horizontal lines.
So far, you’ve evaluated the binocular in bright light. However, since even poor optics can look good in those conditions, it’s important to see how a binocular performs in the dim light around sunrise and sunset. This means you may have to return to the store at dusk and step outside again. Sometimes, a store has a dark enough corner near the ceiling which can suffice. Wherever you find them, use the binocular to investigate dark corners and deep shadows. Take note of what details are visible and how bright the image appears.
It’s also worth seeing how well a binocular handles too much light. After all, trying to look into the shadows of a treeline just below a rising or setting sun is a common situation. In these circumstances, a poorly designed binocular will fill with glare and be next to useless. An optic with better light management will cope well enough to deliver a useable image. Nothing beats an actual sunset/ sunrise to test this capability, but a very bright light fixture can provide some useful information. Never look directly at the sun, but putting a bright artificial light in the centre of a binocular’s image and trying to see detail just beyond it can be educational.
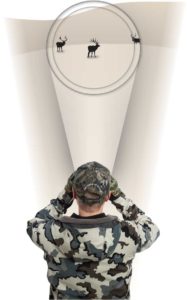 A binocular’s field of view is largely determined by its magnification. The higher the magnification, the smaller the field of view.
E-Optics
Any discussion of modern binoculars would be incomplete without a mention of models available with built-in laser rangefinders, the list of which grows yearly. I think it’s a great development, as it combines two optical devices into one. Some offerings even include the ability to measure atmospheric conditions and calculate ballistic solutions. Prices tend to be steep, but technological advancements and competition are pushing them down slowly. Be prepared to pay $1,400 to $5,000 for this kind of performance, so let the depth of your wallet be your guide.
The old rule about getting what you pay for applies to all binoculars. However, you don’t need to spend a ton of money to get a decent binocular, and even if you did, it might not fill your needs. It’s far more important to educate yourself and ensure the binocular you own matches your optical requirements and is properly adjusted to suit your unique vision characteristics.
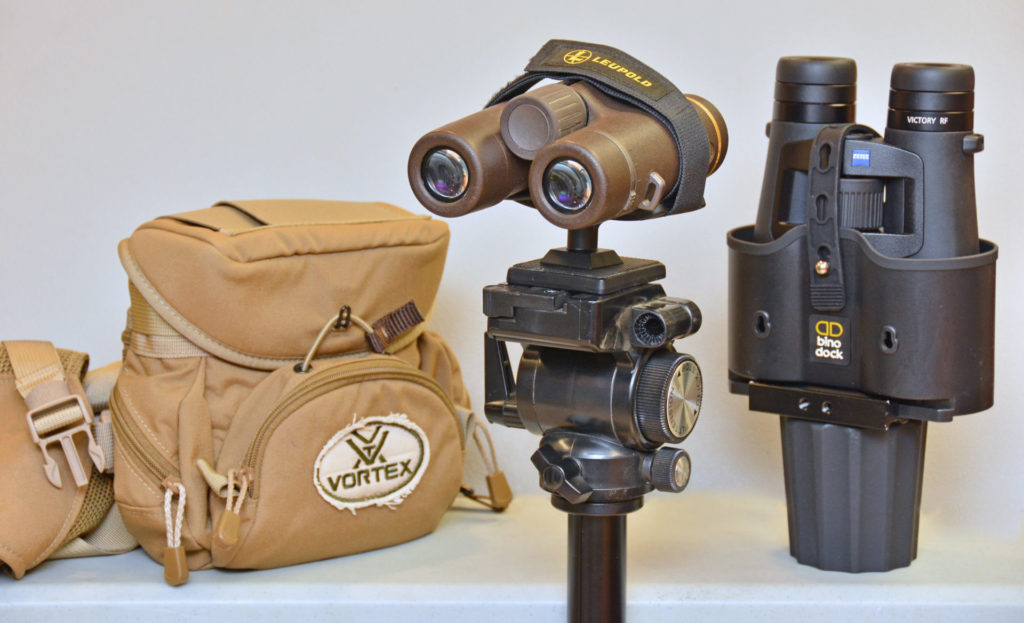
Binocular Accessories
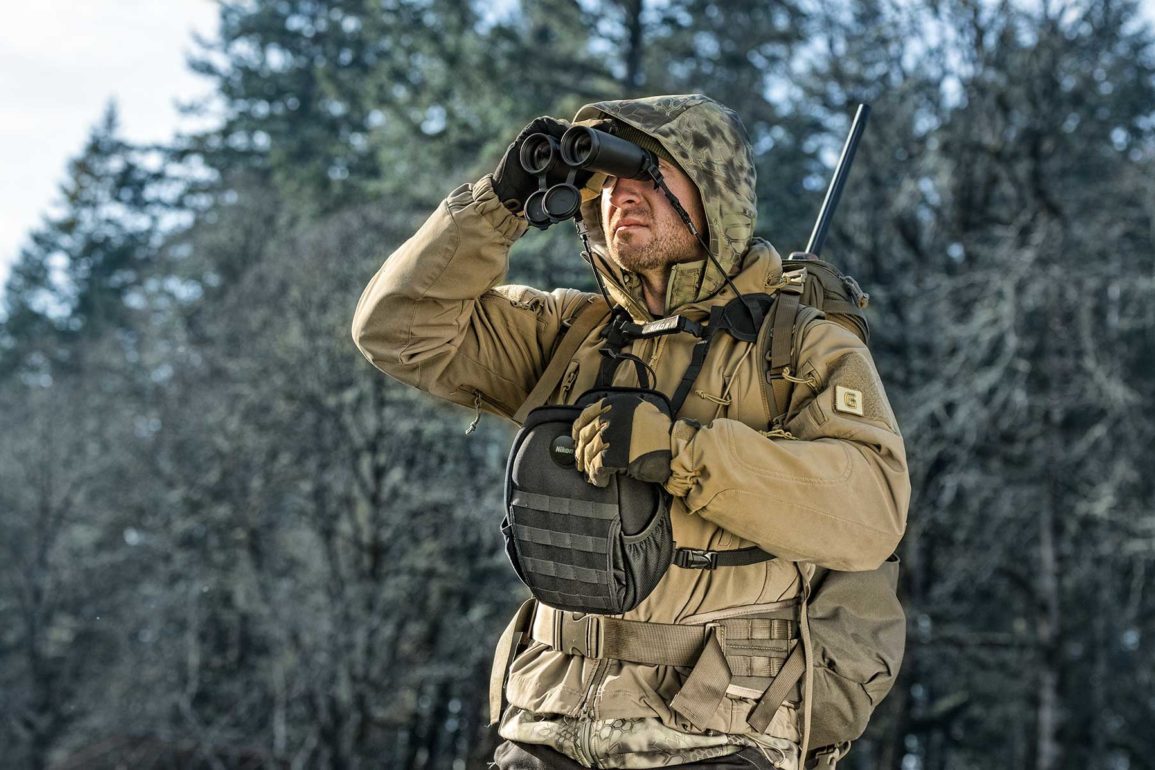
Binoculars are incredibly beneficial devices for outdoor people, and a few accessories can make them even more useful. If you carry full-size binoculars, a chest harness like Vortex’s Binocular Pack keeps them handy, protects that expensive glass and stops them from swinging about and interfering with other activities while walking or climbing. If your binoculars are more likely to live on a boat, OHV or truck, the Bino Dock turns a cupholder into a binocular holder, keeping them secure and available. And if you need to reduce fatigue and increase stability, Leupold’s Binocular Tripod Adaptor Tray is an inexpensive way to lock any binocular to a tripod.