
Maybe you grew up RVing with your parents, you’ve been camping in a tent with your girlfriend, and you now have kids but want to still get outdoors with your wife and children; or maybe you’ve been hunting in a wall tent for years and just want a little more home-like comfort. There are a million reasons for people to want to step into RV life, and all of them are great reasons. Having the comforts of home, or most of them at least, can take a stressful weekend with the kids in a tent and turn it into a full week of adventure with a safe, warm place to recount the day’s fun over a board game at the dinette table or escape a blustery mid-day storm beside your favourite fishing lake, warming up with cups of coffee and cocoa with a hot lunch cooked on an actual stove. Buying an RV can be an exciting step if done right, and a nightmare if done wrong.
Advertisement
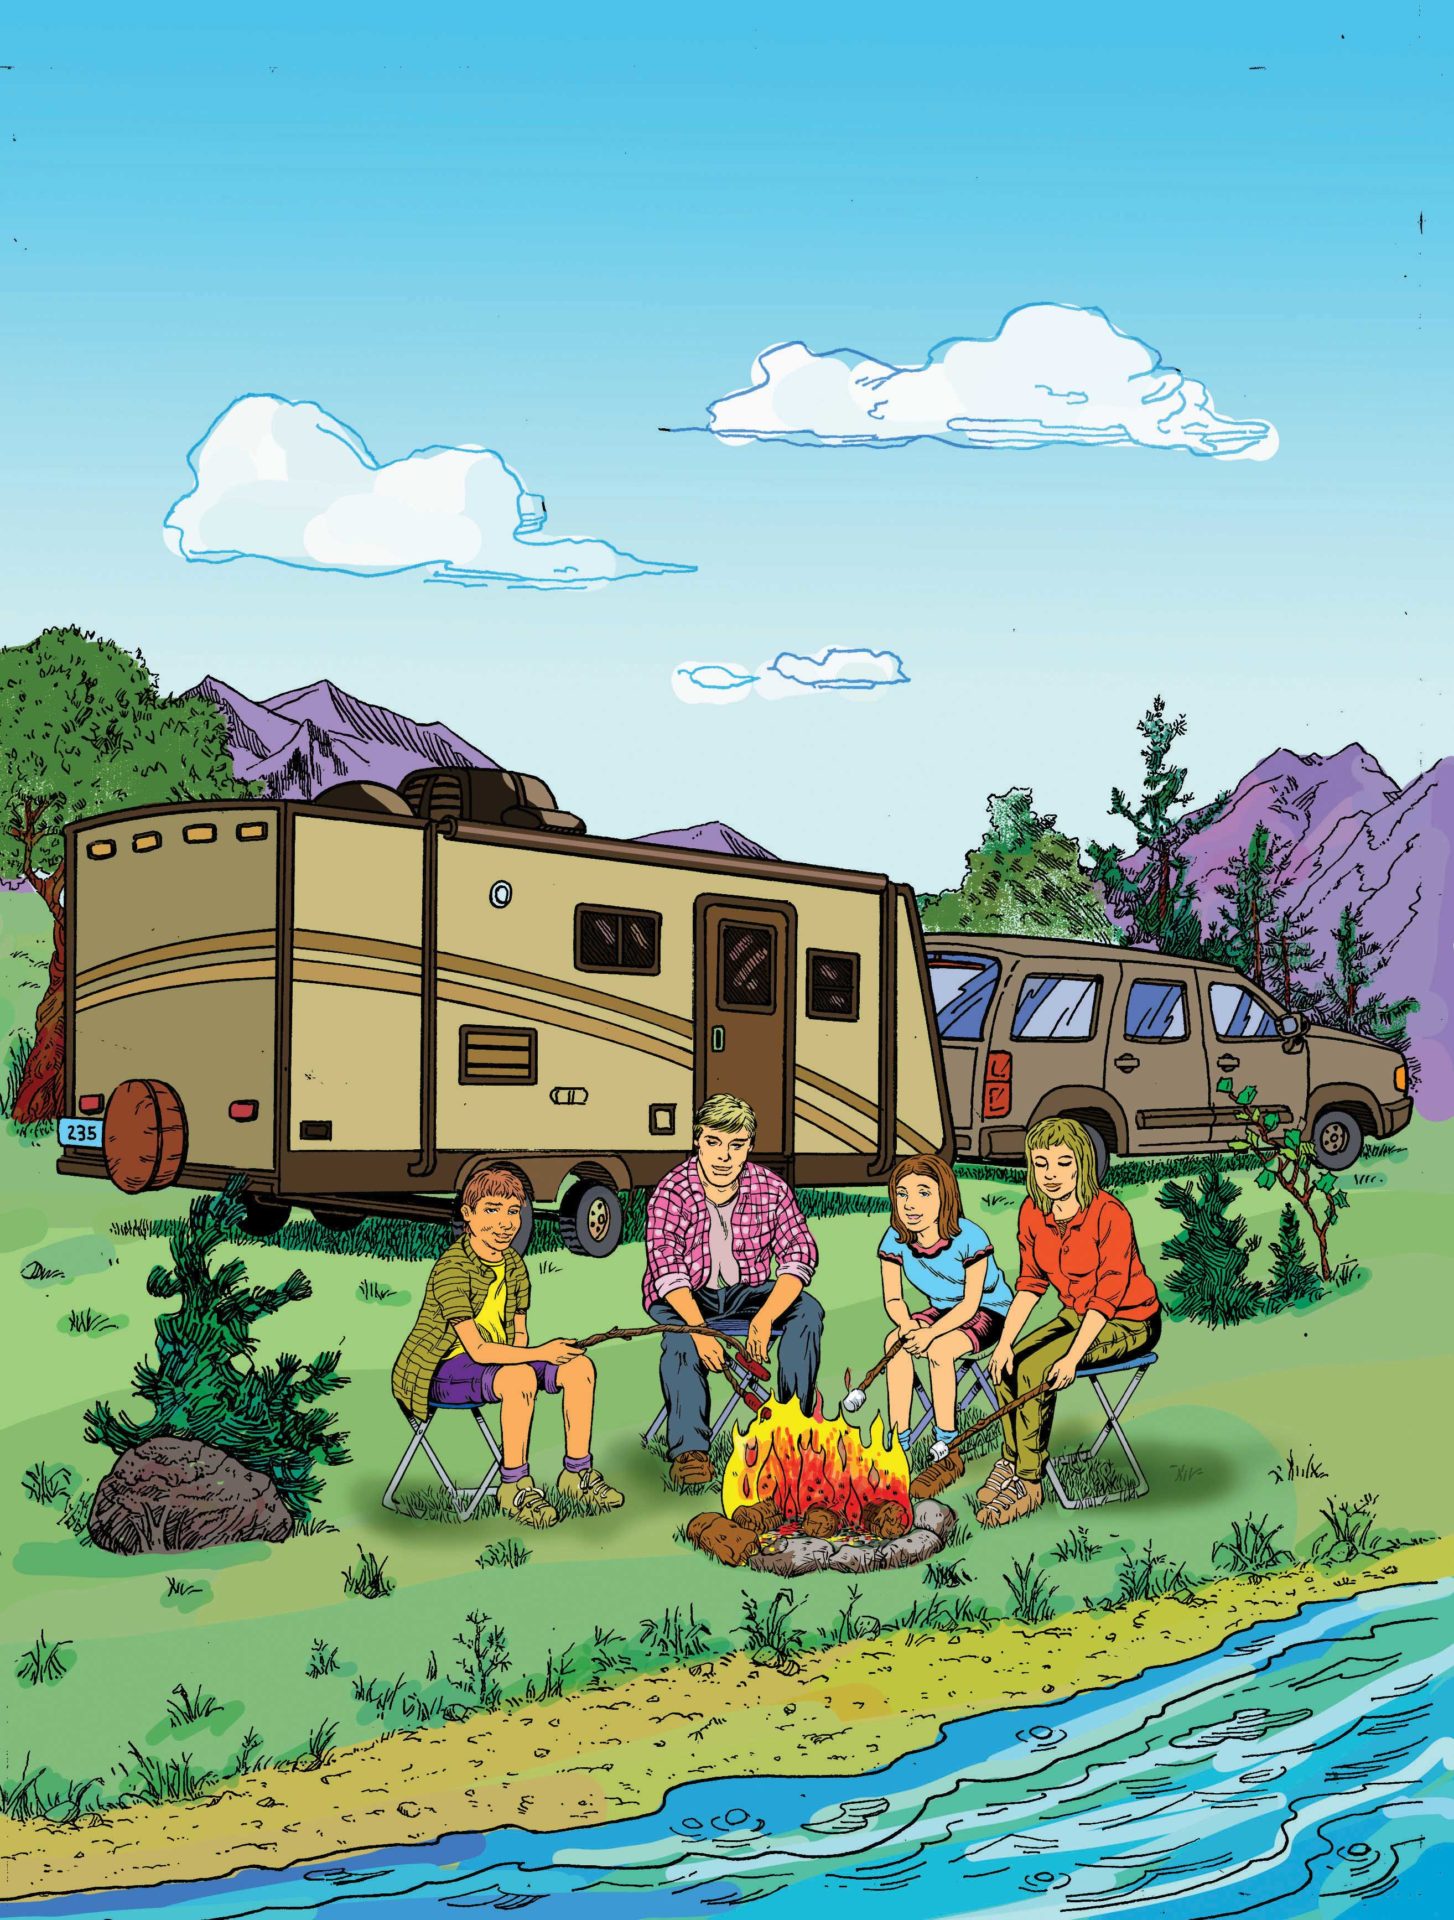 Illustration by Keith Milne and Gord Coulthart.
There are many incentives out there to buy a new RV, from 1.99 per cent financing to a 20-year amortization to keep the payments very low, but many RV buyers are either just testing the waters to see if they are the RV kind of people, can’t or don’t want to pay $35,000 or more for a new RV and don’t want the payments associated with a large, new purchase. The other option is to buy used, and there is a plethora of used campers, tent trailers, bumper pulls, fifth wheels and motorized RVs in the used market. Are they worth buying and is it a good deal is another story completely. If you can’t or don’t want to bring the prospective purchase to a qualified RV service centre for a thorough pre-purchase inspection, we will go over the most important items to look at.
Let’s assume that you have done a little research, talked with your significant other (or not) and have an idea what type of RV you are interested in – camper, trailer or motorhome. You have browsed all the listings on Craigslist, Kijiji, Facebook Marketplace, etc., and have a short list of the ones that interest you in year, layout and price. It is time to actually go look at the prospects and maybe make a deal, starting a new adventure in your life, creating those amazing memories only the outdoors can bring. When looking at used RVs, there are many things to consider and there are different aspects depending on the type of RV you are interested in, and also where you are purchasing it from.
Advertisement
So let’s get to it and look at that RV you are so excited about.
There are two types of RVs – trailer and motorized. Both are very similar on the RV side, but the motorized RV adds another level of checks on the chassis that should be done by a qualified mechanic.
Advertisement
The first step in going to look at a used RV, whether at a dealer or a private sale, is to make sure the seller has everything ready for you to check. If you don’t ask the seller to make sure all the appliances are running when you arrive, you cannot verify whether the fridge and water heater do, in fact, work. A typical RV fridge can take up to six hours to get to its coldest working temperature and a water heater can take up to half an hour or more to heat up. If you can’t see it work, don’t assume it does.
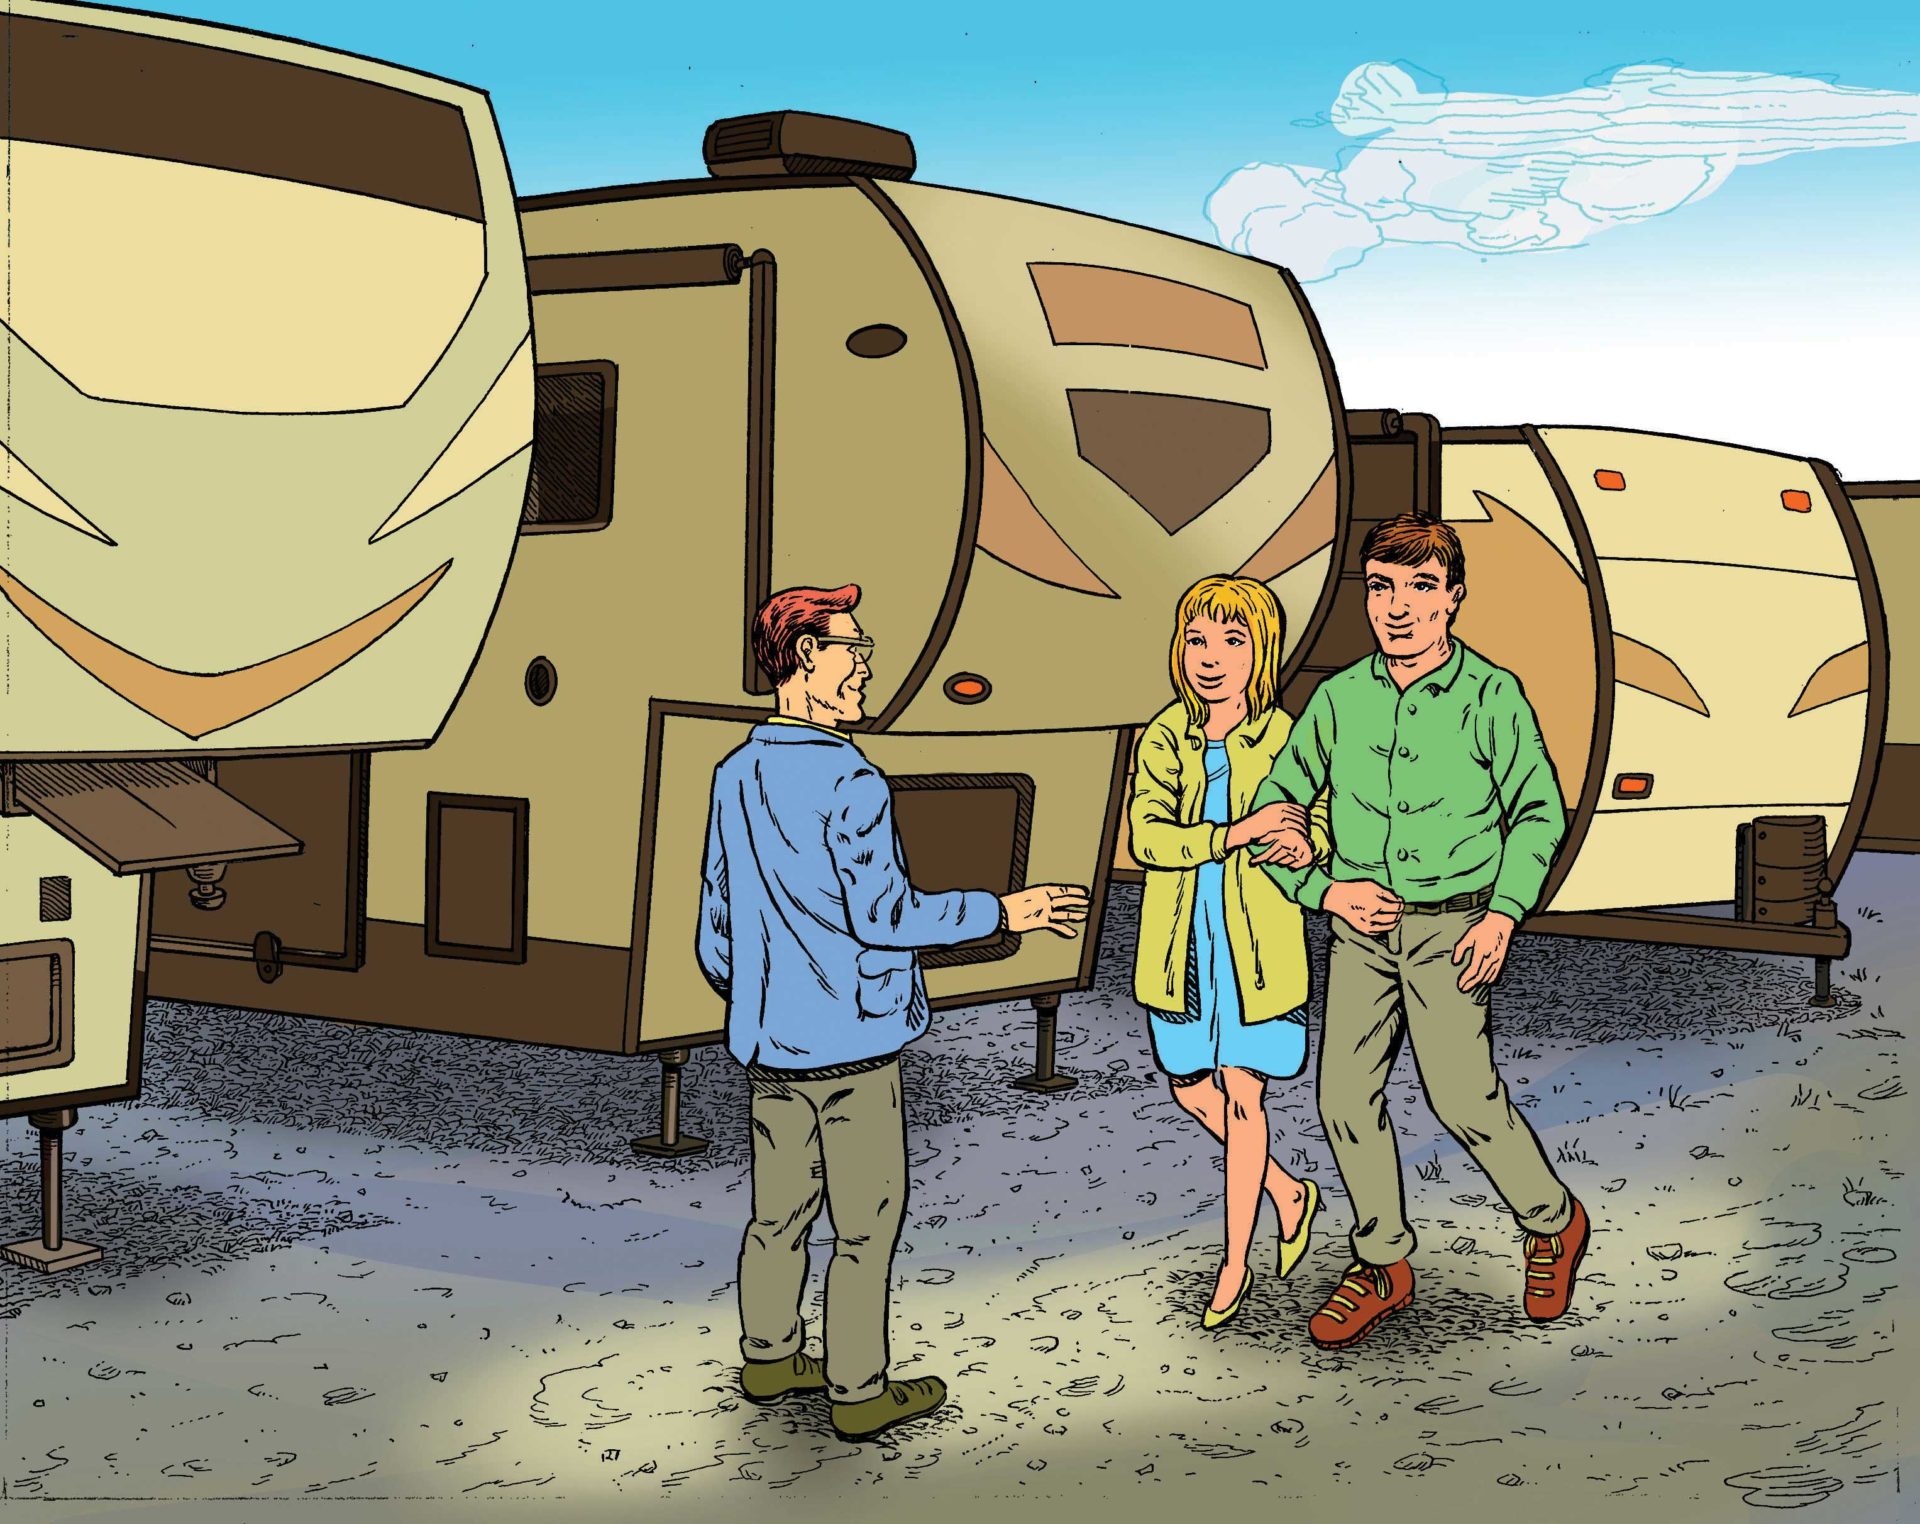 If you’re thinking about purchasing an RV, make sure you know about potential problems to look for. Illustration by Keith Milne and Gord Coulthart.
When looking at the outside of an RV, from a purchasing perspective, pay close attention to the seals. These are the areas where any outside item is in contact with the trailer surface, whether it be a filon (smooth wall fiberglass) or profiled aluminum-sided trailer. For example, corner moldings, windows, marker lights, outside speakers, etc. Some trailers will have just the putty tape as a seal between the two surfaces as a water blocker and some trailers will have a second layer of defense, caulking – either silicone or some other type of waterproof caulk. If you are not bringing your possible new purchase to an RV service centre for a proper pressure seal test and you are relying on your eyes to make sure the seals are in good condition, it is a fairly simple process, but time consuming as there are many areas, including the roof, to check. Don’t be afraid or embarrassed to get up close to look at the seals; if they are compromised, there can be massive hidden problems that can cost many thousands of dollars in repairs in the near future. Look for any cracks, separation or areas where there are gaps in the sealant. All it takes is the smallest crack or separation in the sealant to allow water in, so get up close and personal when you are looking. If the RV you are looking at is filon sided, look for humps or bumps in the fiberglass – look down the sidewalls from a close angle to see them best – and if there are, this could be a sign of water-related damage. Most manufacturers now only put sealant under one edge of the moldings, and some use no sealant at all under some moldings, relying solely on the small bead of caulking along the edge. If it looks like there is no seal between the fiberglass and the aluminum molding, there probably isn’t, so if you are looking at purchasing a newer fiberglass-sided trailer, check the corners and other moldings very closely. We see more delamination, rot and water damage on newer trailers than ever before due to manufacturers neglecting these seals.
On aluminum-sided trailers, it is similar in that you need to look for cracks and gaps in the sealant, but it is also easier to tell if there is rot or water-damaged wood. Most leaks on trailers happen at the front and rear corner moldings, or at the area where the top of the molding and the roof meet. These are areas to pay close attention to. Use your hands to press firmly on the wood structure under the trailer, right where the moldings meet the floor. If it feels crunchy or soft, you know there are water damage issues. On smooth-walled trailers, press on the fiberglass right at the edge of where the molding meets the sidewall and see if there is any give. If so, there could be water damage behind the siding. Also check the roof right where the moldings meet and feel for soft spots. It is a good idea to bring a ladder to get on the roof and check for leaks and soft spots also. Cracked sealant around the vents and antennas is a good indication that there is a possibility of leaks, or at least that leaks are going to happen soon.
If your dream RV has spent it’s whole life sitting beside Osooyos Lake during the summer and covered or in dry storage every winter, chances are it probably does not have any rot or water damage – but you still need to check! But if the same trailer has done yearly trips to Alaska and sits all winter uncovered in a storage lot in Chilliwack, there is a much higher chance of finding a leak or water damage. How an RV is stored, how many miles has it travelled and what types of roads it has been on can be as important a factor in the health of the water tightness of an RV, as much as how often the seals have been checked and redone.
Next it’s time to check the awning. Some are manual, but many newer trailers come with electric awnings. They are very similar, with usually a vinyl fabric. Does the awning roll out and in properly, or does it bind up when it closes? Binding is most commonly caused by fabric that has shrunk over time, causing misalignment. Make sure to check for cracking or weathering on the fabric, usually seen near where the awning fabric meets the trailer. Check the tensioner knobs on the inside of the awning arms to make sure they are not seized. These are important for making sure the fabric doesn’t billow in the wind and it drains rainwater off properly. All pivot points can wear out, so look at them to make sure they look secure.
Other items to check on the outside are entry door handles – are they loose or securely fastened to the sidewall? Check the stove vent and other sidewall items like the electrical (shore power) hook up for cracked plastic, or gaps that will allow water or rodents in. Check the tires for any cracking, tread wear or bumps, and make sure there are no broken suspension components.
Once you are satisfied with your exterior inspection, it is time to go inside and look for any issues. When you first walk into an RV, pay close attention to the floor. Stained linoleum or carpet is an indication of leak issues. It is a good idea to spend a few minutes just walking around the RV, feeling for soft or spongy areas on the floor, paying close attention to the four interior corners, by the entry door and near the wheel wells, as these are the most common areas to find an issue. As you are doing this, look at the wall paneling and watch for any ripples, staining or stippling (small bumps in the panel.) Look for rusty staples or screws, too. These are all indications of a leak, and not just issues from condensation. Also use your nose. Most RVs that have leaks smell musty or moldy.
Next let’s move onto the appliances. Make sure the stove and oven work (bring your own lighter!) and turn on the furnace to let it run while you are checking other items. It should light first or second try and keep running. The major appliances are refrigerator, furnace, water heater, stove/oven and air conditioner. Each one can cost thousands to replace, so make sure they all work. Most RVs come with a microwave and it is a good idea to test it, too. A cup of water on high for one minute will tell you if it works.
As you are walking through the RV, check all the cupboards, catches and drawers to make sure none are broken or damaged. Roof vents and ceiling A/C vents need to be checked for damage as well. It is easiest to start at one end of an RV and literally touch every item, checking for function from one end to the other. As you move from area to area, turn on the lights, open cabinet doors, open and close vents, blinds and windows. Check countertops for warping or other damage, and all trim and moldings for damage, water staining or other issues.
With all of that checked, it is time to move on to the electrical and electronics. It is easy to check the TV, stereo and other basic electronics, but the most important thing to check is the battery (12v) system and the 110v or house power. Most items in an RV run off of 12 volts and that power is supplied by a battery (or two.) The battery is charged by plugging the trailer into a power source, either a power centre at an RV park or a generator, or any other 110v source. Bringing along a multimeter will give you the ability to check if these systems are working. With the RV unplugged, check the battery voltage. It should be somewhere between 12.2 volts DC and 12.8 volts DC if the battery is in OK condition. Now plug the RV in and check the battery voltage again; it should start climbing and over a bit of time (15 minutes or less) be showing a reading of 13.6 volts up to 14.4 volts. If it reads less, there could be a problem with either the battery (or batteries) or the charging system. If you are looking at a motorized RV, make sure the batteries, both coach and chassis, are being charged when the engine is running.
While checking these items, turn on the water pump (the seller should have some water in the fresh tank so you can check) and look for any leaks. Run all the faucets, flush the toilet, and look under the sinks and in the cabinets for any plumbing leaks.
It is the responsibility of the seller to have the RV propane system certified before selling. That is a little-known fact, and not enforced, so it is your responsibility to ask that it be certified, for your safety and to ensure that all propane-related appliances work to a specific standard. Check for a blue decal on the RV near the propane tank, labeled Technical Safety BC, with a date less than one year old.
Now that you have walked through your prospective purchase, it’s time to go over your list to see what deficiencies you have found – I assume you brought a notebook and wrote things down! Before you looked at the RV, you should have had an idea of value for what you are looking at. Compare any issues to the value of a similar RV in close to perfect condition. If there are soft spots or rot, it could be many thousands in repair, and if the fridge is not working properly it can cost $2,500 to replace. It is your money and your judgment, so take your time and don’t feel forced into the purchase. Sometimes it is best to go home or out for coffee at least, and make sure you are making a good purchase. When in doubt, call an RV service centre and ask questions about issues you have found, or try to book the RV in for a complete inspection.
 Investing in an RV is a great way to explore nature and spend quality time with your family. Illustration by Keith Milne and Gord Coulthart.
Camping is a great way to reconnect with your family and friends, and there are so many beautiful places in BC to explore, so good luck on your purchase, happy camping and see you out there!
Author Joel Penner and his wife, Lisa, have owned Grampa’s RV for 17 years.
Address: 30856 Peardonville Rd., Abbotsford
Phone: 604-855-9666
Website: grampasrv.com