
There’s nothing like a pair of leaky waders to put a damper on your fishing trip. The following bits of advice will help you maintain and repair your waders, so you can enjoy your future fishing excursions.
Advertisement
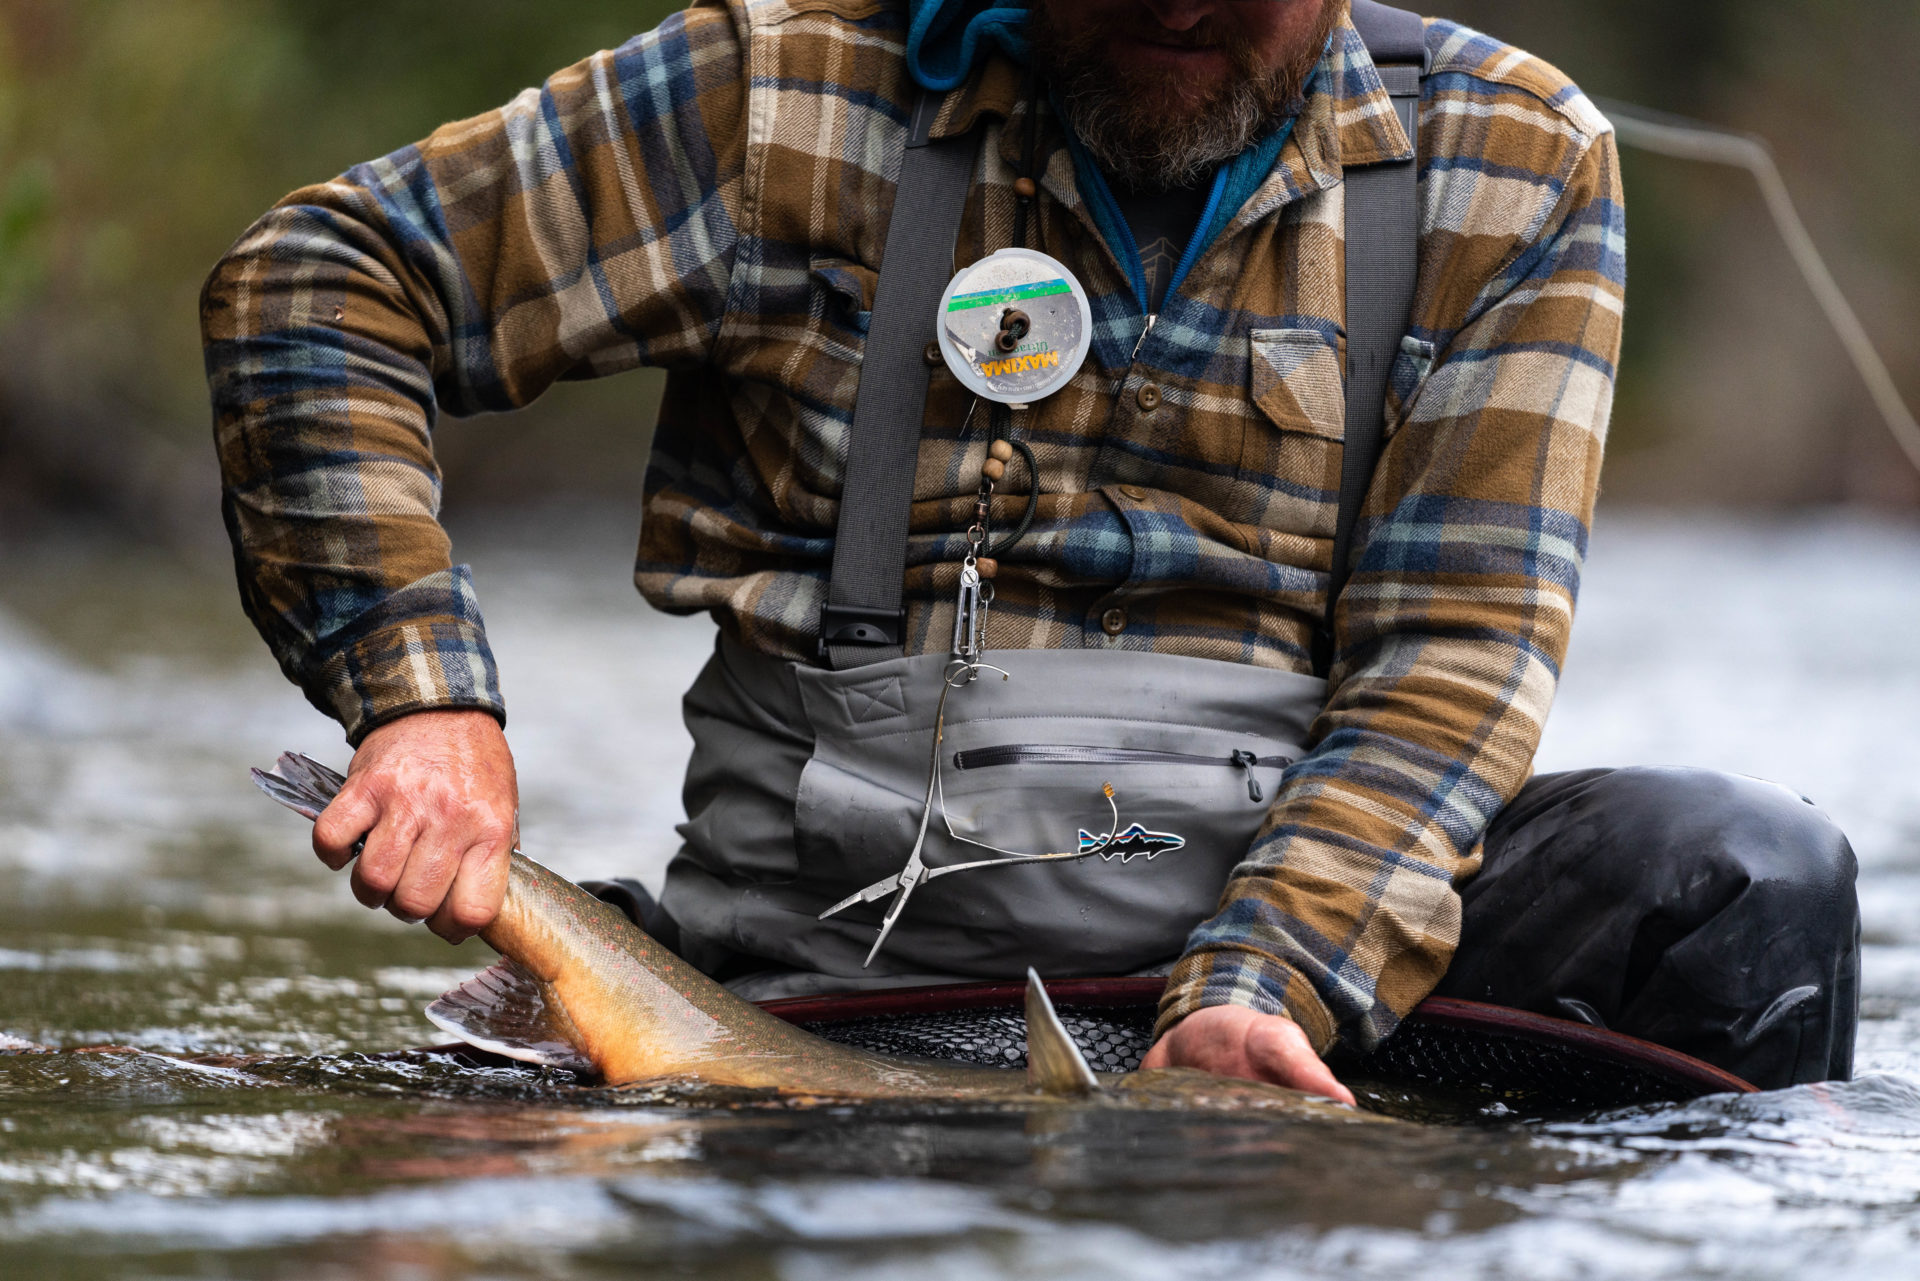 Properly maintaining your waders, and repairing them when necessary, means you’ll have them for many future adventures. Photo by Chase White.
Wader Maintenance
Like with anything, a little preventive maintenance goes a long way in extending the life of any product. After every use, waders should be hung up to dry on both the inside and outside. I always dry the inside first, turning the waders inside out, as that is where body sweat might give the waders a foul smell and can cause mold, which compromises the seams. Once the inside is dry, then turn them right-side out and dry the outside. When fishing in saltwater, it’s a good idea to rinse off your waders and boots with fresh water after every use. Waders can be washed in a machine – be sure to follow manufacturer’s directions if going this route. It’s best to simply handwash them in the bathtub to get rid of any unwanted smells. They should never go in the dryer, under any circumstances.
Wader Repair
So, your waders have a leak. The first thing you need to do is locate the leak, which can be done several ways: some holes are obvious, as they are small cuts or abrasions. You can easily repair them by simply dabbing a small amount of Aquaseal or Loon wader repair over the affected area. With small leaks, they can be found by turning your waders inside out and spraying them with rubbing alcohol. Generally speaking, the leaks are most common from the knees down, as anglers tend to kneel a lot around moving water. The small pin-prick holes will show up as a black spot. Once located, circle it with a pen and then give the area a light sanding with sandpaper. Once roughed up, put a small amount of sealer right on the circled area and rub it into the material with a wet finger. Once covered, allow to dry for six to 12 hours. There are also UV-activated sealers on the market, so you can get back fishing within an hour. If the leak is along a seam, the same can be done as long as it is not under the seam. If the leak is under the seam, the waders will need to go back to the manufacturer for them to do a proper repair. Other methods to find leaks include putting a flashlight in the waders in the dark or filling them with water to see where is seeps out. When using the water method, do not over fill them or you will blow out the seams.
Advertisement
A Second Life
What can you do with waders that are beyond repair? You can cut the neoprene feet off and you will end up with the best rain pants that money can buy.
Your waders are an essential part of your fishing equipment. Remember take care of them and they will take care of you when you really need them.
Advertisement