Dragonfly nymphs live and hunt in typically non-fly-friendly territory. Tough-to-fish areas, such as dense weeds, rocks and sunken woody debris are some of their favourite haunts. However, to be successful, it is essential to put your flies in harm’s way. With this presentation challenge, a weighted pattern doesn’t make sense as it spends the majority of its time snagging weeds, rocks and debris rather than catching fish. Buoyant flies fished on a fast-sinking line tethered to a short leader can be crept and skipped around and above weeds, rocks and sunken logs, reducing the risk of a hang-up while significantly increasing your catch rate.
Advertisement
Jim Crawford’s Gomphus is a popular dragon nymph pattern. The spun and clipped body of the Gomphus provides pattern buoyancy, but it is messy and time-consuming to tie. Foam-based flies seem an obvious alternative as they are less time consuming to tie, and foam is easier to work with. Premade foam bug or spider bodies, most often used for panfish flies, come in a range of sizes and seem ideal for dragon nymphs. Available in both slender and plump profiles, the slender profile is well suited to the larger Darner nymphs while the plump bodies better match the squat shape of a Sprawler.
From a tying perspective, the challenge is how to make a foam body more lifelike and convincing to a foraging trout. Permanent markers can provide mottled colour schemes to match the natural nymphs, but it isn’t the same as the natural translucency dubbing provides.
Advertisement
Gluing dubbing to the foam bodies seemed the logical way to solve this challenge. Unfortunately, almost all adhesives readily available to fly tyers won’t stick to foam. One of the most creative tyers I know, Matt King, figured it out. His Foam Dragon is an eye-catching pattern that looks complex to tie but is almost the opposite. Matt posted images of his Foam Dragon on social media. They created quite a stir.
After much trial and error, Matt found two types of cement that would stick and hold dubbing to foam: Angler’s Choice Soft Body and Dave’s Flexament. Soft Body is no longer available, but, thankfully, Dave’s Flexament is.
Advertisement
Matt’s process of gluing dubbing to foam is simple and straightforward. To ease handling, begin by stabbing a straight pin into the narrow end of the foam body. Matt prefers a 5/8ths-inch plump body for his dragon. Dip and submerge the foam body into the bottle of Flexament. Let the excess drip off. Lay the coated body in the centre of a round clump (approximately one-and-a-half-inch diameter) of short fiber-length dubbing, such as Arizona Synthetic Peacock.
Wrap the excess dubbing around the dubbing like a fajita. Set the now-dubbed foam body aside to dry. Once dry, remove the excess dubbing using a tooth or Velcro brush. Matt states that short-fibered dubbing, such as Synthetic Peacock, combs out better than long strand dubbing blends. The process is easy to master, and Matt recommends a production-style approach by creating several bodies at once.
Matt’s Foam Dragon features two Thin Skin wing cases. Thin Skin is a pliable transparent sheet material featuring a matte finish on one side and a shiny finish on the other. It is packaged on a removable paper backing, making it easy to cut and shape to a range of dimensions. The first wing case resembles a fence picket, while the second features a tapered point at one end and a distinct V notch in the other. As with the foam bodies, Matt cuts and trims a number of wing cases at a time to speed up the tying process.
A pair of foam eyes provide additional floatation, function and form to Matt’s dragon. Start by trimming a two-millimetre by two-millimetre, one-inch length of black sheet foam. Figure-eight wrap the foam strip just behind the hook eye after tying in the first wing case. Fold each end of foam strip back against the hook directly behind the initial tie-in point to form a natural pair of rounded eyes. Add a few additional wraps of thread for added security and trim the excess foam.
To mount the body, Matt stabs a barbless scud hook into the narrow end of the body, pushing it around the hook bend and onto the shank, leaving enough space for a short thorax and head. To help lock the body in place, cover the shank with thread and cover it with a thin coat of superglue prior to stabbing the foam body onto the hook. This practice provides a solid foundation, locking the body in place.
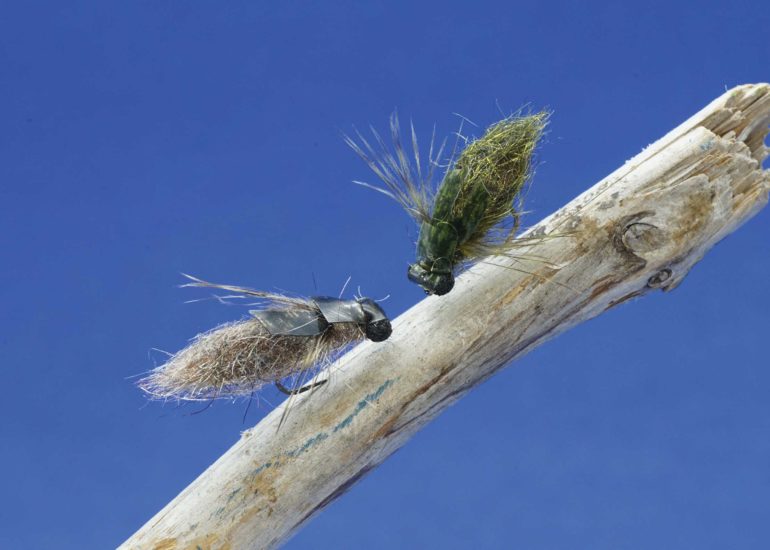
A cross-section of dragon nymphs should be common to every stillwater fly box. Dragon nymphs are usually large and, for many, are a great confidence pattern, especially when fishing is tough or when prospecting a new lake. King’s Foam Dragon, tied in a variety of colours to match the surrounding bottom and vegetation colour, inspires angler confidence as it just begs to be eaten. Have a solid grip on your fly rod, as takes are typically savage.
How To Tie King’s Foam Dragon
- Hook: Curved Scud Pupa #8 – #10
- Thread: UTC 70, olive
- Body: Arizona Synthetic Peacock, natural or brown, glued to foam bug/spider body, plump‚ 5/8-inch, tan or brown
- Legs: Grizzly marabou, olive, brown or tan
- Thorax: Arizona Synthetic Peacock, natural or brown
- Wingcase: Thin Skin mottled olive or brown
- Eyes: Sheet foam, black, 1/8-inch-wide strip
Tying Instructions
- Form the first wing case by trimming a half-inch-long section of Thin Skin slightly narrower than the hook gape. Trim one end to a slender, tapered point. Remove the paper backing from the prepared Thin Skin.

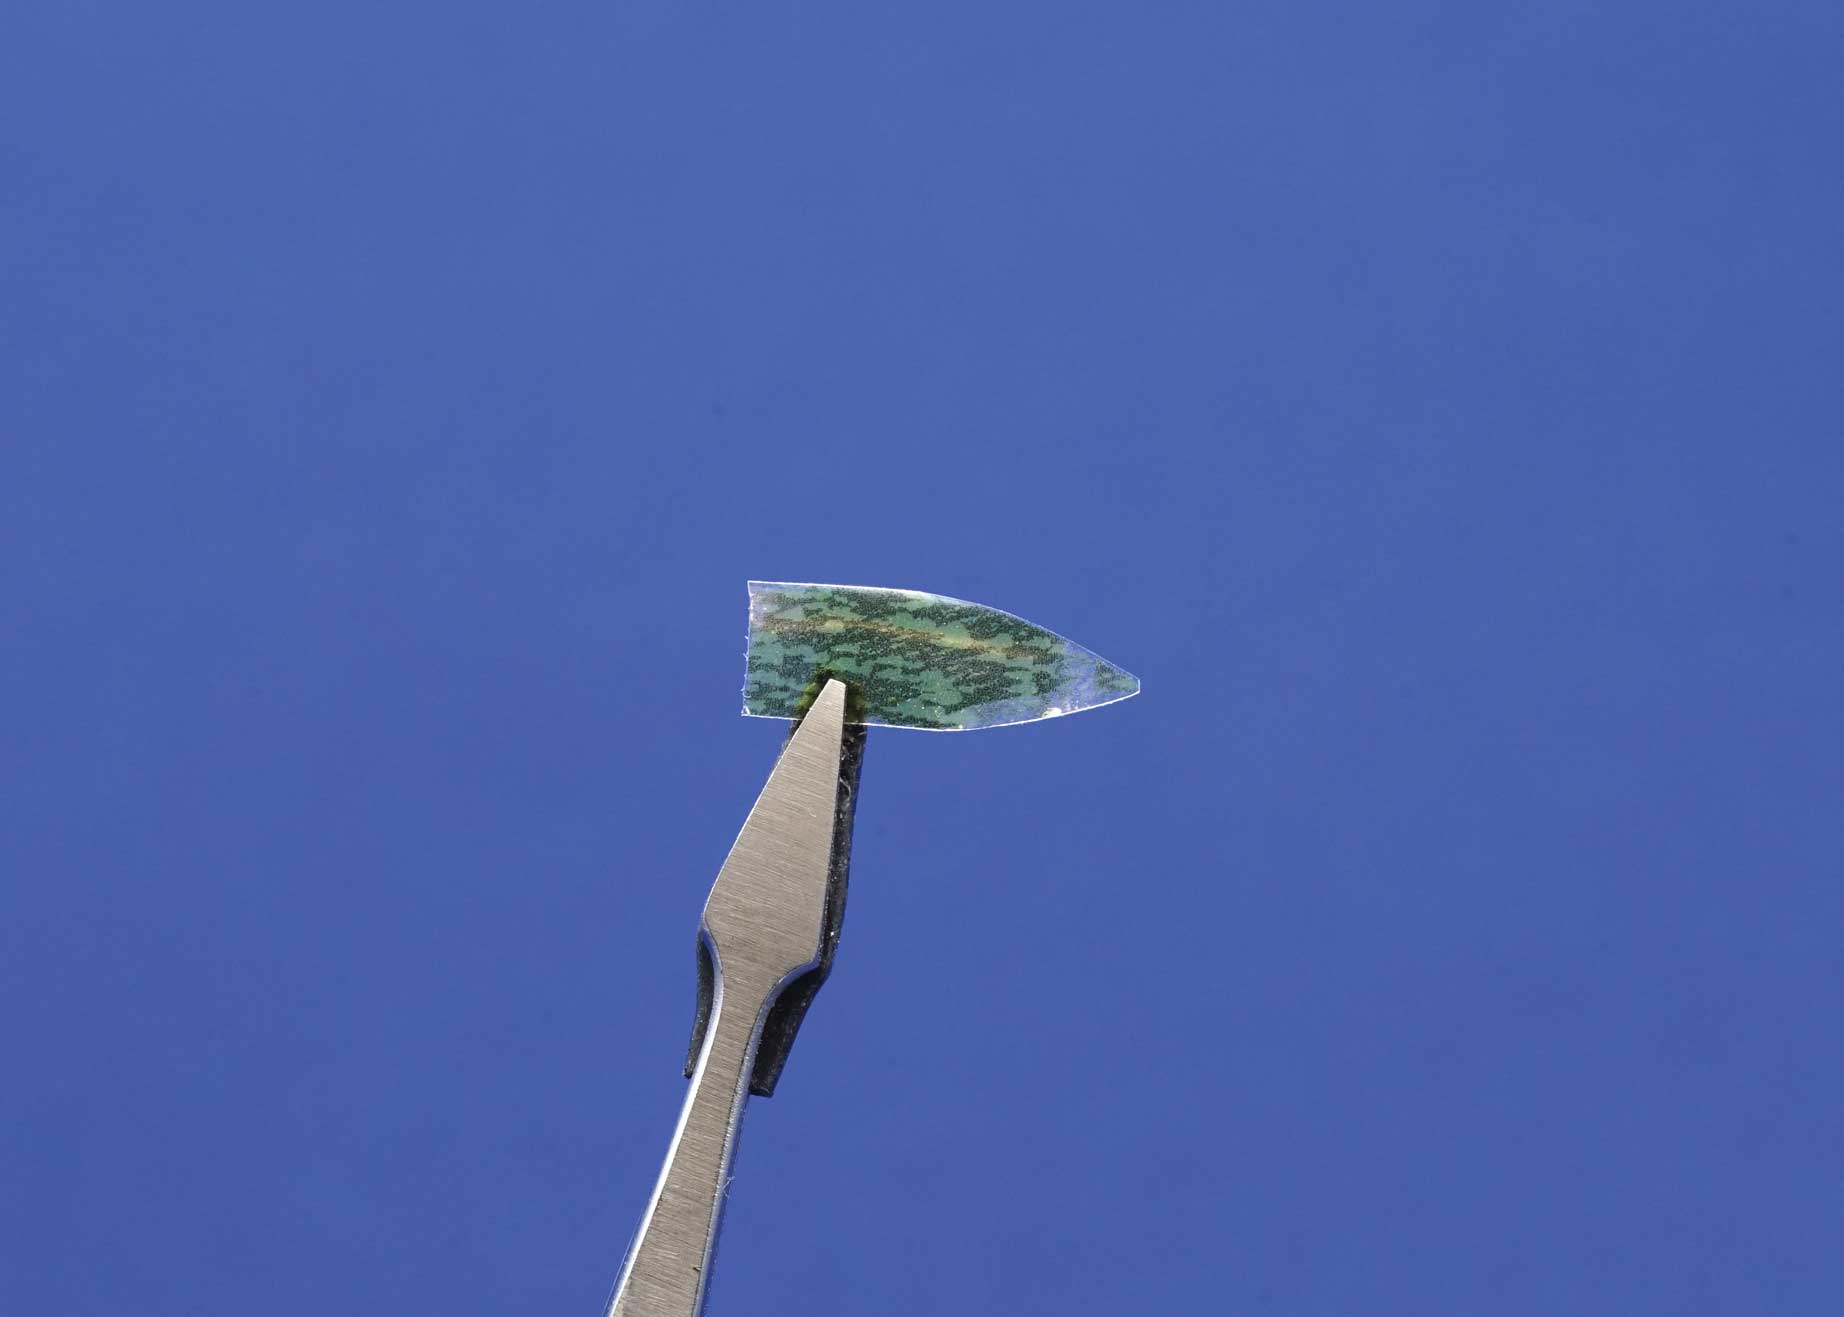 King’s Foam Dragon: Step 1.
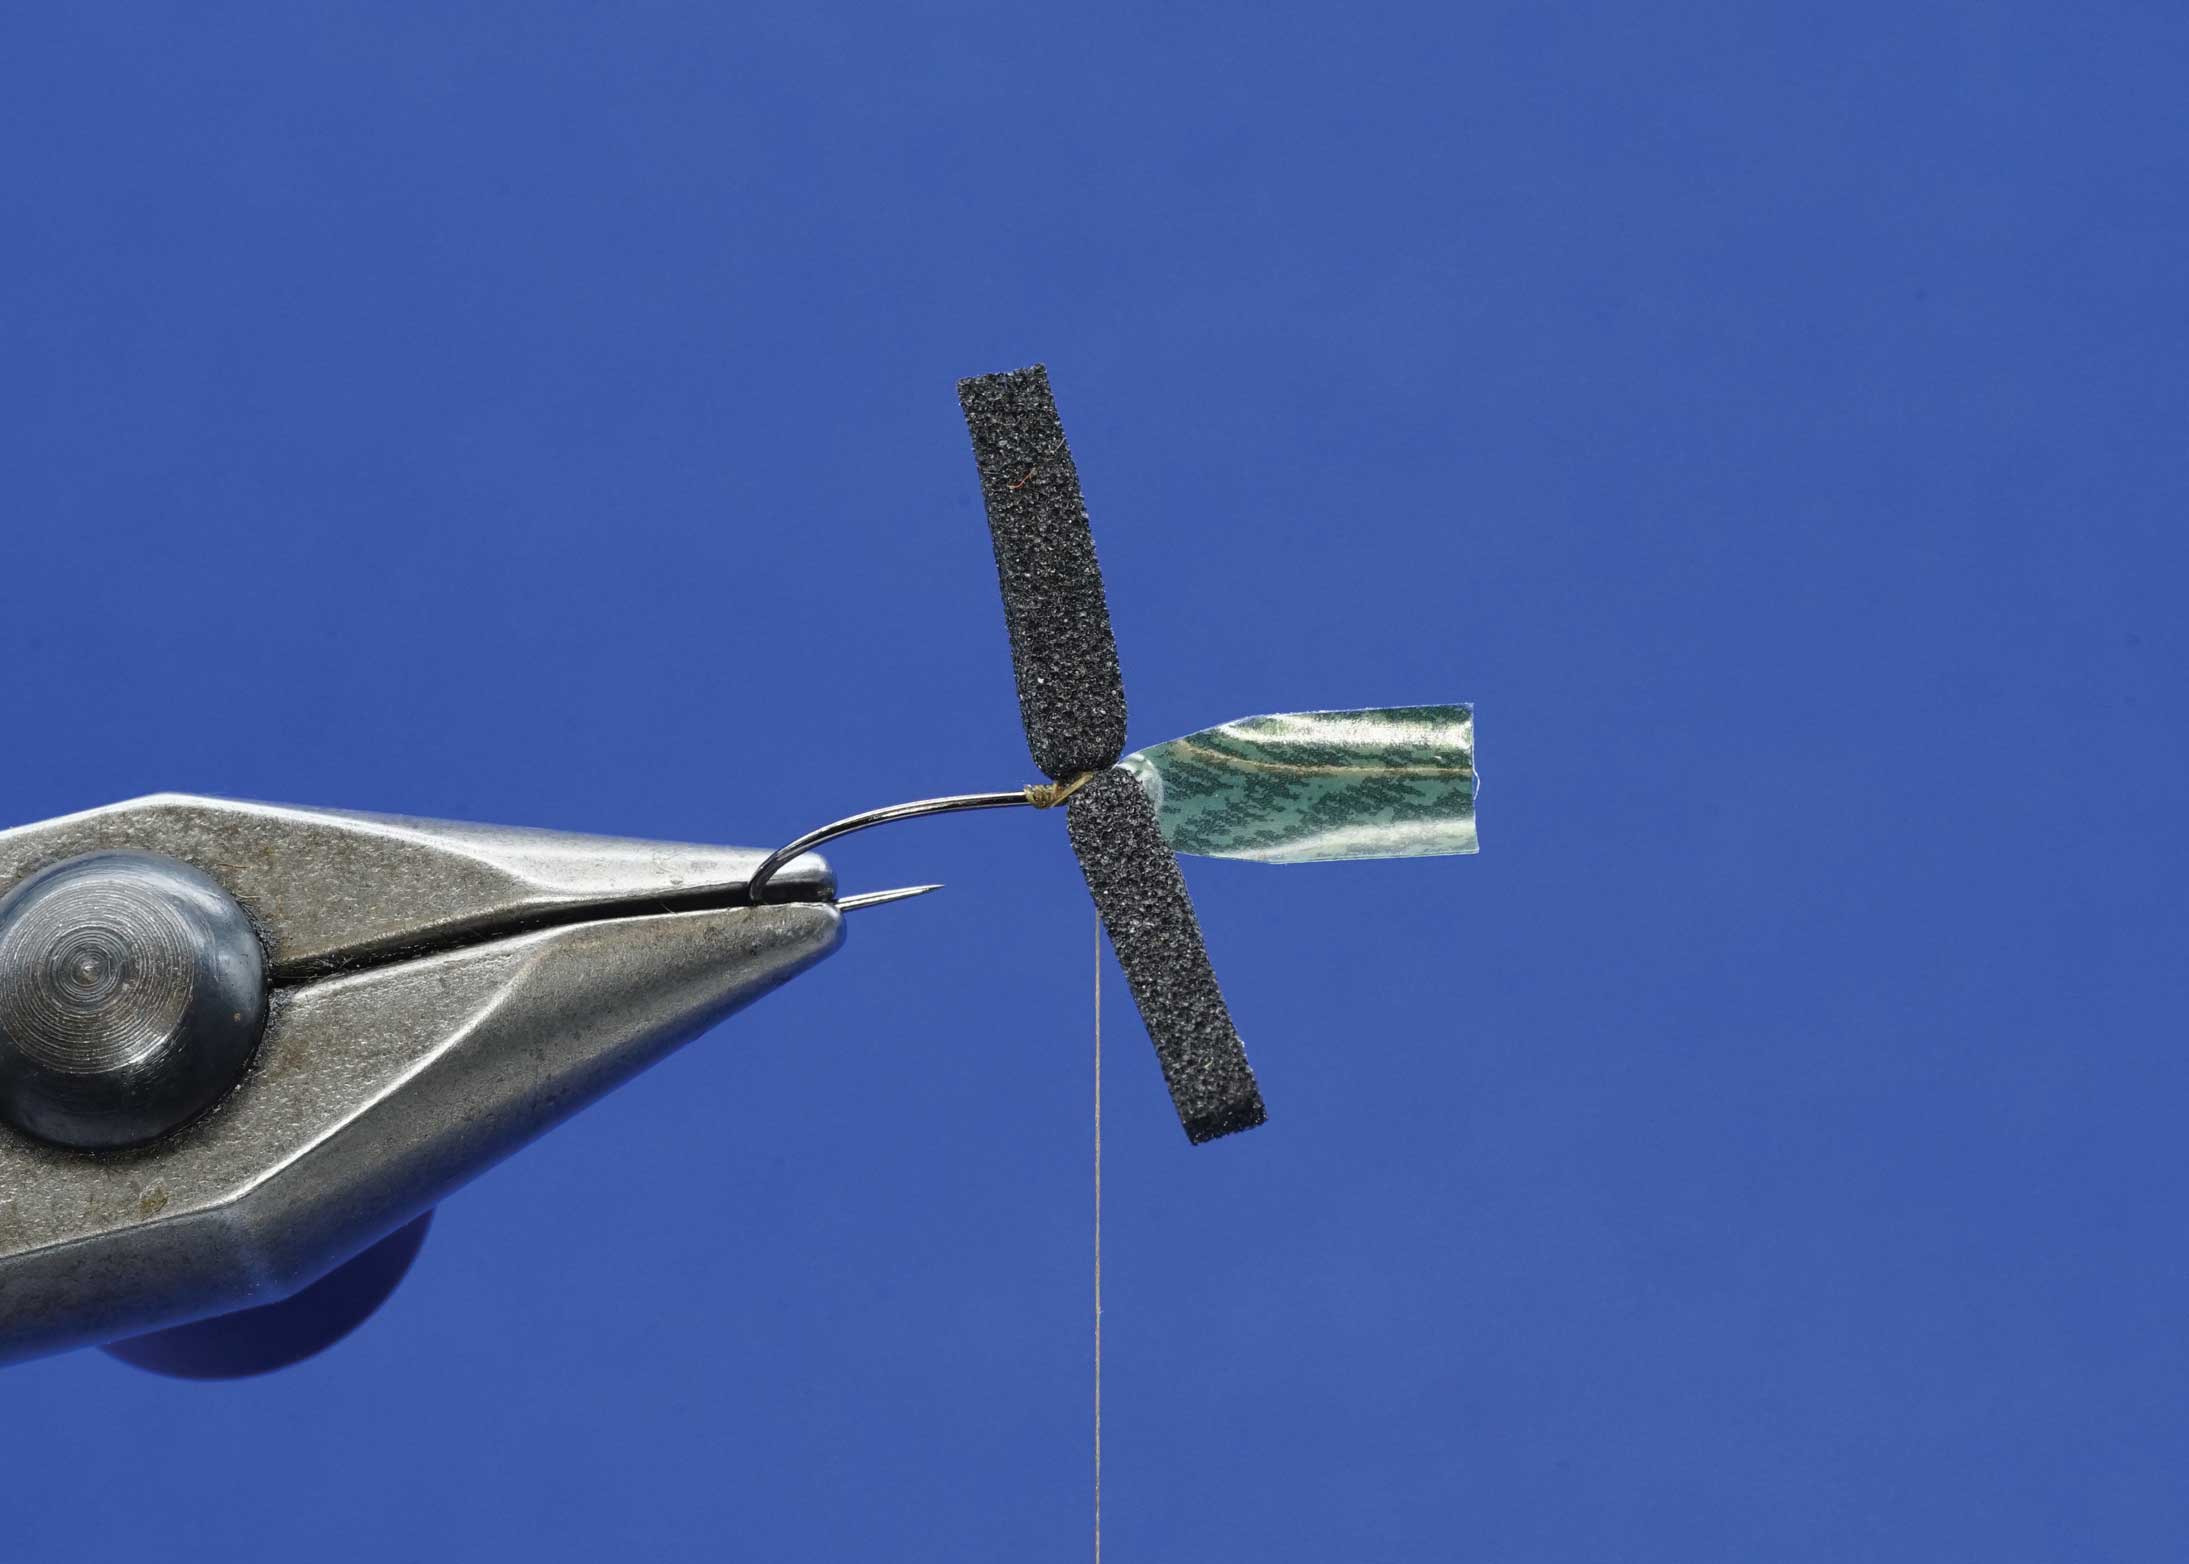
 - Tie the tapered section of Thin Skin by the tip at the hook eye, dull side down, so the majority points forward. Tie in a 1/8-inch-wide short length of black sheet foam figure-eight style. A one-inch length should be ample. Double and fold each end of the foam strip back against the side of the shank, right behind the original tie-in point. Tie off each end using firm thread wraps to create a pair of rounded eyes. Trim the excess ends of the foam.

 King’s Foam Dragon: Step 2.
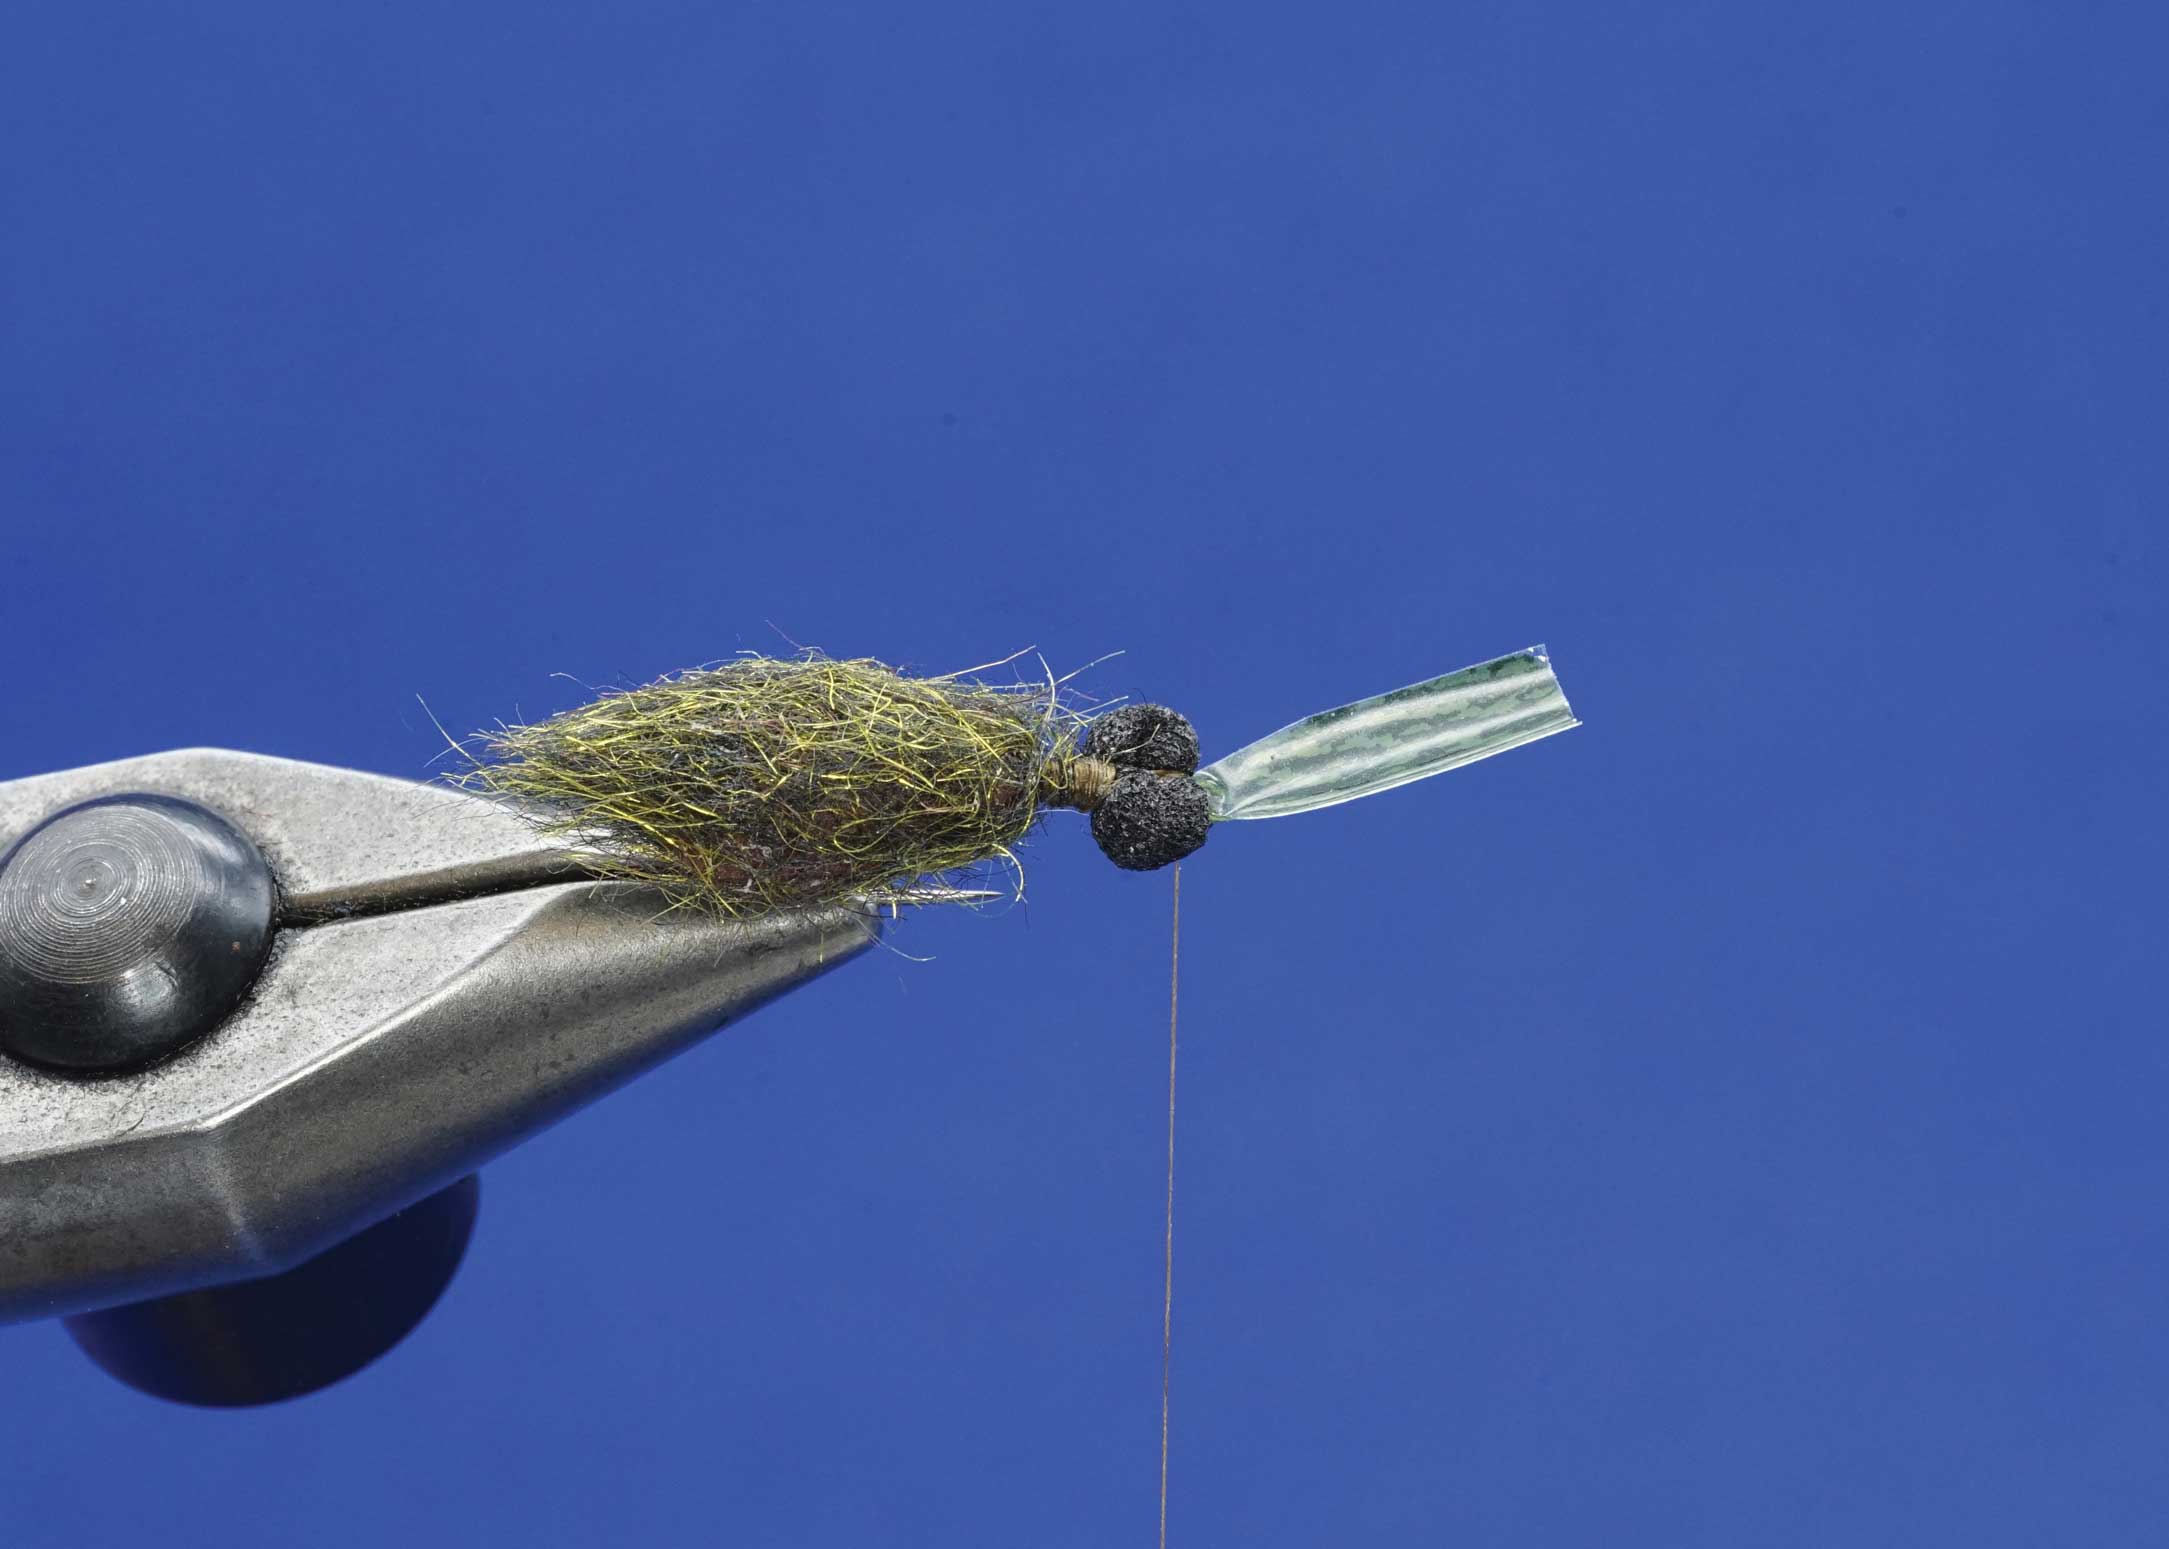
 - Wind the tying thread back even with the hook point and then forward to the rear of the eyes to provide a thread base for the prepared foam body to adhere to. Coat the thread wraps with brushable superglue. Stab and slide the prepared foam body onto the hook. Leave a short gap between the front of the foam body and the eyes to provide space to tie in the legs, thorax and second wing case. With the tying thread hanging right behind the foam eyes, tie down any loose dubbing to help further secure the prepared foam body.

 King’s Foam Dragon: Step 3.
 - Wrap a little dubbing in front of the foam body to form a short, sparse thorax. Take a grizzly marabou plume and strip all of the fuzzy fibres along the sides to expose the feather’s tip section. Nip out the tip section to form a distinct V in the feather so approximately eight to 10 fibres remain on each side of the feather. Tie in the prepared grizzly marabou plume on top of the shank directly behind the foam eyes so the tips of the feather flow along each side of the prepared foam body, tips extending no further than the rear of the body. Pull on the stem as necessary to adjust leg and to help encourage the fibres to flow along the sides of the fly.

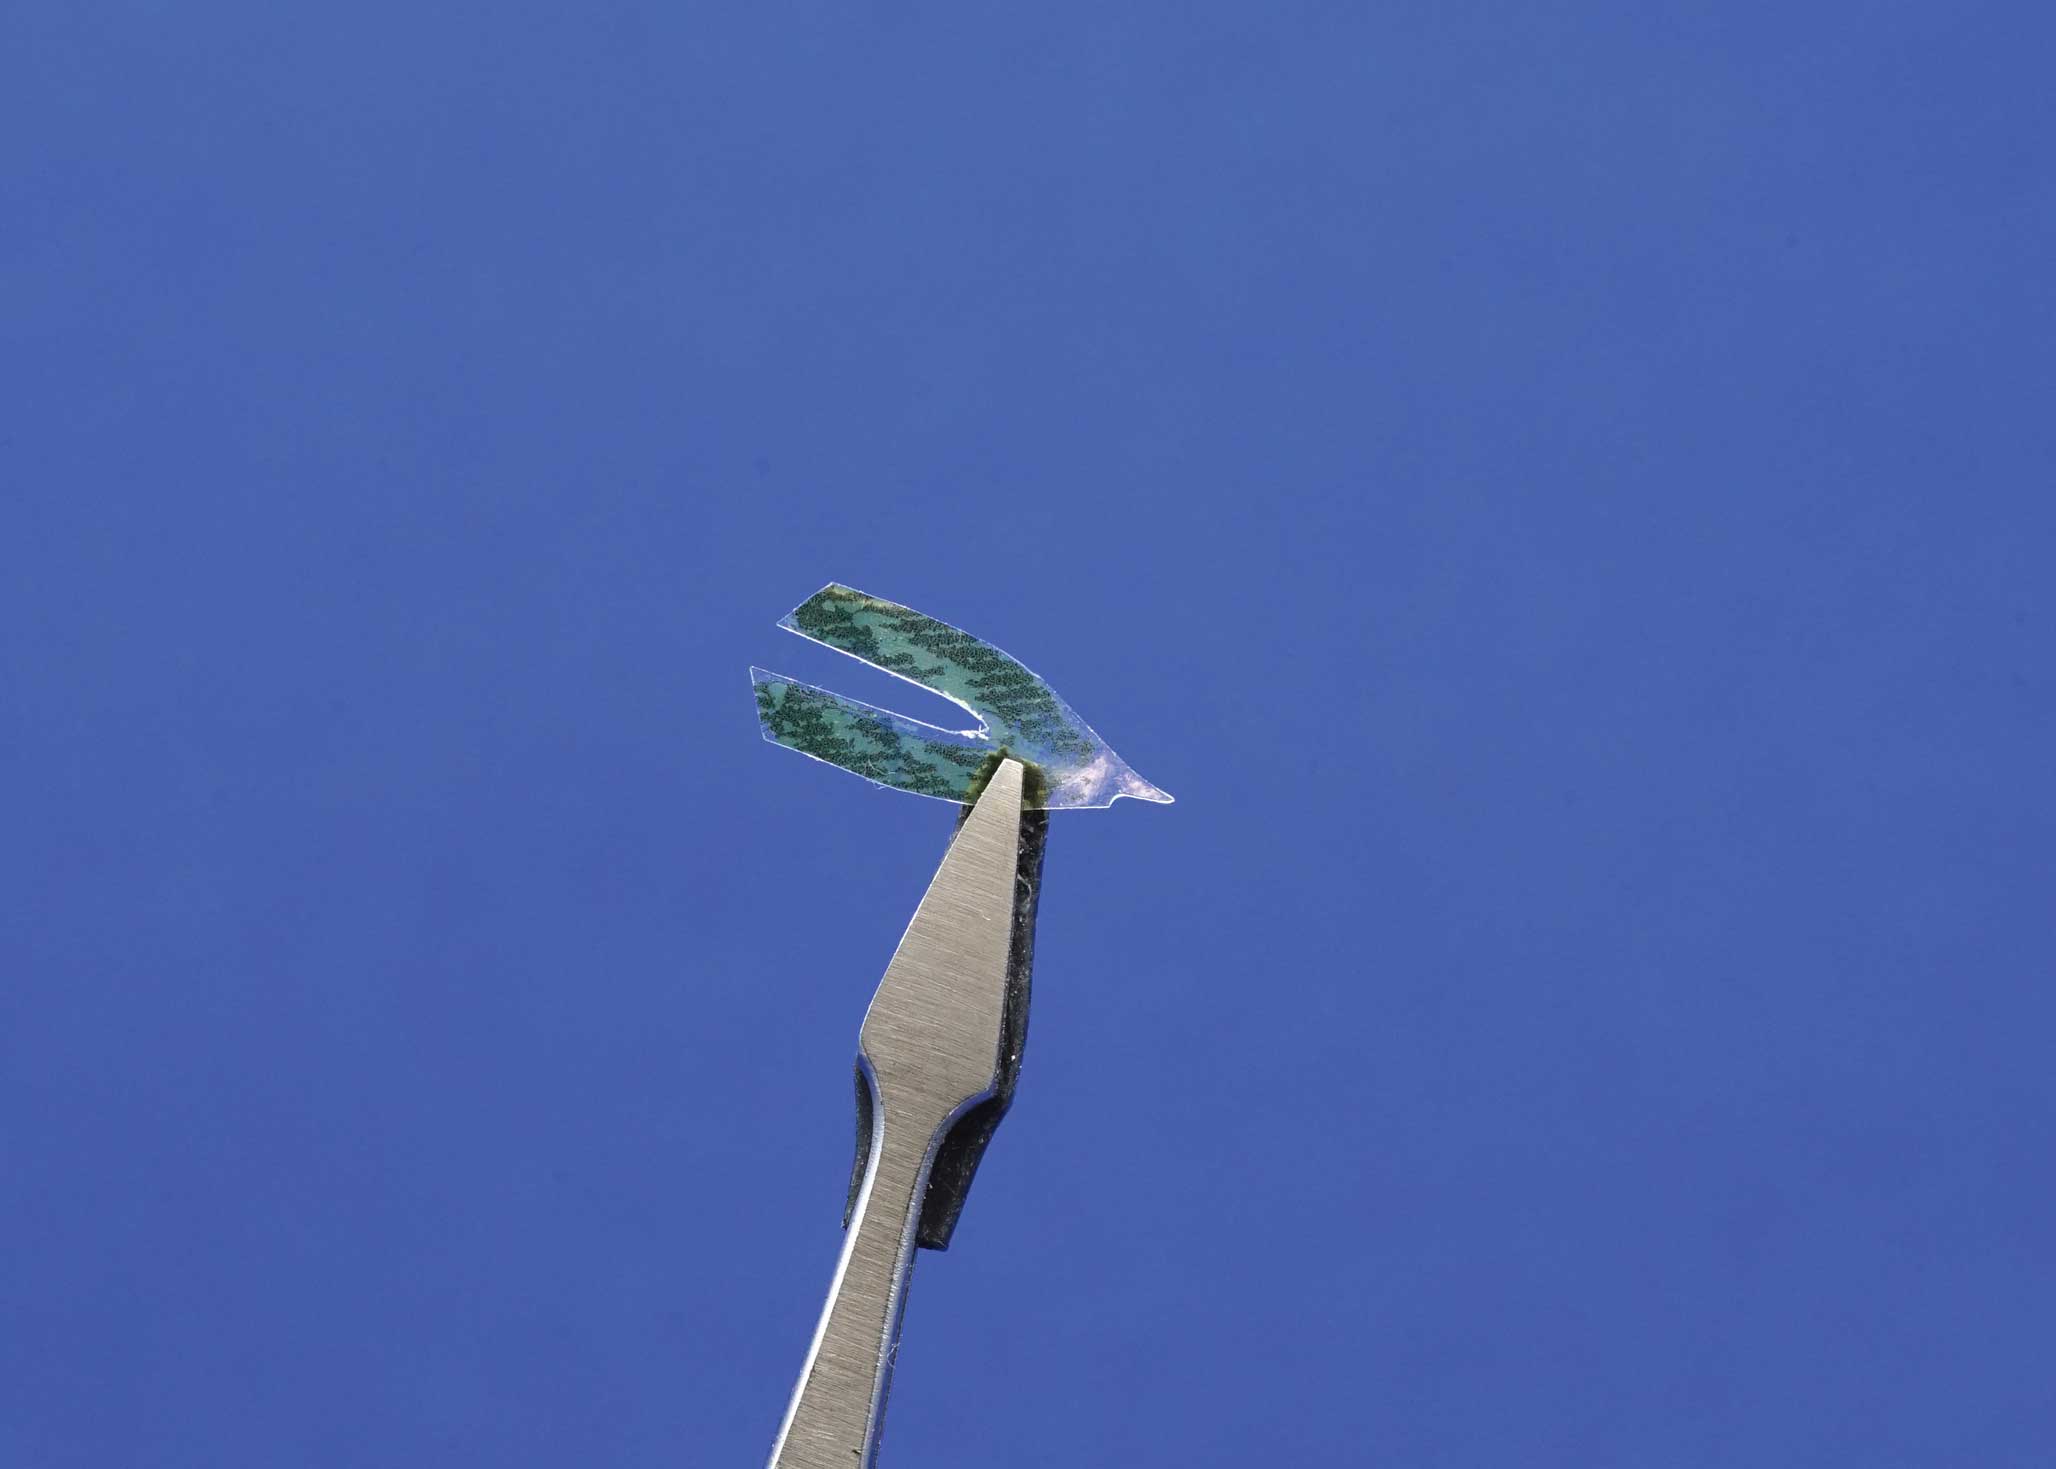
 King’s Foam Dragon: Step 4.
 - As with the first wing case, form the second wing case by trimming a half-inch-long piece of Thin Skin that is slightly narrower than the hook gape. Cut one end to a tapered point. Notch out a narrow, tapered section from the other end of the Thin Skin to form a V-shaped wingcase. Remove the paper backing from the Thin Skin.

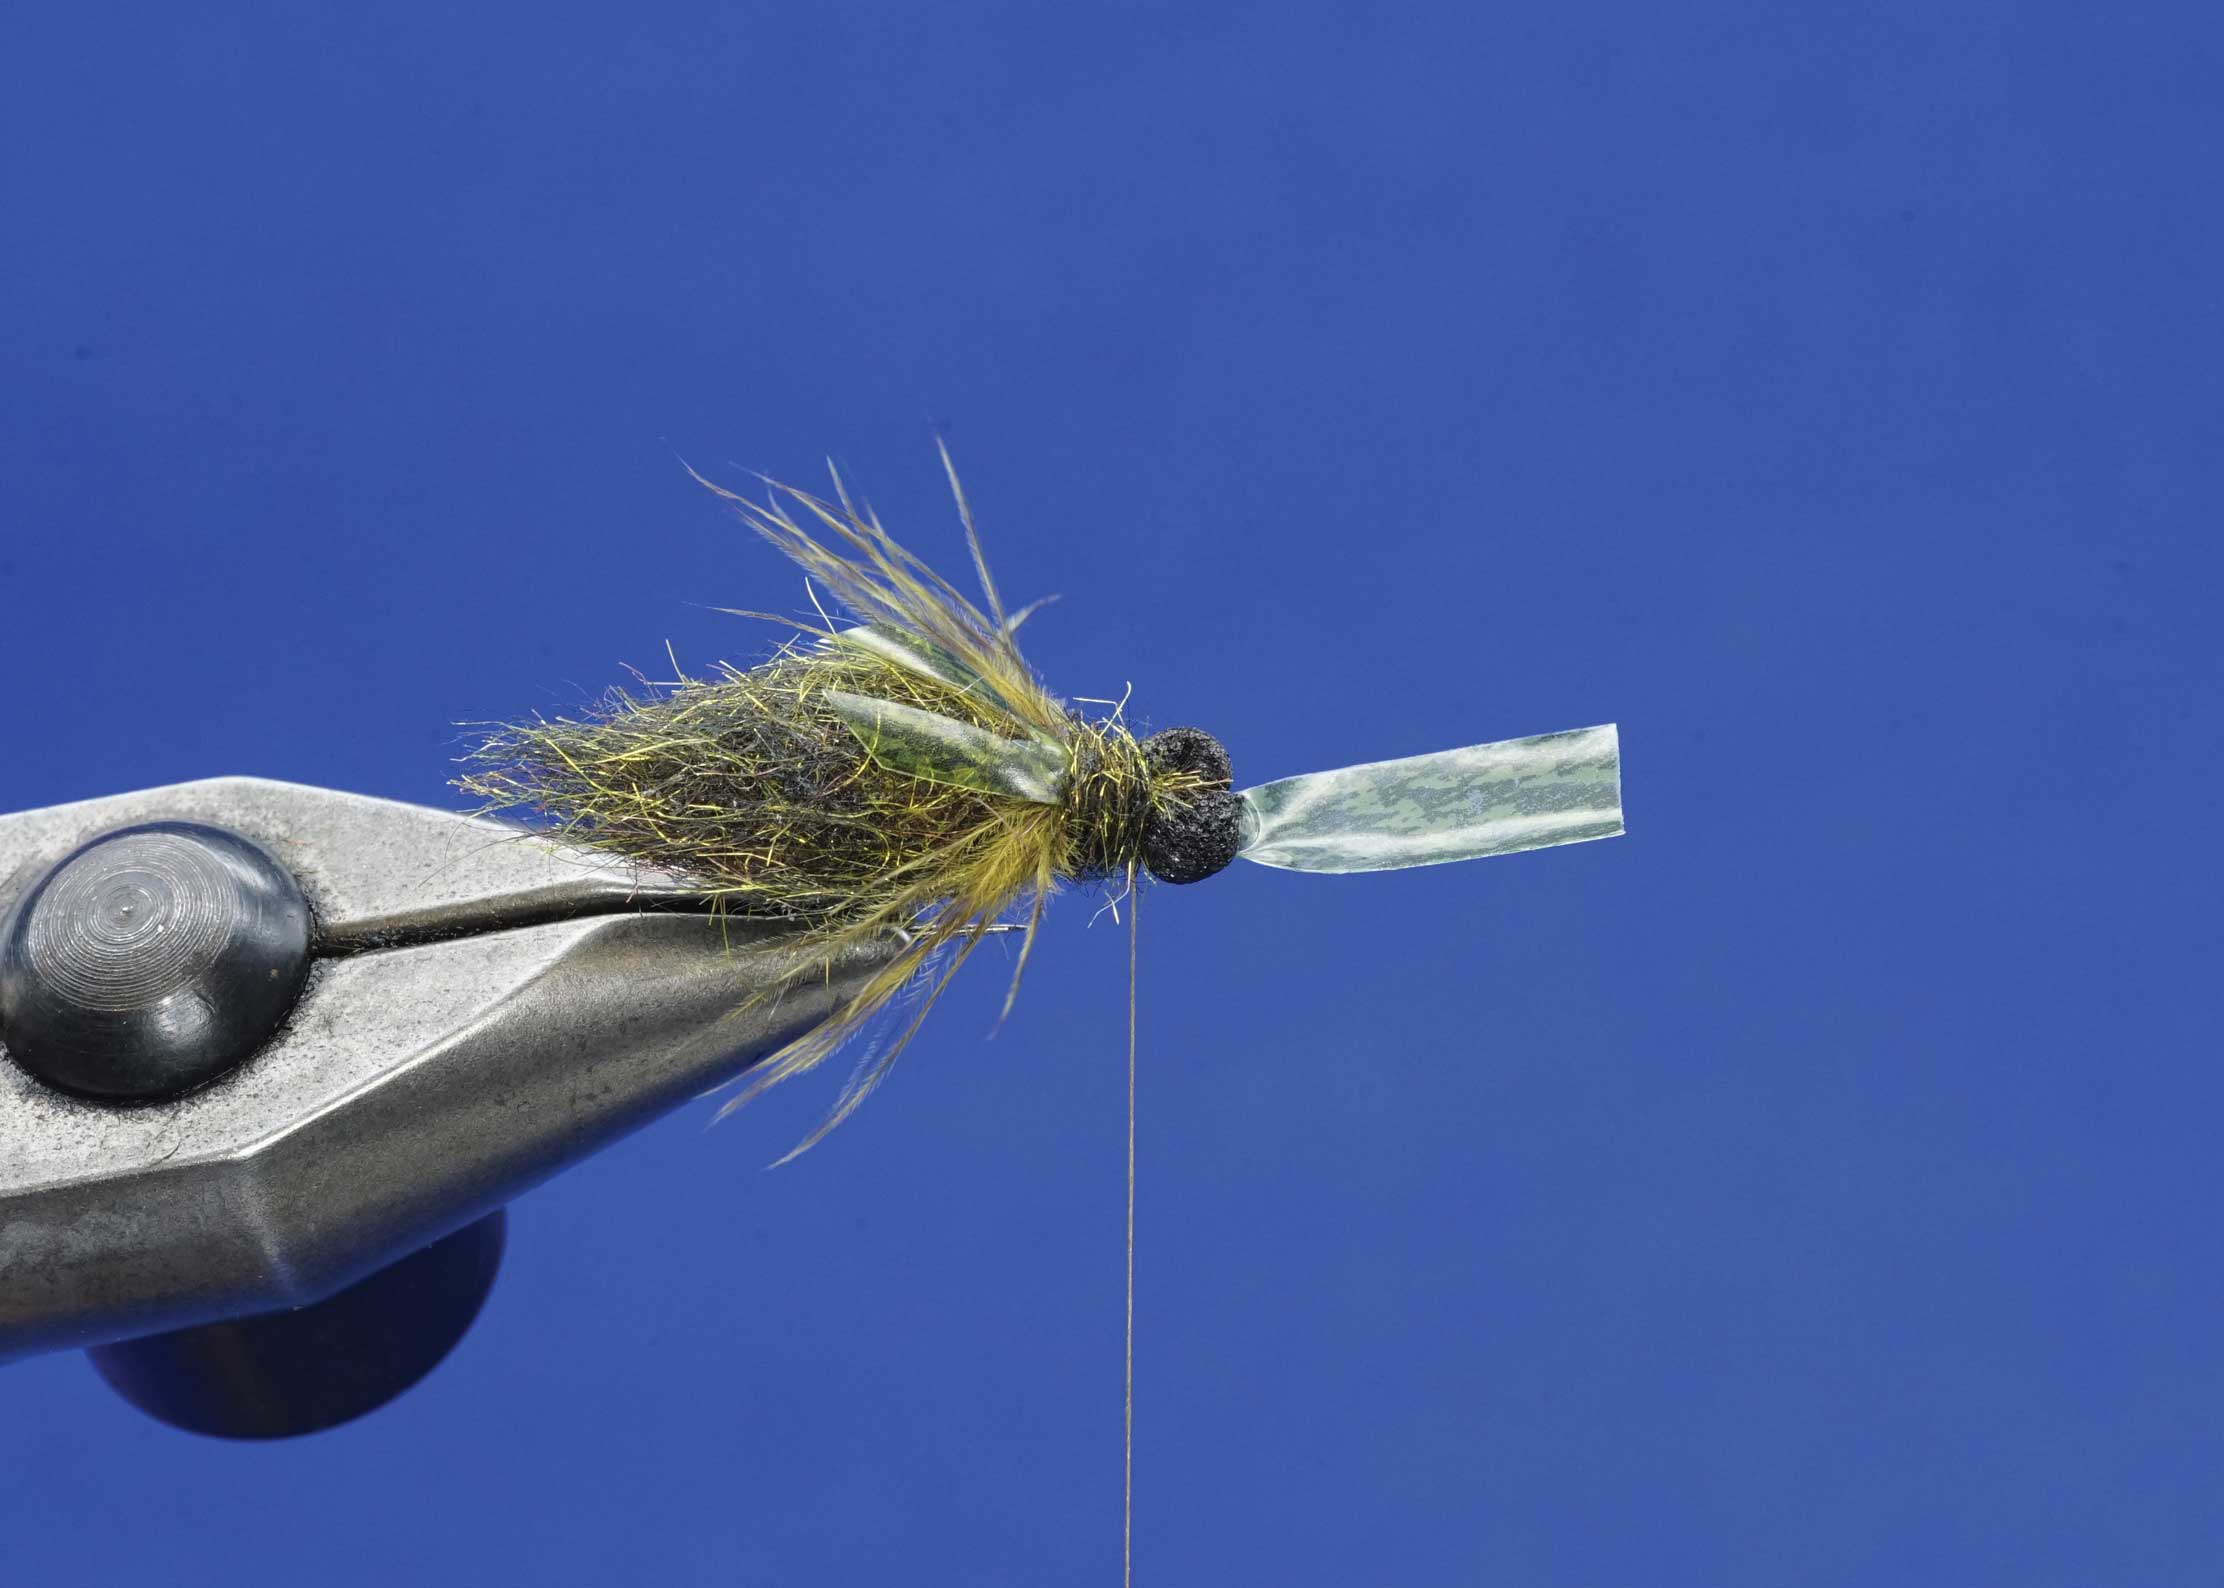
 King’s Foam Dragon: Step 5.
 - With the legs in place, wind a sparse amount of dubbing directly behind the foam eyes to prepare a platform for the split wing case. Lay the split wing case back over the body, dull side down, so the tips extend about halfway back along the body and tie in place just behind the foam eyes, dub a sparse amount of dubbing in front of the wing case to further secure it. Your thread should be right behind the eyes.

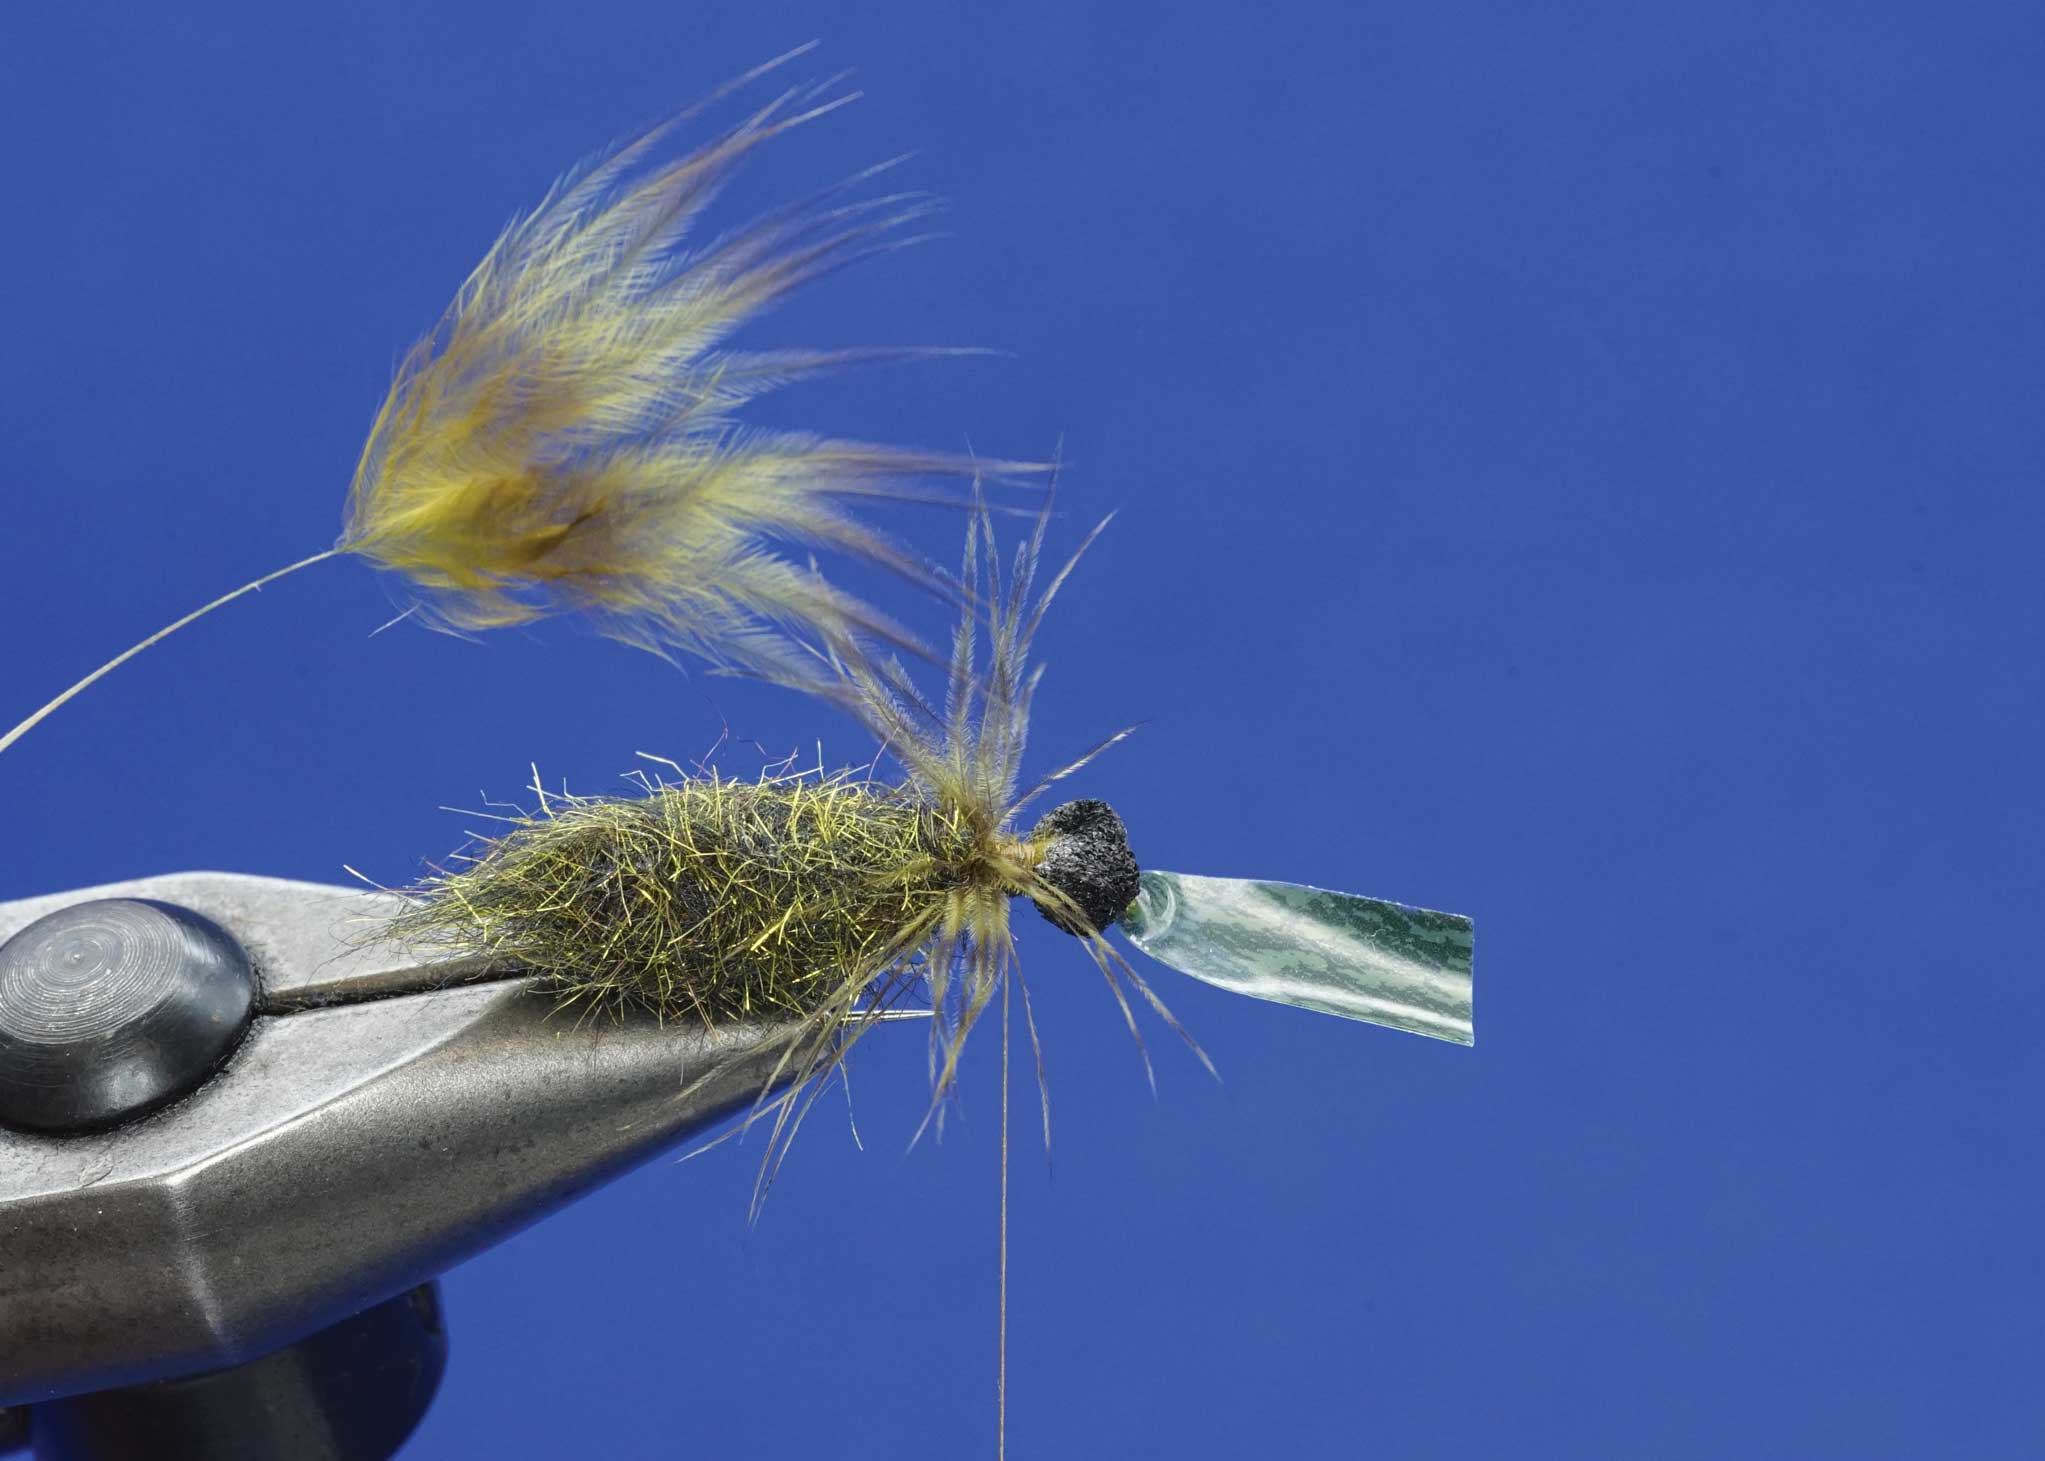
 King’s Foam Dragon: Step 6.
 - To complete the fly, pull the first wing case protruding out in front of the hook back over the foam eyes. Secure it in place directly behind the eyes with a few wraps of thread. Fold the excess Thin Skin forward and place a few more wraps behind it to secure it. Whip finish and remove the tying thread. Pull the thin skin back over and trim it, so it extends just onto the foam body. Place a drop of superglue on the top of the wing case to further secure it and prevent it from flopping forward.

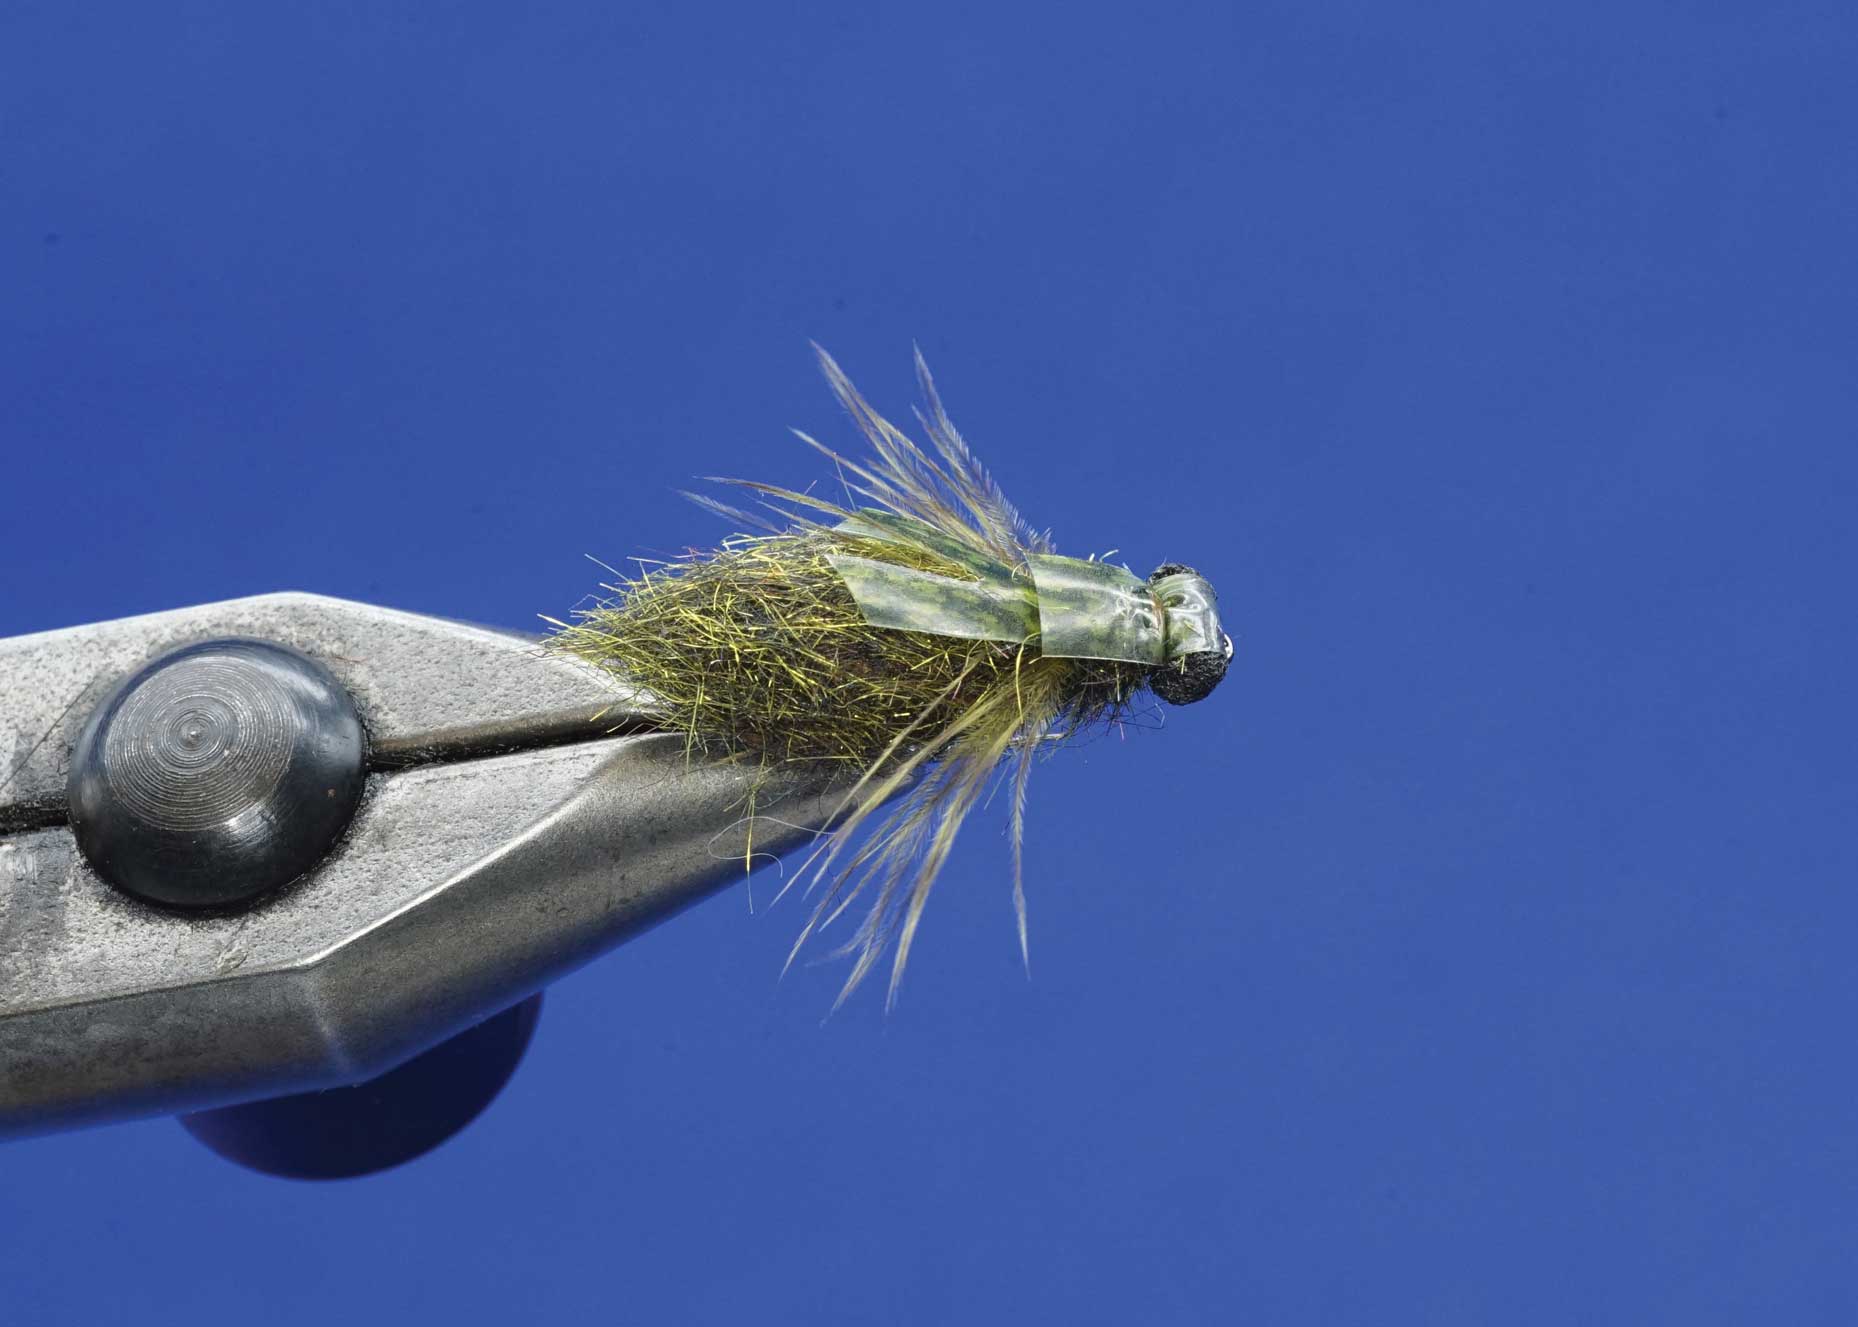 King’s Foam Dragon: Step 7.