This article appears in the BC Outdoors issue. Unfortunately the last two lines were cut off – here is the article in its entirety.
Advertisement
A trail camera has become an important tool for hunters, especially those wanting to target specific animals or learn more about their behaviors to hunt them more efficiently. All hunters would love to spend the entire year hunting, but in reality that is just not possible. Trail cameras can do one better; they constantly scout all year long, even through the night. My three objectives of using trail cameras are to gauge the herd population size, the quality of trophy animals and perhaps identify movement patterns to help me hunt them.
Over the years, trail cameras have gone both up and down in price. The pricier ones have added more features. Other companies have optimized production lines so that hunters can afford to buy more of them – which is where I fall. Trail camera makes and models available in outdoor stores like Cabela’s take up entire aisles and making sense of all the options can be daunting.
Advertisement
Trail cameras can be compared in a few ways: detection, nighttime pictures, picture quality, power, video, communication, and relevant hunting information. Trail cameras also have accessories to enhance and protect use. Taking pictures is only the first step; viewing and analyzing is where things really come together to help hunters.
 Via Gord Nuttall
Detection and Trigger
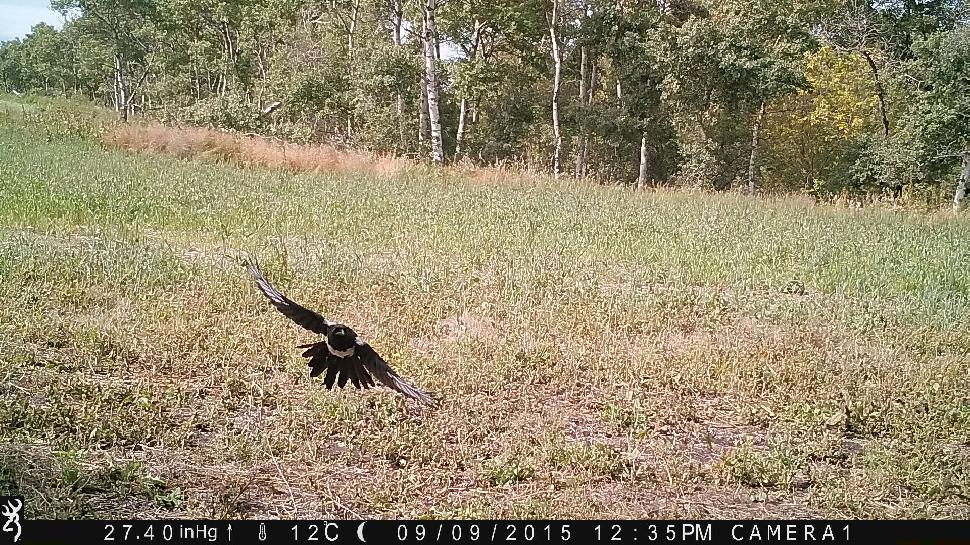
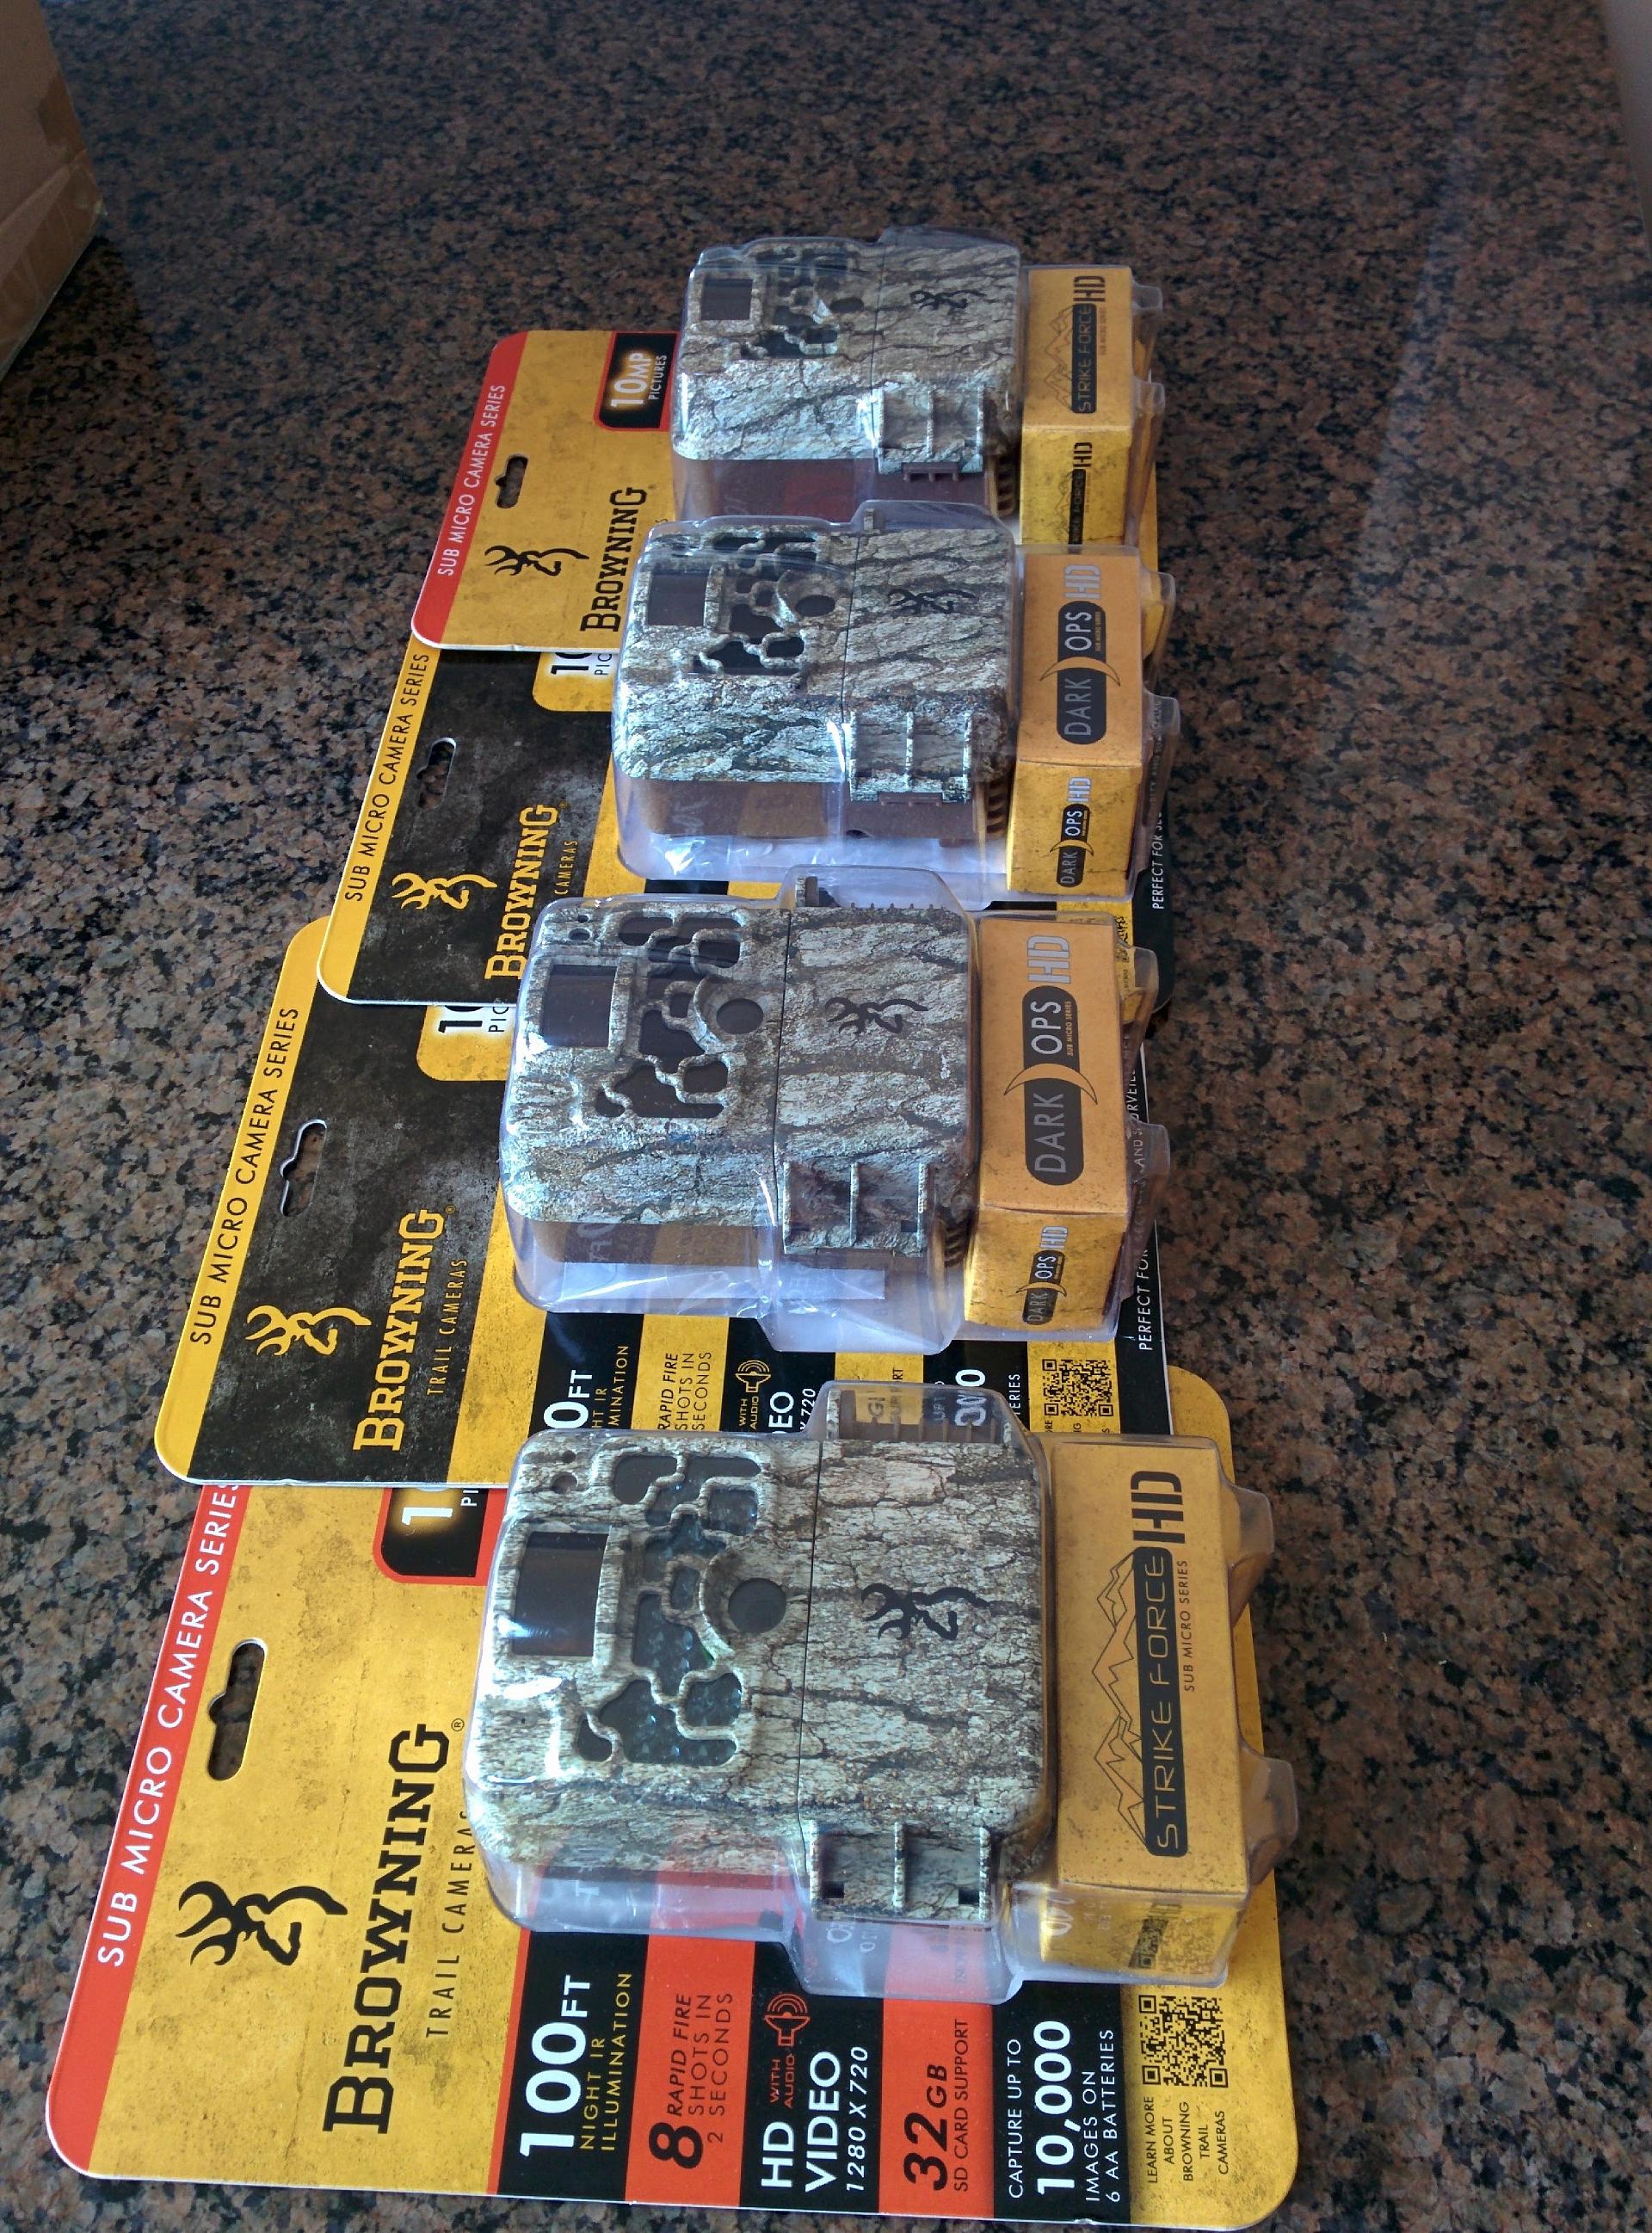
Detection refers to when the trail camera sensor confirms movement. The detection zone (measured in metres) is cone shaped, starting from the camera and moving outwardly, getting wider. According to trailcampro.com, the majority of trail cameras will detect motion out to twenty metres, after that only a select few will detect movement. After detection comes trigger time (measured in seconds), which is how fast the camera takes a picture or starts a video. The detection zone is always a little smaller cone than the viewing zone and more so at night. Many cameras have a test mode, which simply illuminates letting you know motion was detected; helping you best position the camera. If test mode is not available, you can simply run the camera, walk in and out of the detection zone and check the pictures right away. After triggering a picture, the camera needs to store that picture and get ready to take another, this is called recovery time (measured in seconds). Trail cameras have configurable options to take multiple pictures per detection. I use Browning trail cameras, which have a burst mode (also known as multi-shot mode), taking eight pictures in very rapid succession upon detecting motion. It once captured seven pictures of a bird flying towards the camera.
Advertisement
Not to be confused with recovery time is time delay (configurable in seconds), which is the amount of time to wait before allowing the camera to detect motion again.
Time delay is crucial for camera’s setup at bait sites as animals stay there feeding for a while. To avoid getting thousands of pictures of the same animal seconds apart, time delay set to five minutes decreases picture captures. I not only attract black bears, but ravens and magpies which like to hang out all day long feeding. It’s not uncommon to have five thousand pictures after a week and without time delay set to five or 10 minutes, the memory cards would reach capacity before having a chance to view them. Unfortunately, no trail camera is smart enough to take pictures of big game only and ignore small game. I doubt I will see that feature in my lifetime.
Some cameras can take pictures without detection when set in time-lapse mode. This means that detection is disabled and the camera shutter trigger is merely set to a time based schedule. Small meadows or fields (larger than the detection range of the camera) are ideal for this type of monitoring. Because the detection range cannot cover the entire area but the field of view of the lens can, schedule the camera to take a picture every five minutes. Using this type of configuration will give you a good idea of what is moving and feeding in that area. Using time-lapse picture software on your computer, you can create a quick video or slideshow of the pictures taken, giving you a good indication of the level of activity. One downside to using time-lapse mode pictures is that, usually the subjects are far away so it is hard to get a detailed picture of their trophy quality.
Nighttime
Night pictures are important to consider since game animals can be nocturnal. There are three ways to take pictures or video at night from trail cameras: infrared red glow (low glow), infrared black glow (no glow) and white flash. White flash is just like any camera flash – it creates a burst of light timed exactly with the shutter to illuminate the subject in low light. White flash produces colour nighttime pictures but has been known to spook animals. However, it will have the longest range of the three types. Infrared red glow can be seen by human and game eyes, but is very faint. It produces bright black and white pictures. Black glow cameras have black led lights, invisible to human or game eyes. Video mode cameras only offer infrared light for nighttime video, so colour nighttime video is not yet an option.
Picture blur can be problematic at night with the limited amount of light. White flash offers the most light and thus, fastest shutter speed. With infrared light, the shutter speed of the camera must be fast in order to avoid blurry pictures, however with any camera, the faster the shutter speed the more light is required to illuminate the subject.
Picture Quality
In addition to blur, factors like colour, clarity, contrast, focus and resolution all contribute to quality trail camera pictures. In general, I try to avoid setting up cameras to capture sunsets and sunrises (aim them north) as they are not smart enough to run the flash (or infrared light) to reduce silhouette type pictures. Viewing sample pictures is the best way to determine if the picture quality is going to meet your needs. Most manufacturers offer samples on their website or trailcampro.com has a selection of sample photos from the major brands they test.
 Via Gord Nuttall
Megapixels are a big selling feature these days, but the megapixels that matter are the native resolution from the lens, not the megapixels added by software, which is called interpolation. The cameras I use have a setting for four (normal), eight (high) or 12 (ultra) megapixel pictures. I use the normal mode because it is all the lens can offer anyway. Any additional pixels are either calculated by some algorithm or copied from the nearest pixel and simply take up more space. Those interpolated pixels do not add additional detail or allow the hunter to zoom in on the tines of deer for a closer look. Native resolution of the camera lens is the most important specification when deciding to purchase a camera for high quality pictures.
 Via Gord Nuttall
Video
Many cameras are offering video these days and I must say, it is outstanding. The quality of daylight video and sound is just like you are there hunting. You can hear every twig snap, every leaf crunch, the pounding of bear paws on fifty gallon barrels and watch in amazement as animals travel silently through snowy winter landscapes. I used video thoroughly for monitoring travel routes, especially intersecting game trails. Video media gives such a better indication of how many animals are there, where they initiated from and which direction they headed. Case in point, once I saw one deer in my video, but I could hear footsteps of another, something I never would have known in still picture mode. On another occasion the video recorded the male animals’ grunts. Since video can be paused you are no longer limited to a handful of capture angles. More often than not a complete profile of antlers from all needed directions to estimate his score is attained with video. Video also provides insight into the animals’ demeanor, mood and attitude, especially if there are multiple ones in the same frame – great information to gauge the phases of big game ruts.
Power
A trail camera scouts 24/7 but requires power. I use cameras that take six to eight AA batteries (common in many models these days), which provide enough power throughout the entire fall season to monitor travel routes. I also use the same cameras for spring bear hunting, but as I alluded to before, I get a lot of pictures of ravens, which effects battery life and require a changing every three weeks. Lithium batteries last the longest, especially in cold weather. Alkaline batteries are not dependable once the temperature gets below -5 C°. I have had cameras go dormant and miss pictures during cold snaps using alkaline batteries. The biggest influence on battery life is camera consumption. Video mode and white flash both consume more power and will drain your batteries that much quicker. Aggressive configuration modes (burst picture mode, low time delay) will also do the same where you have a ton of activity, or that annoying set of ‘windy’ pictures when the camera is photographing a small tree moving back and forth. Cameras support rechargeable batteries. Many manufacturers offer a 12v supply line from an external source to run for extended periods. Other manufacturers have solar panel support to help trickle charge your batteries while operating in the field. Both are viable options assuming you are not going to have curious bears sniffing around too much as they will quickly destroy your investment.
Accessories
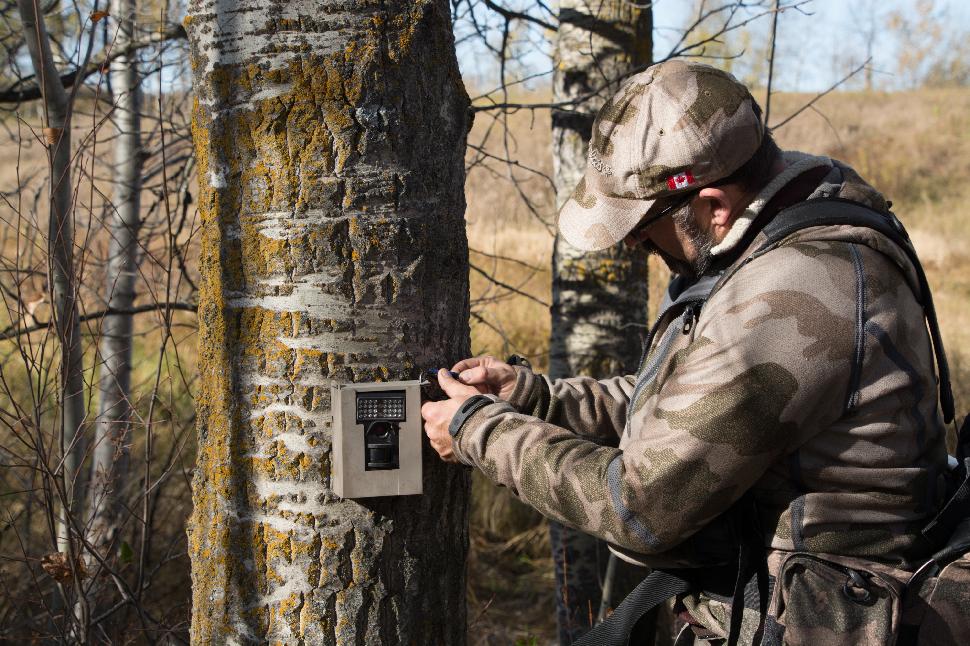
Although not necessary, accessories can help protect your cameras and enhance your pictures. First and foremost, if you are using trail cameras to monitor bear activity, screw a metal box into the tree and place the camera in there. Bears will claw, bite and destroy trail cameras. It is unfortunate, but trail camera theft is a problem. Locks are available for trail cameras or you can make your own from aircraft cable for relatively cheap. Mounting brackets allow you to point your camera in any direction. Although a great concept, whenever I used them something always played with them enough to offset the correct position. I use the same trail cameras for black bears in the spring as I do for other big game in the fall. I set up every one with a metal box screwed into the tree complete with combination lock. With this setup, nobody can steal it, animals can’t alter the position and I will never forget the key or someone else can swap a memory card for me.
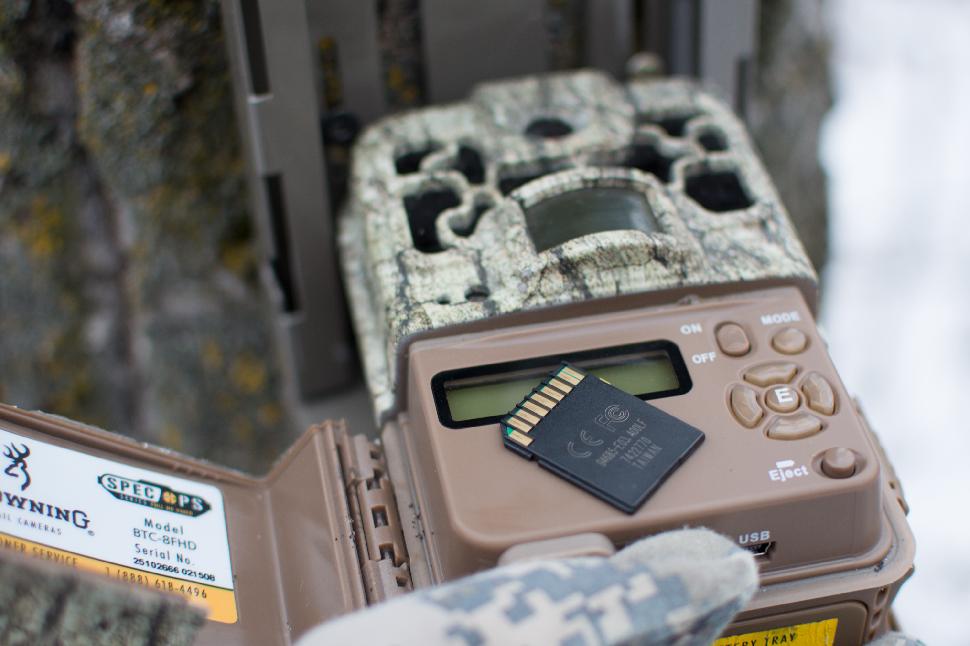
Collection
The camera works full time scouting your hunting area for you but at some point you must retrieve the pictures stored on the memory card. Traditionally, you physically visited the camera but these days other options like Wi-Fi and cellular cameras exist. Wireless communication needs additional hardware, which requires more power to transmit and receive data signals, so expect to lesser battery life with these types of cameras. Wi-Fi range is limited in nearly all trail cameras to about 30 meters, making it less than ideal for use in remote hunting areas. Cellular communication cameras depend entirely on network coverage to work so it is best to test the service coverage in that area before investing in one. Do note, however, that cameras that transmit pictures wirelessly to avoid having the hunter physically visit the camera location have been deemed to cross the line of fair chase by both Boone and Crocket and Pope and Young clubs.
 Via Gord Nuttall
Archiving
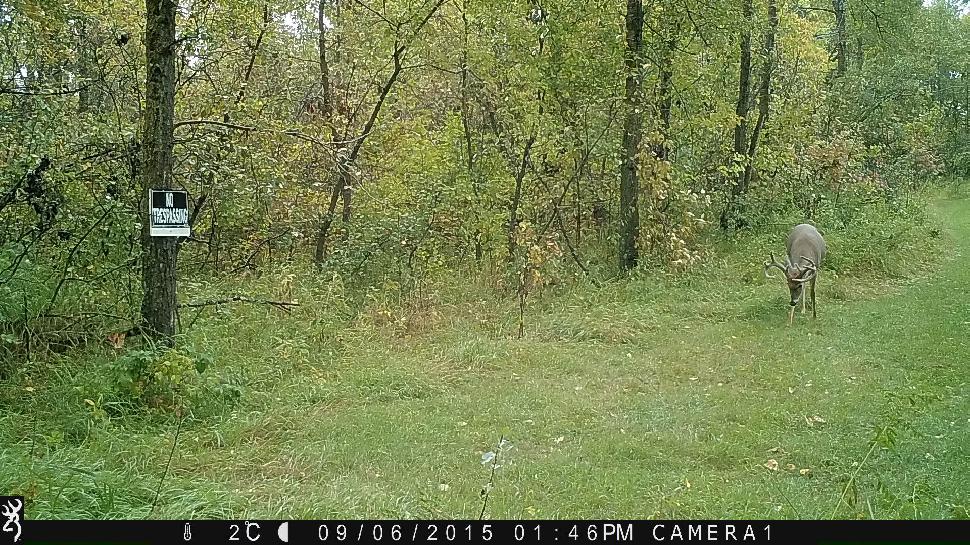
I store downloaded pictures on the computer by location (folder name) and then by date and time (filename). For spring bear bait site pictures, I simply keep every picture of a target bear I capture for future years and delete the multitude of smaller bears and non-bear pictures. This way I know when the big boars show up at each bait site from year-to-year, right down to the date. For mineral licks, travel routes and feeding areas of deer and moose, I like to analyze further by integrating other information like weather conditions and moon phases to see if correlation exists. Many trail cameras offer additional relevant data at capture time (viewable along the bottom of the image) such as temperature, moon phase, date and time and barometric pressure. Other options for integrating this data are to use a third party web service like deerlab.com or download the weather, sunrise and sunset times, and moon phases for your specific area from environment websites. For example, for a given whitetail deer location, I enter every picture I capture of whitetail deer into an excel spreadsheet and describe the deer sex, number and trophy quality along with direction of travel. I match up the local weather data from not just the time of capture, but every hour preceding hour 24 hours beforehand. By doing this, I was really able to identify certain phases of the whitetail rut and after a couple years I now know which days are most fruitful for rattling in bucks (my favorite technique).
In short, Browning trail cameras offer everything I need to help become a more efficient bow hunter in my areas. They are the best bang for buck camera I have used to date. Others may have wider viewing areas, larger detection zones, more megapixels or faster trigger times, but these adequately scout my hunting areas all year long. They are simple to use and I have never had a problem with reliability.
 Via Gord Nuttall